Эта версия возможно содержит некорректные исправления. Переключить на последнюю проверенную версию.
Выберете то, что вам нужно
-
Этот шаг не переведен. Помогите перевести
-
Flip the cartridge over.
-
Unscrew the single screw on the back.
-
Carefully pry apart the casing. There are six (6) tabs that need to be released, three (3) each side. If you're not careful they will break. (experience has taught me)
-
Set aside any case parts after dissassembly.
-
-
Этот шаг не переведен. Помогите перевести
-
Unscrew the board casing, and remove it.
-
Use a compressed air can to blow off any excess dust off the board.
-
Use an alcohol-dabbed cloth to wipe down the gold-plated contacts of the board.
-
-
-
Этот шаг не переведен. Помогите перевести
-
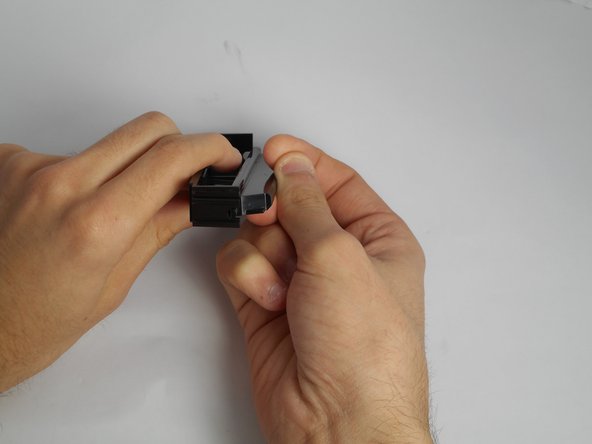
Place the two contact protectors together.
-
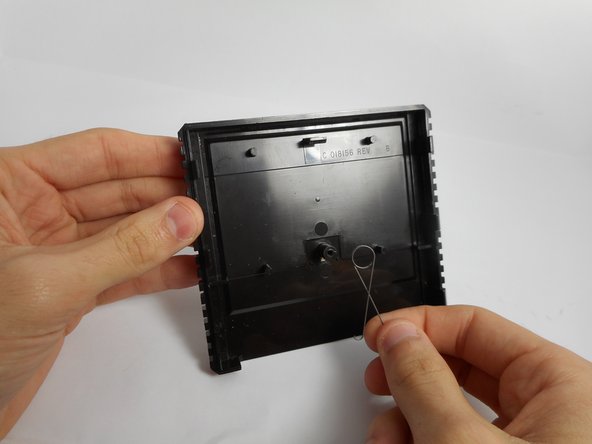
Place the spring on the knob in the cartridge.
-
-
Этот шаг не переведен. Помогите перевести
-
Thread the spring into the connected plates.
-
Push the plates into the cartridge against the pressure of the spring.
-
-
Этот шаг не переведен. Помогите перевести
-
Place the chip in the case.
-
Screw the other side of the case on.
-


Отменить: Я не выполнил это руководство.
3 участников успешно повторили данное руководство.

Команда

USF Tampa, Team 13-1, Staggers Fall 2014 Участник USF Tampa, Team 13-1, Staggers Fall 2014
USFT-STAGGERS-F14S13G1
5 членов
Автор 17 руководств
2 Комментариев
I’m curious to see the Atari 2600 cartridge inside but I can’t get my hands on one.
it's not a 2600 cart. the systems have similarities, but they are not pin compatible, nor are they software compatible. the 5200 is its own thing.