Введение
This guide will show you how to replace the main inside LCD screen on the Audiovox CDM-8900.
Выберете то, что вам нужно
-
-
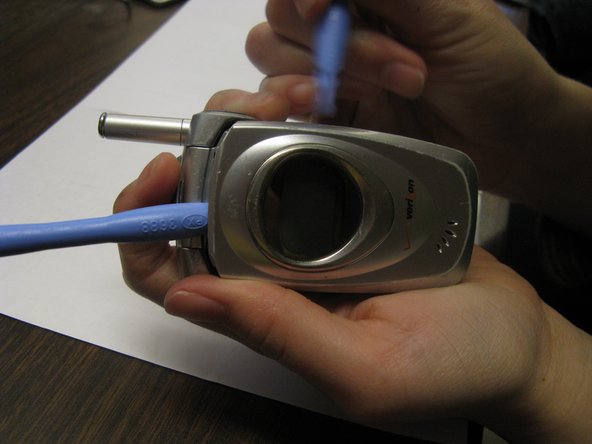
Wedge one of the plastic opening tools under the phone cover near the hinge.
-
Insert the second plastic opening tool under the phone cover and slide it around the perimeter.
-
Detach the phone cover from the phone's base.
-
-
-
-
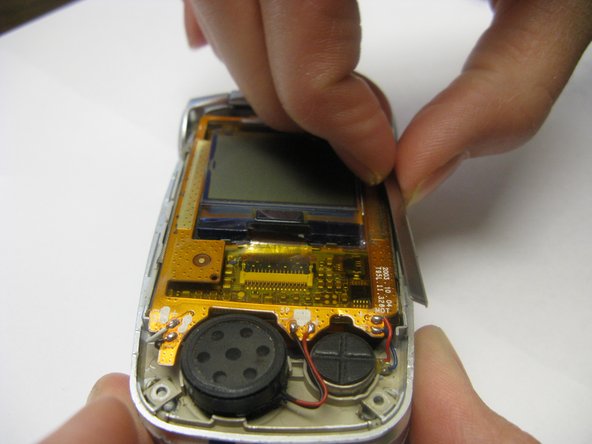
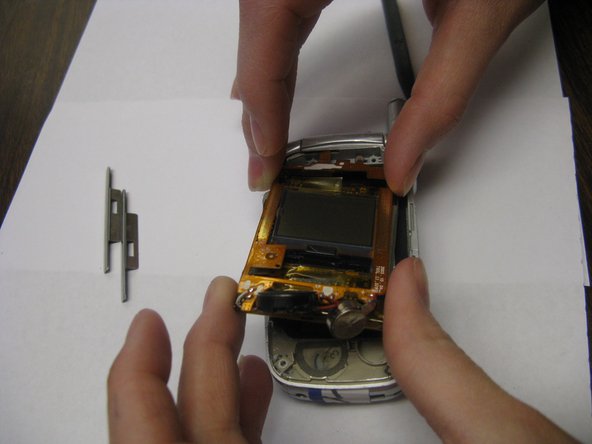
Slide out the two metal braces located along the sides of the LCD screen.
-
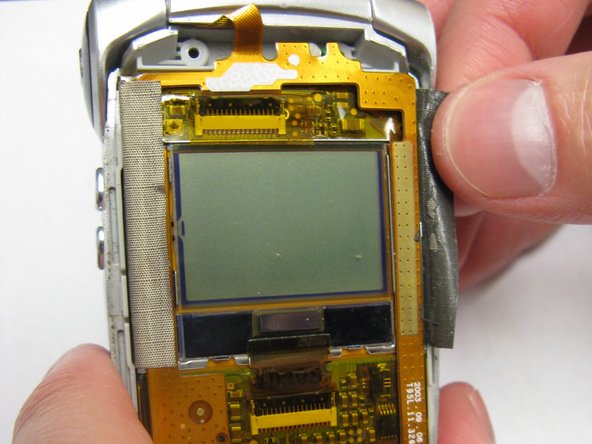
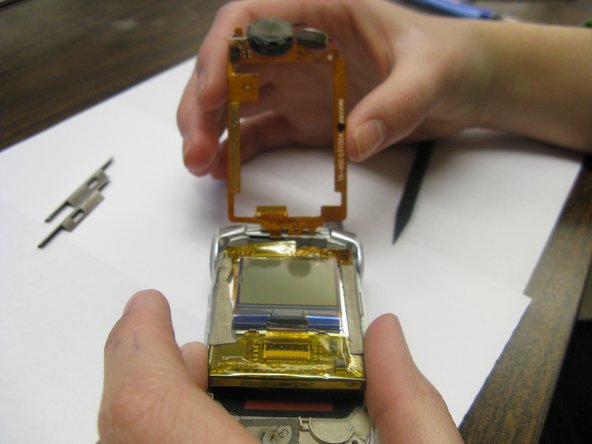
Carefully peel back the tape from both sides of the copper frame.
-
-
-
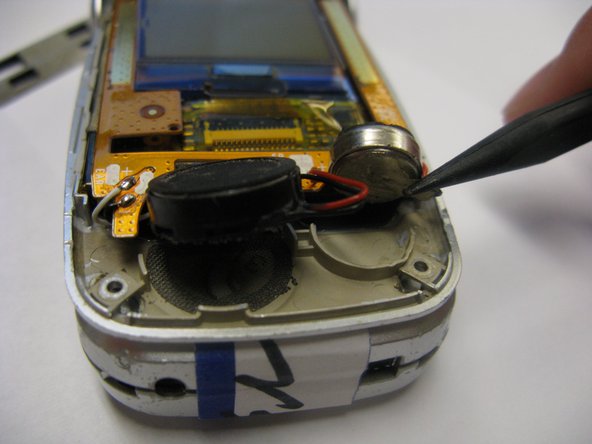
Using the spudger, carefully separate the speaker and microphone from the inside surface of the phone.
-
-
-
With the copper screen lifted up, gently pull out the ribbon connector and lift out the LCD screen.
-


To reassemble your device, follow these instructions in reverse order.
To reassemble your device, follow these instructions in reverse order.
Команда

Cal Poly, Team 28-31, Regan Spring 2010 Участник Cal Poly, Team 28-31, Regan Spring 2010
CPSU-REGAN-S10S28G31
4 членов
Автор 12 руководств