Перейти к основному содержанию

BLU Dash 3.5 Screen Assembly Replacement

Выберете то, что вам нужно

  1. BLU Dash 3.5 Screen Assembly Replacement, Battery: шаг 1, изображение 1 из 3 BLU Dash 3.5 Screen Assembly Replacement, Battery: шаг 1, изображение 2 из 3 BLU Dash 3.5 Screen Assembly Replacement, Battery: шаг 1, изображение 3 из 3
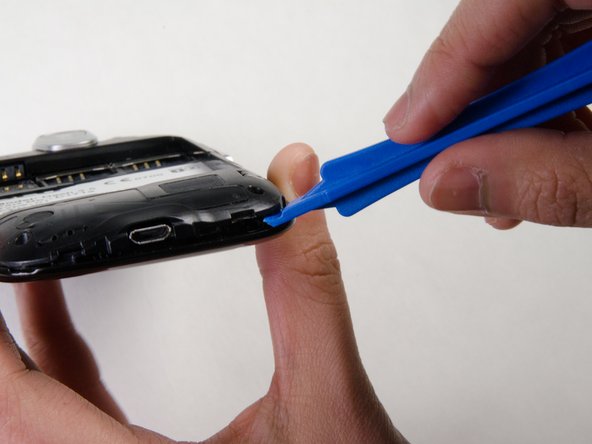
    • Start by locating the slot on the lower right corner of the device.

    • Insert the opening tool into the slot.

    • Pry the back cover off. Once the corner is off, continue around the perimeter of the phone pulling the back off with your fingers.

    • A fingernail can work to open the back in place of an opening tool.

  2. BLU Dash 3.5 Screen Assembly Replacement: шаг 2, изображение 1 из 2 BLU Dash 3.5 Screen Assembly Replacement: шаг 2, изображение 2 из 2
    • Locate the indentation at the bottom of the battery.

    • Insert your thumb and pull the battery out.

  3. BLU Dash 3.5 Screen Assembly Replacement, Volume and Lock Button: шаг 3, изображение 1 из 2 BLU Dash 3.5 Screen Assembly Replacement, Volume and Lock Button: шаг 3, изображение 2 из 2
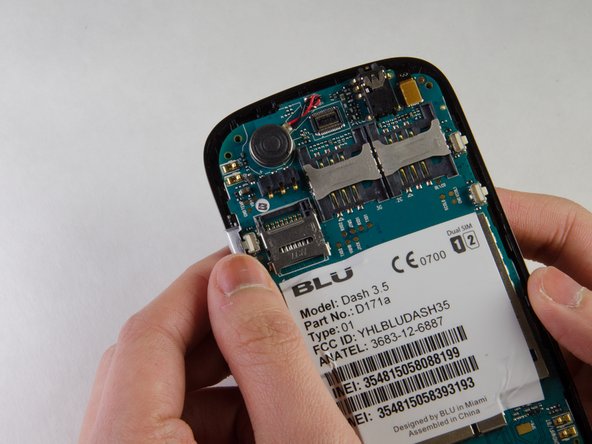
    • Use the 000 Phillips screwdriver to remove the four 4.5 mm screws from the corners of the interior back panel.

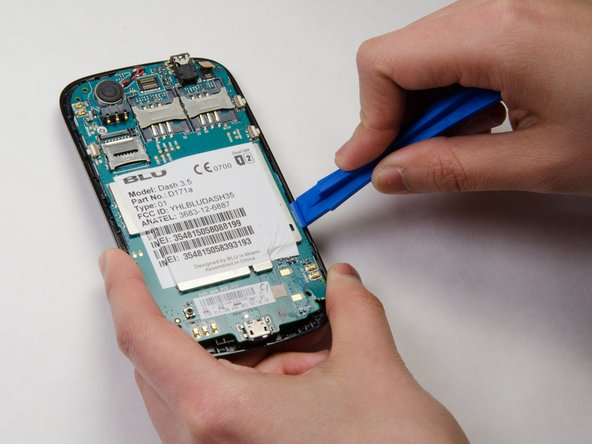
    • Use the opening tool to pry open the plastic back panel to expose the motherboard.

  4. BLU Dash 3.5 Screen Assembly Replacement: шаг 4, изображение 1 из 2 BLU Dash 3.5 Screen Assembly Replacement: шаг 4, изображение 2 из 2
    • Remove volume and lock buttons by lifting them gently from the casing.

  5. BLU Dash 3.5 Screen Assembly Replacement, Screen Assembly: шаг 5, изображение 1 из 2 BLU Dash 3.5 Screen Assembly Replacement, Screen Assembly: шаг 5, изображение 2 из 2
    • Use tweezers to lift the tab where the cable is connected.

    • Use the opening tool to pry the motherboard from the front face plate.

  6. BLU Dash 3.5 Screen Assembly Replacement: шаг 6, изображение 1 из 2 BLU Dash 3.5 Screen Assembly Replacement: шаг 6, изображение 2 из 2
    • Use opening tool to pry off the screen.

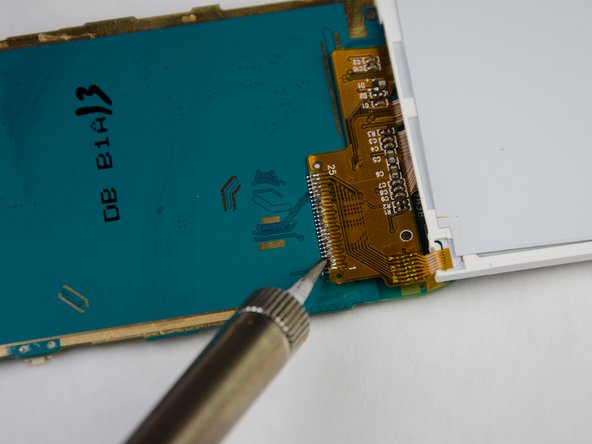
    • Use a soldering tool to melt the contact between the motherboard and the screen

    • Solder new screen contacts to the motherboard.

Заключение

To reassemble your device, follow these instructions in reverse order.

Еще один человек закончил это руководство.

Jeffrey Dlugosz

Участник с: 09/29/15

104 Репутация

1 руководство автора

Команда

Ohio State, Team 1-2, Garvin Fall 2015 Участник Ohio State, Team 1-2, Garvin Fall 2015

OSU-GARVIN-F15S1G2

4 членов

Автор 2 руководств

0 Комментариев

Добавить комментарий

Просмотр статистики:

За последние 24часов: 0

За последние 7 дней: 1

За последние 30 дней: 7

За всё время: 691