Перейти к основному содержанию

BLU R2 Plus Rear-Facing Camera Replacement

Выберете то, что вам нужно

  1. BLU R2 Plus Rear-Facing Camera Replacement, Power Off: шаг 1, изображение 1 из 1
    • Be sure that your BLU R2 Plus is completely powered off and has less than 25% battery left. This will lower the chance of your battery catching fire and your logic board/motherboard shorting out.

  2. BLU R2 Plus Rear-Facing Camera Replacement, Releasing the Back Cover: шаг 2, изображение 1 из 3 BLU R2 Plus Rear-Facing Camera Replacement, Releasing the Back Cover: шаг 2, изображение 2 из 3 BLU R2 Plus Rear-Facing Camera Replacement, Releasing the Back Cover: шаг 2, изображение 3 из 3
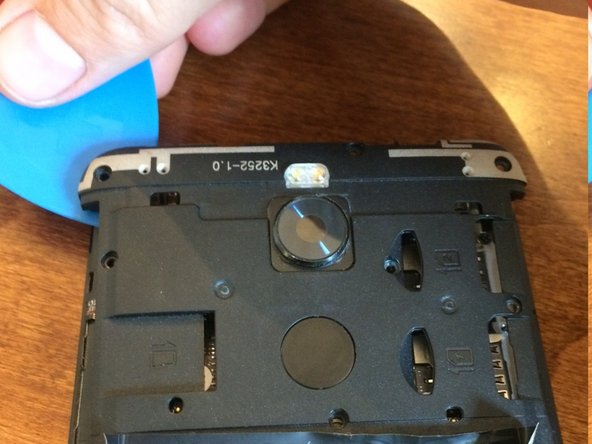
    • Insert your pick in the top left-hand corner where the little indent is.

    • Slide the pick all the way around the phone until the back cover is loose and ready to be released.

  3. BLU R2 Plus Rear-Facing Camera Replacement, Remove Back Cover: шаг 3, изображение 1 из 1
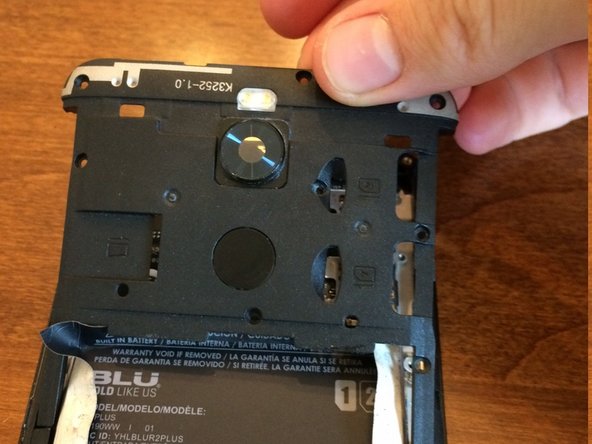
    • Remove the Back Cover to gain access to sim card trays, the memory card slot, or just to replace it.

  4. BLU R2 Plus Rear-Facing Camera Replacement, Unscrew Upper Plastic Plate: шаг 4, изображение 1 из 2 BLU R2 Plus Rear-Facing Camera Replacement, Unscrew Upper Plastic Plate: шаг 4, изображение 2 из 2
    Инструмент, используемый на этом этапе:
    Magnetic Project Mat
    $19.95
    Купить
    • Use a Phillips #00 screwdriver to remove the 9 screws from the upper plastic plate.

    • Use a magnetic mat to organize your screws and prevent you from losing them.

  5. BLU R2 Plus Rear-Facing Camera Replacement, Upper Plate Removal: шаг 5, изображение 1 из 3 BLU R2 Plus Rear-Facing Camera Replacement, Upper Plate Removal: шаг 5, изображение 2 из 3 BLU R2 Plus Rear-Facing Camera Replacement, Upper Plate Removal: шаг 5, изображение 3 из 3
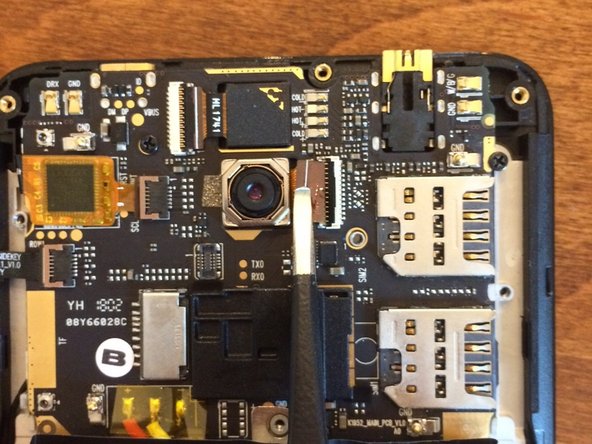
    • Use an opening pick to unclip the upper plastic plate from the phone.

    • Once unclipped, slide it up and out of the phone.

    • Be careful not to break the small arms of the plate upon removal.

  6. BLU R2 Plus Rear-Facing Camera Replacement, Rear-Facing Camera Removal: шаг 6, изображение 1 из 3 BLU R2 Plus Rear-Facing Camera Replacement, Rear-Facing Camera Removal: шаг 6, изображение 2 из 3 BLU R2 Plus Rear-Facing Camera Replacement, Rear-Facing Camera Removal: шаг 6, изображение 3 из 3
    Инструмент, используемый на этом этапе:
    Tweezers
    $4.99
    Купить
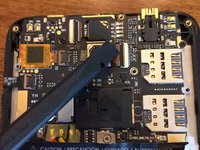
    • Use a spudger to unclip the ribbon cable from the motherboard/logic board. Carefully use blunt tweezers or angled tweezers to pull the ribbon cable out of the socket. Then use the tweezers to wiggle the camera out of its socket.

    • Be very careful not to break the ribbon cable as it's very fragile. This doesn't really matter if you're taking the camera out as it's already broken.

Заключение

To reassemble your device, follow these instructions in reverse order.

Еще один человек закончил это руководство.

Derek Thomas

Участник с: 09/02/21

772 Репутация

Автор 5 руководств

0 Комментариев

Добавить комментарий

Просмотр статистики:

За последние 24часов: 1

За последние 7 дней: 1

За последние 30 дней: 2

За всё время: 25