Перейти к основному содержанию

BLU Studio 5.0 II Motherboard Replacement

Выберете то, что вам нужно

  1. BLU Studio 5.0 II Motherboard Replacement, Battery: шаг 1, изображение 1 из 1
    • Turn off your phone before disassembling the device.

    • Locate the small opening on the bottom corner of the back case.

  2. BLU Studio 5.0 II Motherboard Replacement: шаг 2, изображение 1 из 2 BLU Studio 5.0 II Motherboard Replacement: шаг 2, изображение 2 из 2
    • Use your finger to open the back case by slowly pulling it on the open slot.

    • Once the case is lifted on the corner, slide your finger along the edge of the phone to remove the rest of the case.

  3. BLU Studio 5.0 II Motherboard Replacement: шаг 3, изображение 1 из 3 BLU Studio 5.0 II Motherboard Replacement: шаг 3, изображение 2 из 3 BLU Studio 5.0 II Motherboard Replacement: шаг 3, изображение 3 из 3
    • Locate the opening slot at the bottom of the battery.

    • Use your finger to lift the battery and remove it from the case.

  4. BLU Studio 5.0 II Motherboard Replacement, Back Case: шаг 4, изображение 1 из 1
    • Locate the four 3mm screws on each side of the back panel.

    • Use a Phillips #00 screwdriver to remove the eight screws.

  5. BLU Studio 5.0 II Motherboard Replacement: шаг 5, изображение 1 из 3 BLU Studio 5.0 II Motherboard Replacement: шаг 5, изображение 2 из 3 BLU Studio 5.0 II Motherboard Replacement: шаг 5, изображение 3 из 3
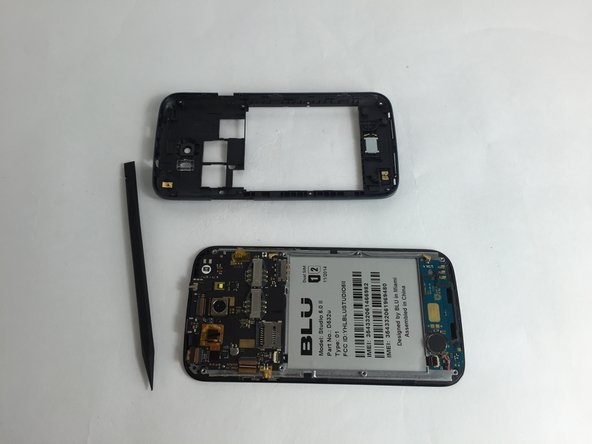
    • Carefully use a spudger to start opening the back case by inserting it between the black and blue lines on the side of the phone.

    • With the help of your fingers, continue to remove the back case by sliding it through the opening.

  6. BLU Studio 5.0 II Motherboard Replacement, Motherboard: шаг 6, изображение 1 из 3 BLU Studio 5.0 II Motherboard Replacement, Motherboard: шаг 6, изображение 2 из 3 BLU Studio 5.0 II Motherboard Replacement, Motherboard: шаг 6, изображение 3 из 3
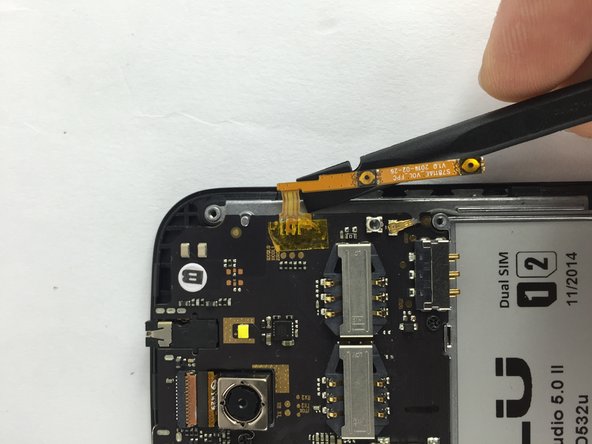
    • Locate the following adhesive buttons on the right and left side of the motherboard. These are the volume and power buttons.

    • Use a spudger to carefully separate them from the circuit board.

  7. BLU Studio 5.0 II Motherboard Replacement: шаг 7, изображение 1 из 3 BLU Studio 5.0 II Motherboard Replacement: шаг 7, изображение 2 из 3 BLU Studio 5.0 II Motherboard Replacement: шаг 7, изображение 3 из 3
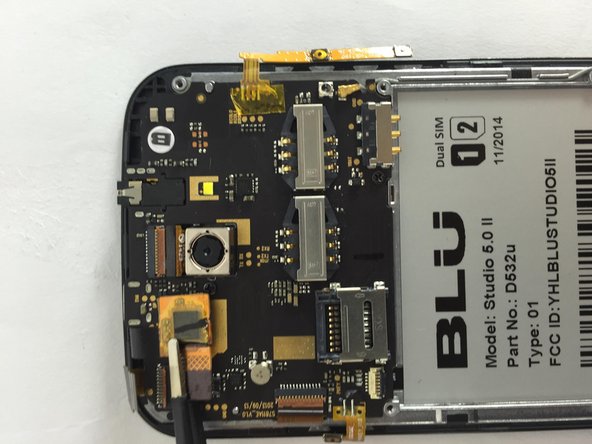
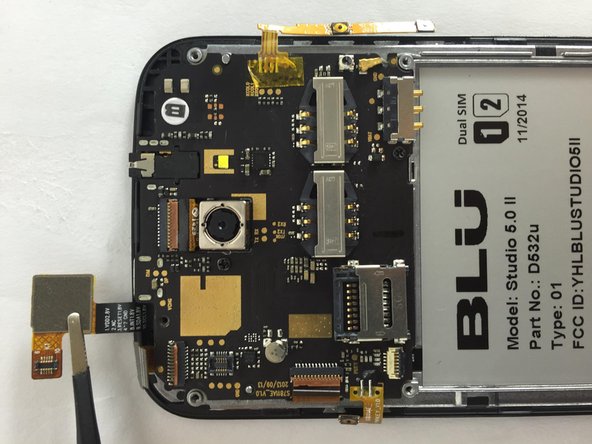
    • Locate these two ZIF connectors on the top and left side of the motherboard.

    • Use a spudger to flip up and unlock the black tab on the connector.

    • Use tweezers to pull the ribbon cables out of their connectors.

  8. BLU Studio 5.0 II Motherboard Replacement: шаг 8, изображение 1 из 3 BLU Studio 5.0 II Motherboard Replacement: шаг 8, изображение 2 из 3 BLU Studio 5.0 II Motherboard Replacement: шаг 8, изображение 3 из 3
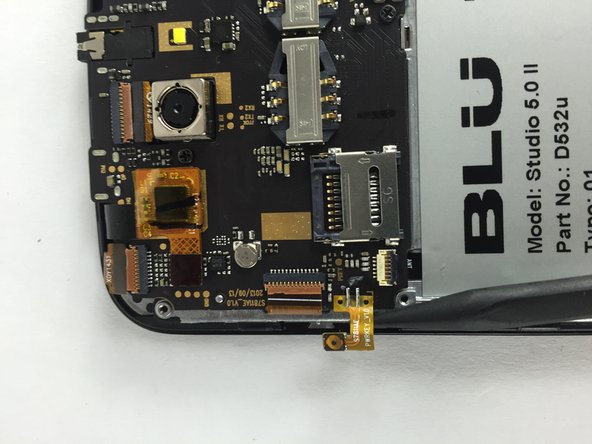
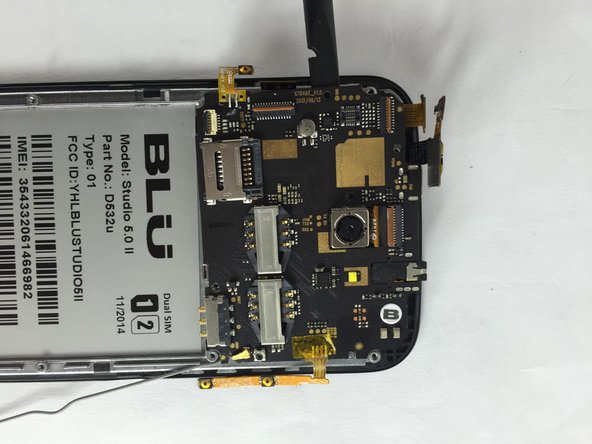
    • Locate the indicated connector on the top side of the motherboard.

    • Use a pair of tweezers to gently lift the connector from the circuit board.

  9. BLU Studio 5.0 II Motherboard Replacement: шаг 9, изображение 1 из 3 BLU Studio 5.0 II Motherboard Replacement: шаг 9, изображение 2 из 3 BLU Studio 5.0 II Motherboard Replacement: шаг 9, изображение 3 из 3
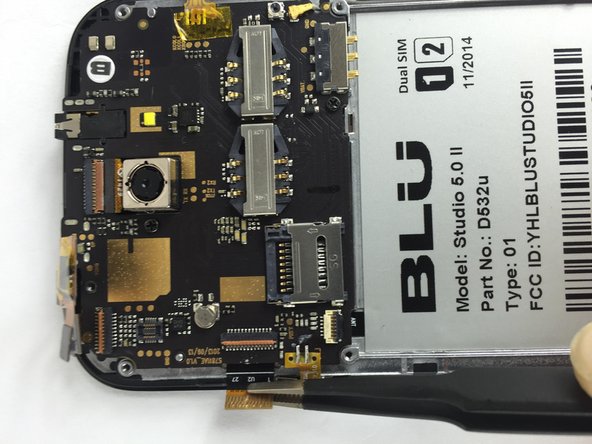
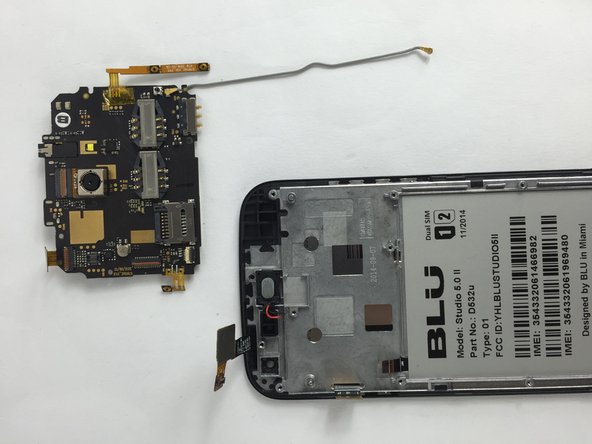
    • Remove the three 3mm screws on the motherboard using a Phillips #00 screwdriver.

    • Use a spudger or tweezers to carefully lift and remove the motherboard.

    It would be nice to show some motherboard supply companies…. of course probably avail on Amazon

    hungy2408 - Ответить

Заключение

To reassemble your device, follow these instructions in reverse order.

2 участников успешно повторили данное руководство.

Ricardo Sarabia

Участник с: 02/09/16

1 069 Репутация

Автор 6 руководств

Команда

USF Tampa, Team 7-5, Cheng Spring 2016 Участник USF Tampa, Team 7-5, Cheng Spring 2016

USFT-CHENG-S16S7G5

3 членов

Автор 7 руководств

Один комментарий

that left the speaker disconnected?

Rodolfo Leal - Ответить

Добавить комментарий

Просмотр статистики:

За последние 24часов: 0

За последние 7 дней: 0

За последние 30 дней: 1

За всё время: 1,915