Перейти к основному содержанию

Beats Studio 2 Wireless Ear Cushions Replacement

Выберете то, что вам нужно

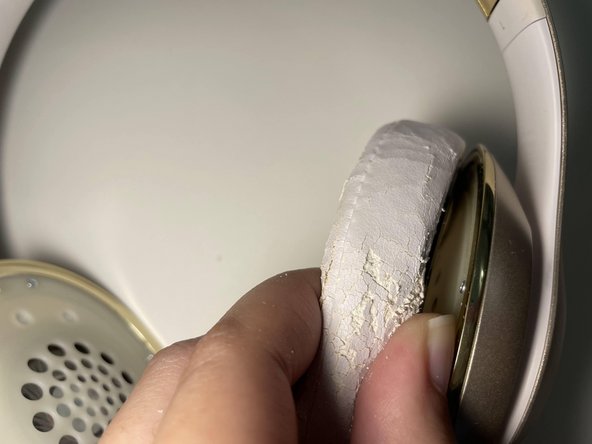
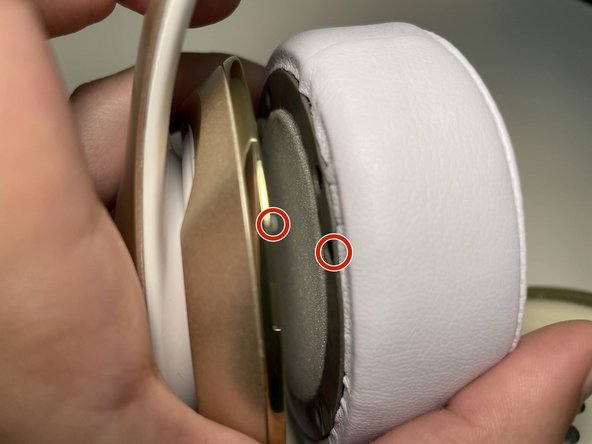
  1. Beats Studio 2 Wireless Ear Cushions Replacement, Ear Cushions: шаг 1, изображение 1 из 2 Beats Studio 2 Wireless Ear Cushions Replacement, Ear Cushions: шаг 1, изображение 2 из 2
    • Insert a spudger between the plastic part of the headphone and the ear cushion.

    • Using a sharp tool to pry may result in injury or further damage to the device. Instead, use a blunt prying tool such as a nylon spudger.

  2. Beats Studio 2 Wireless Ear Cushions Replacement: шаг 2, изображение 1 из 3 Beats Studio 2 Wireless Ear Cushions Replacement: шаг 2, изображение 2 из 3 Beats Studio 2 Wireless Ear Cushions Replacement: шаг 2, изображение 3 из 3
    • Insert the spudger from different angles until the cushion is removed.

    • Pull the rest of the cushion away from the adhesive with your hands.

  3. Beats Studio 2 Wireless Ear Cushions Replacement: шаг 3, изображение 1 из 3 Beats Studio 2 Wireless Ear Cushions Replacement: шаг 3, изображение 2 из 3 Beats Studio 2 Wireless Ear Cushions Replacement: шаг 3, изображение 3 из 3
    • Repeat Steps 1 and 2 with the other headphone cushion.

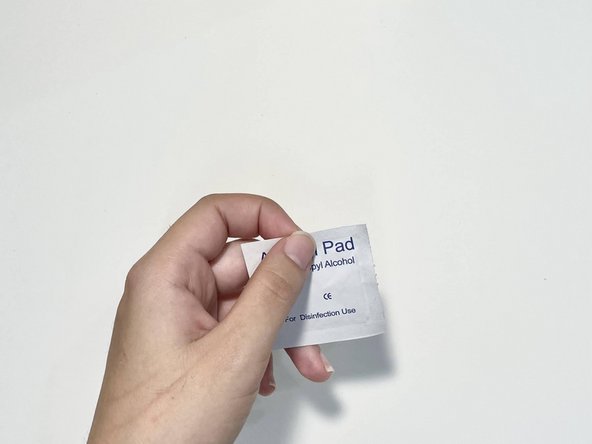
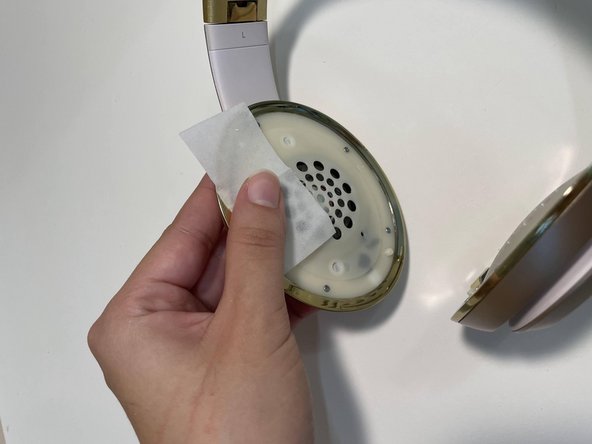
  4. Beats Studio 2 Wireless Ear Cushions Replacement: шаг 4, изображение 1 из 3 Beats Studio 2 Wireless Ear Cushions Replacement: шаг 4, изображение 2 из 3 Beats Studio 2 Wireless Ear Cushions Replacement: шаг 4, изображение 3 из 3
    • Remove any excess adhesive and clean the surface with alcohol wipes.

    • Wait for the surface to completely dry before proceeding.

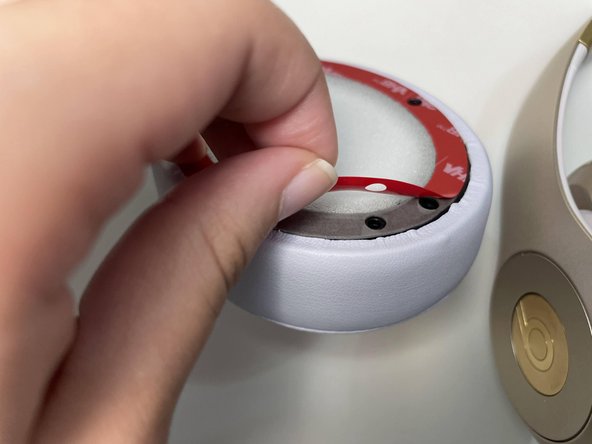
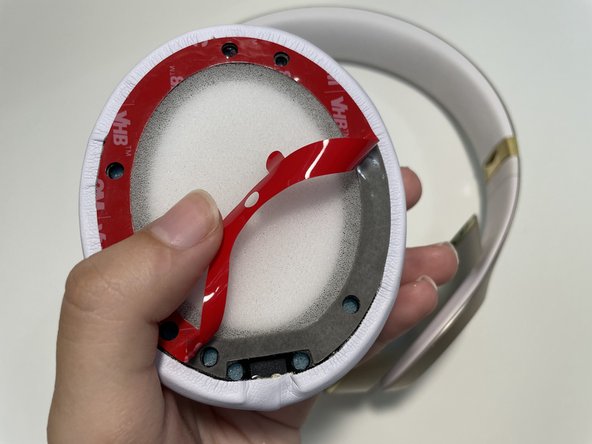
  5. Beats Studio 2 Wireless Ear Cushions Replacement: шаг 5, изображение 1 из 2 Beats Studio 2 Wireless Ear Cushions Replacement: шаг 5, изображение 2 из 2
    • Remove the adhesive tab from the new cushion.

  6. Beats Studio 2 Wireless Ear Cushions Replacement: шаг 6, изображение 1 из 3 Beats Studio 2 Wireless Ear Cushions Replacement: шаг 6, изображение 2 из 3 Beats Studio 2 Wireless Ear Cushions Replacement: шаг 6, изображение 3 из 3
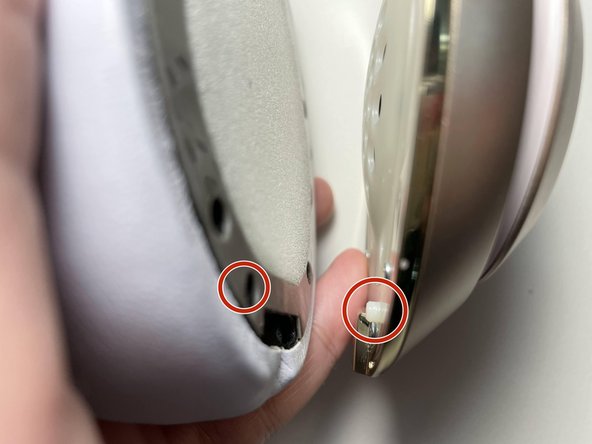
    • Align one cushion to the dowels on one side of the headphones, working from top to bottom.

    • Apply pressure to the cushion and dowel once attached.

  7. Beats Studio 2 Wireless Ear Cushions Replacement: шаг 7, изображение 1 из 2 Beats Studio 2 Wireless Ear Cushions Replacement: шаг 7, изображение 2 из 2
    • Remove the adhesive from the other new cushion.

  8. Beats Studio 2 Wireless Ear Cushions Replacement: шаг 8, изображение 1 из 3 Beats Studio 2 Wireless Ear Cushions Replacement: шаг 8, изображение 2 из 3 Beats Studio 2 Wireless Ear Cushions Replacement: шаг 8, изображение 3 из 3
    • Align the new cushion to the dowels on the other side of the headphones, working from top to bottom.

  9. Beats Studio 2 Wireless Ear Cushions Replacement: шаг 9, изображение 1 из 3 Beats Studio 2 Wireless Ear Cushions Replacement: шаг 9, изображение 2 из 3 Beats Studio 2 Wireless Ear Cushions Replacement: шаг 9, изображение 3 из 3
    • Apply pressure to the cushion and dowel once attached.

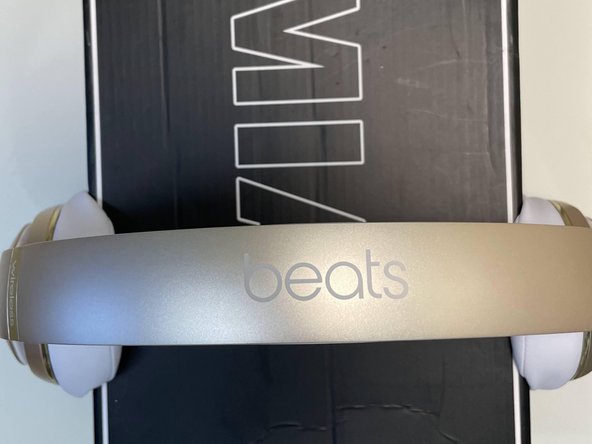
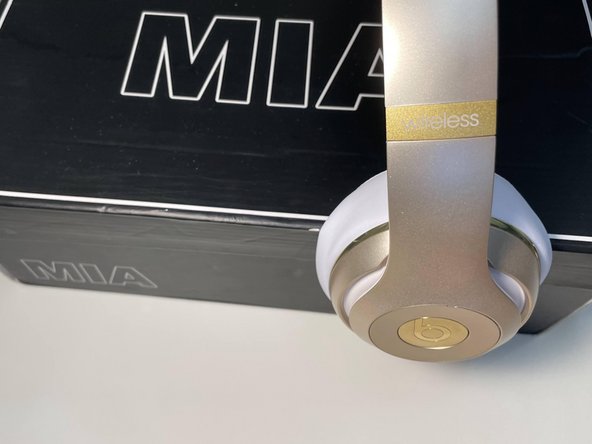
    • Leave the headphones pressured to a shoe box overnight, for a more secure adhesive.

Финишная черта

Еще один человек закончил это руководство.

Keishally Santiago

Участник с: 10/06/21

193 Репутация

1 руководство автора

Команда

0 Комментариев

Добавить комментарий

Просмотр статистики:

За последние 24часов: 1

За последние 7 дней: 12

За последние 30 дней: 46

За всё время: 1,389