Введение
This guide will help to replace a broken or faulty charging port in the Beboncool Gamepad for Nintendo Switch. If your device does not seem to receive any power despite being plugged in to a known working outlet with a known working cable, the charging port may need to be replaced.
Выберете то, что вам нужно
-
-
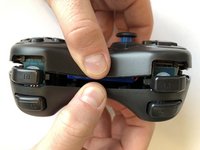
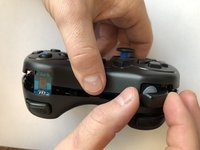
Use the plastic opening tool to remove the blue plastic grips from the sides of the controller.
-
-
-
Use the Phillips #0 screwdriver to remove the seven 5mm screws from the back of the controller.
-
-
-
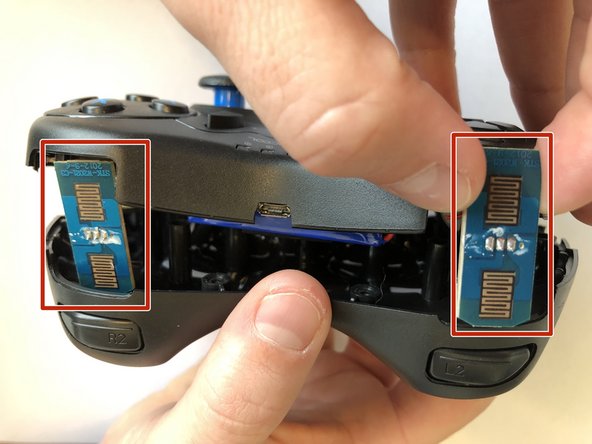
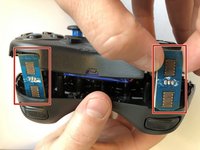
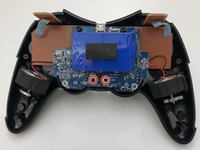
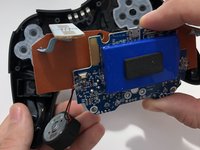
Gently separate the two halves of the controller.
-
Be sure to slide the small circuit boards out of the covers to be able to separate the two halves
-
-
-
-
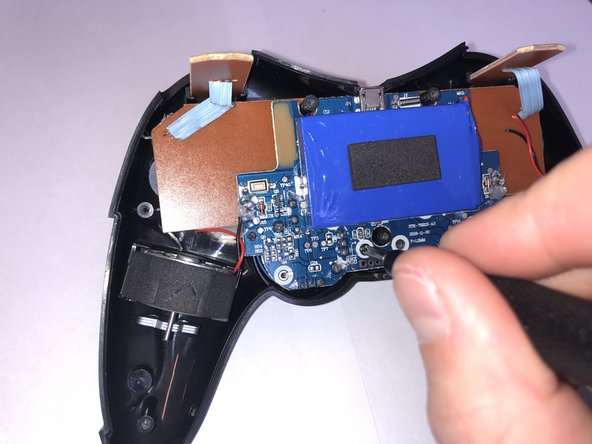
Use the Phillips #0 screwdriver to remove the two 3.5mm screws holding the circuit board in place.
-
-
-
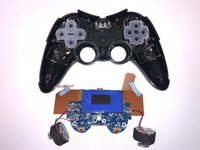
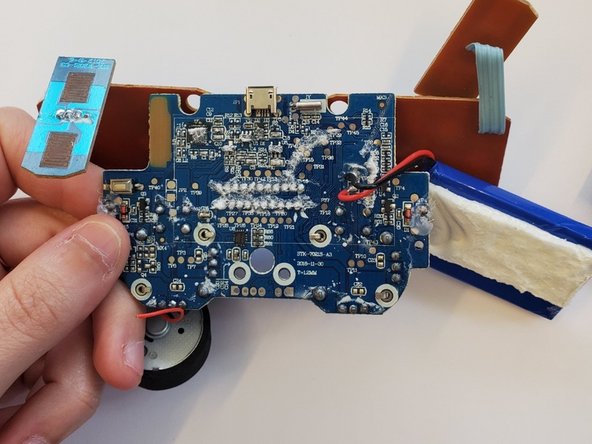
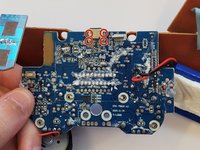
Lift the motherboard from the back case with the vibration motors and button boards attached.
-
-
-
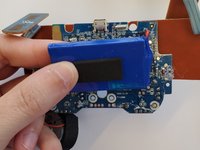
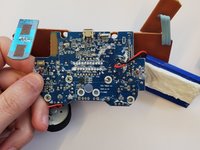
Gently pull the battery from the circuit board, leaving it connected to the board with its lead wires.
-
-
-
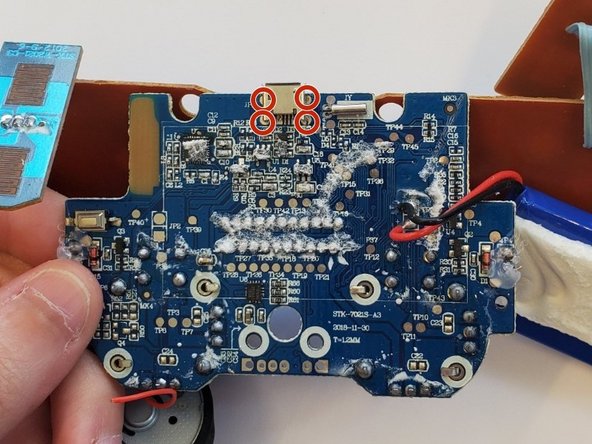
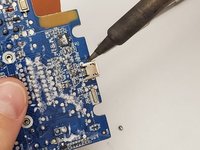
Remove the charging port from the edge of the motherboard by desoldering each of its four solder points and lifting the port from the board.
-


To reassemble your device, follow these instructions in reverse order.
Отменить: Я не выполнил это руководство.
Еще один человек закончил это руководство.
Команда

Embry-Riddle Aeronautical University, Team S17-G9, Lamothe Spring 2020 Участник Embry-Riddle Aeronautical University, Team S17-G9, Lamothe Spring 2020
ERAU-LAMOTHE-S20S17G9
4 членов
Автор 12 руководств