Перейти к основному содержанию

Beboncool Wireless Switch Pro Controller Motherboard Replacement

Выберете то, что вам нужно

  1. Beboncool Wireless Switch Pro Controller Motherboard Replacement, Motherboard: шаг 1, изображение 1 из 1
    • Use a Phillips #0 screwdriver to remove the seven 5 mm screws from the back of the controller.

  2. Beboncool Wireless Switch Pro Controller Motherboard Replacement: шаг 2, изображение 1 из 2 Beboncool Wireless Switch Pro Controller Motherboard Replacement: шаг 2, изображение 2 из 2
    • Gently separate the top and bottom halves of the controller.

  3. Beboncool Wireless Switch Pro Controller Motherboard Replacement: шаг 3, изображение 1 из 2 Beboncool Wireless Switch Pro Controller Motherboard Replacement: шаг 3, изображение 2 из 2
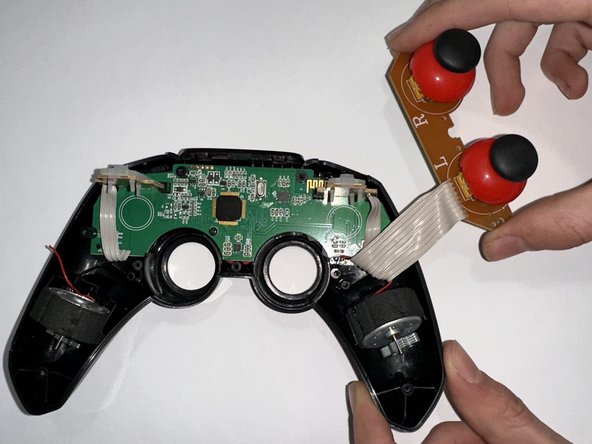
    • Use a Phillips #0 screwdriver to remove the two 5 mm screws holding the joystick motherboard in place.

  4. Beboncool Wireless Switch Pro Controller Motherboard Replacement: шаг 4, изображение 1 из 1
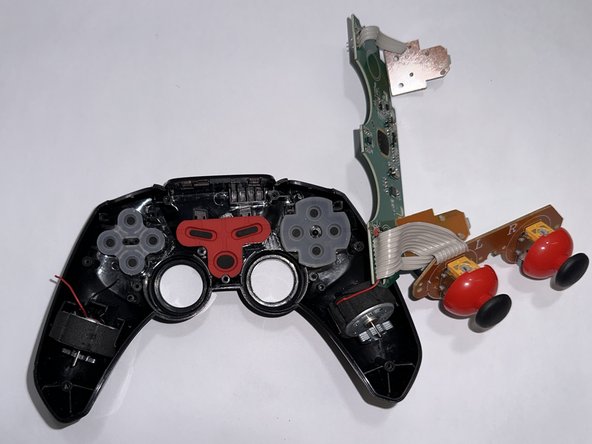
    • Carefully move the bumper buttons out of the way.

  5. Beboncool Wireless Switch Pro Controller Motherboard Replacement: шаг 5, изображение 1 из 2 Beboncool Wireless Switch Pro Controller Motherboard Replacement: шаг 5, изображение 2 из 2
    • Use a Phillips #0 screwdriver to remove the 5 mm screw holding the motherboard in place.

    • Remove the motherboard.

Заключение

To reassemble your device, follow these instructions in reverse order.

Tayah Appel

Участник с: 03/27/23

529 Репутация

Автор 5 руководств

Команда

Casper College, Team 1-3, Lareau Spring 2023 Участник Casper College, Team 1-3, Lareau Spring 2023

CASC-LAREAU-S23S1G3

3 членов

Автор 5 руководств

0 Комментариев

Добавить комментарий

Просмотр статистики:

За последние 24часов: 0

За последние 7 дней: 0

За последние 30 дней: 2

За всё время: 50