Введение
More often than not, the hose component of the bidet sprayer is usually the thing that is damaged unintentionally. It is typically damaged due to an awkward resting position or from extensive use. The hose may start to leak while the rest of the components such as the sprayer itself is still functional.
This is guide will highlight the steps required to safely uninstall the bidet from the toilet and then replacing the hose from the sprayer.
-
-
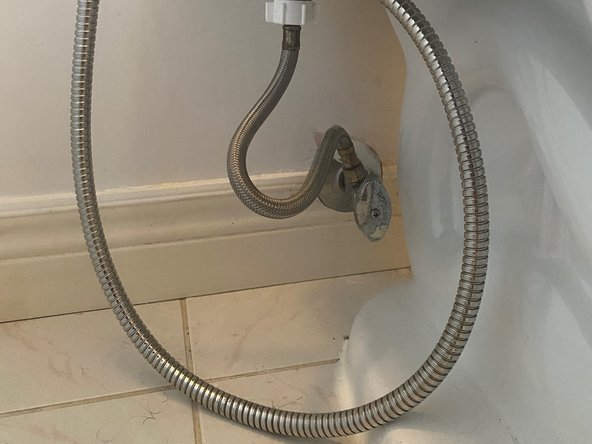
Turn off the main water valve under the toilet.
-
Rotate it clockwise until it is completely shut.
-
-
-
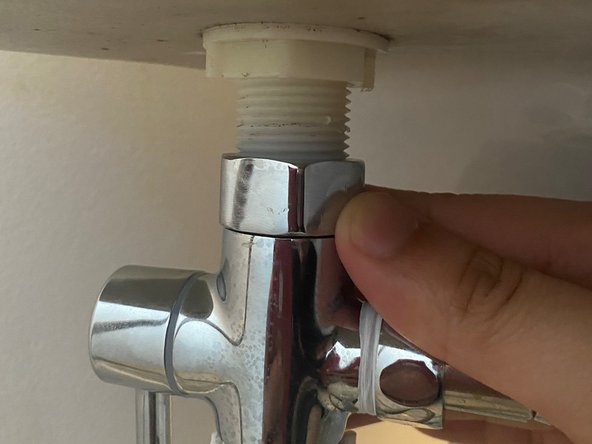
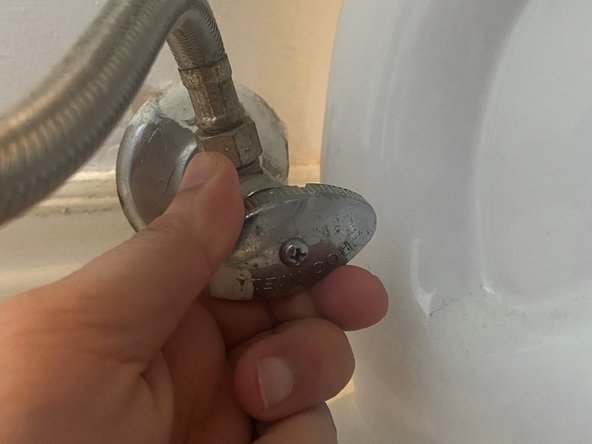
Disconnect the tee connector from the water supply by turning the knob counterclockwise.
-
Turn the knob counterclockwise to detach the tee connector from the toilet.
-
-
-
-
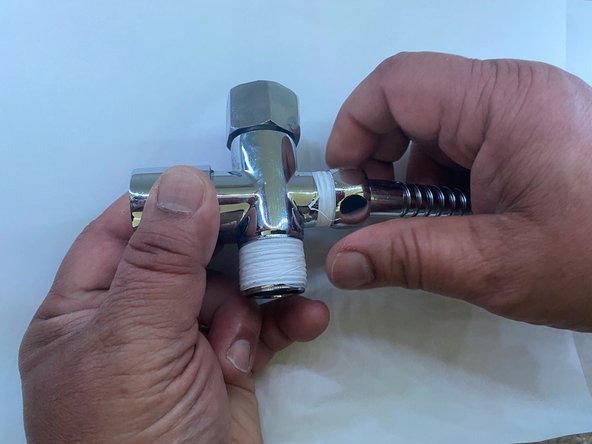
Attach the new/replacement hose with the tee connector. The valve should be on the opposite side.
-
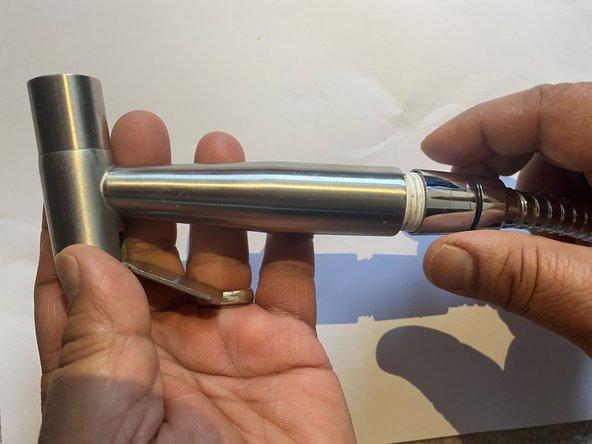
Attach the hose to the sprayer.
-
-
-
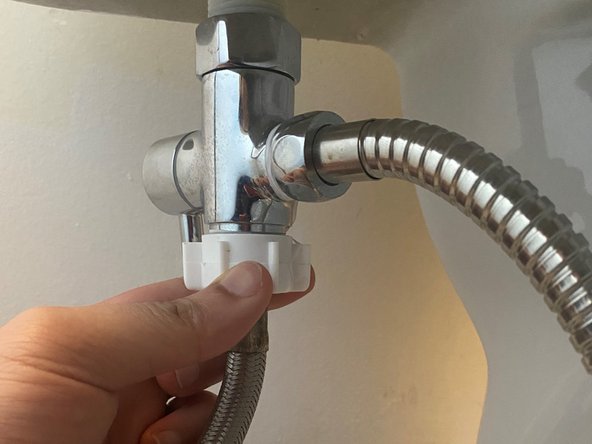
Start by reattaching the tee connector to the toilet. Turn the knob clockwise.
-
Connect the tee connector to the main water supply line. Turn the knob counterclockwise.
-
-
-
Push the valve upwards to turn on the bidet.
-
Turn the main water valve counterclockwise to turn on the toilet water supply.
-


To prevent further leaks, rest the device in a manner so that the hose is not stretched extensively or placed in a twisted position.
To prevent further leaks, rest the device in a manner so that the hose is not stretched extensively or placed in a twisted position.

Команда

York University, Team S1-G22, O'Regan Summer 2021 Участник York University, Team S1-G22, O'Regan Summer 2021
YORK-O'REGAN-SU21S1G22
1 член
Автор 1 руководств