Введение
Is your Bissell Spot Clean Pro Heat mixing the dirty and clean water, resulting in dirty water being reused to clean surfaces? If so, it might be due to the float stack being stuck or broken. Follow this guide to replace or clean the float stack on your Bissell Spot Clean Pro Heat.
-
-
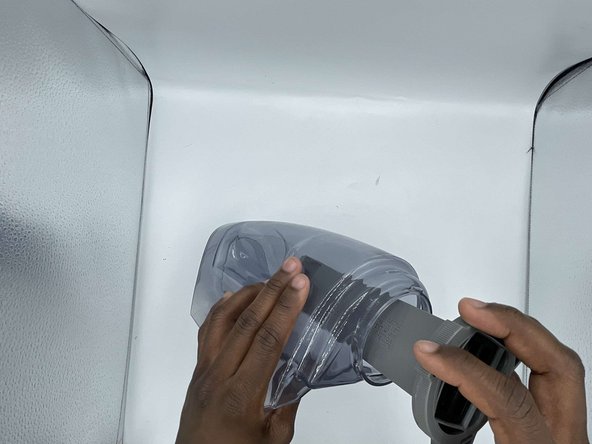
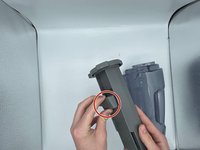
Position your hand vacuum so that you can see the text at the bottom saying "SpotClean ProHeat."
-
-
-
-
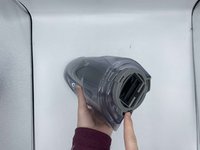
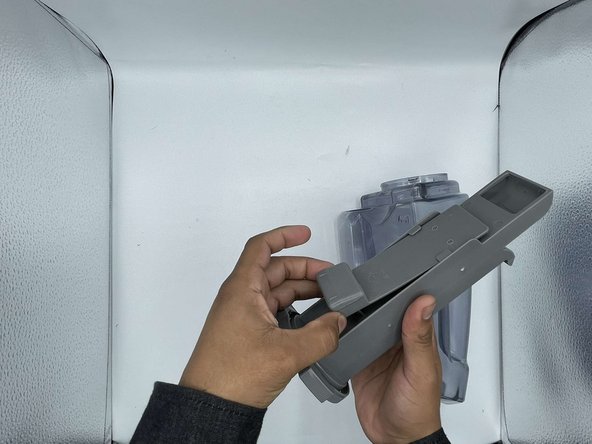
Rotate the bottom of the float stack counterclockwise until the float stack comes lose.
-
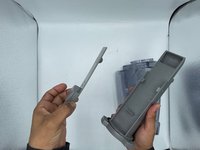
Remove the float stack from the tank.
-
-
-
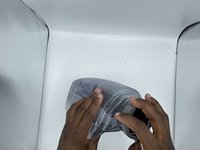
Grab the float on the float Stack assembly
-
Slide the float down towards the base.
-
Remove float and clean any debris found.
-


To reassemble your device, follow these instructions in reverse order.
Отменить: Я не выполнил это руководство.
2 человек успешно провели ремонт по этому руководству.

Команда

University of North Texas, Team 6-4, Kilpatrick Fall 2023 Участник University of North Texas, Team 6-4, Kilpatrick Fall 2023
UNT-KILPATRICK-F23S6G4
4 членов
Автор 5 руководств