Перейти к основному содержанию

Black and Decker DCM100R Heating Element Replacement

Выберете то, что вам нужно

  1. Black and Decker DCM100R Heating Element Replacement, Heating Element: шаг 1, изображение 1 из 2 Black and Decker DCM100R Heating Element Replacement, Heating Element: шаг 1, изображение 2 из 2
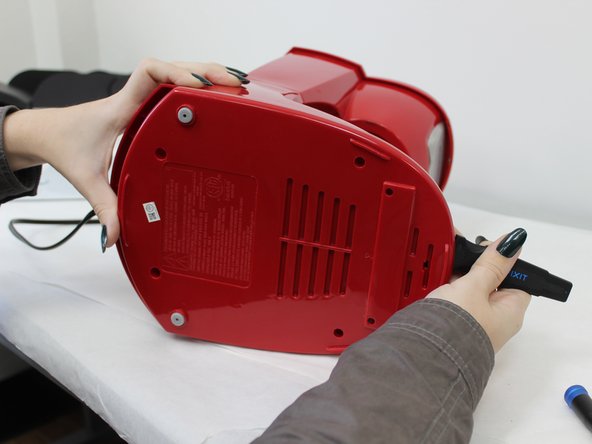
    • Turn the coffee maker on its side.

    • Remove the four 6 mm Phillips #2 that secure the baseplate.

  2. Black and Decker DCM100R Heating Element Replacement: шаг 2, изображение 1 из 3 Black and Decker DCM100R Heating Element Replacement: шаг 2, изображение 2 из 3 Black and Decker DCM100R Heating Element Replacement: шаг 2, изображение 3 из 3
    • Insert the jimmy at the back of the panel and slide it around to the front.

  3. Black and Decker DCM100R Heating Element Replacement: шаг 3, изображение 1 из 3 Black and Decker DCM100R Heating Element Replacement: шаг 3, изображение 2 из 3 Black and Decker DCM100R Heating Element Replacement: шаг 3, изображение 3 из 3
    • Apply pressure to the backside of the panel until it releases.

    • Remove the plate.

  4. Black and Decker DCM100R Heating Element Replacement: шаг 4, изображение 1 из 2 Black and Decker DCM100R Heating Element Replacement: шаг 4, изображение 2 из 2
    • Remove the two 10 mm Phillips #2 screws securing the metal support brace.

    • Remove the brace and set aside.

  5. Black and Decker DCM100R Heating Element Replacement: шаг 5, изображение 1 из 2 Black and Decker DCM100R Heating Element Replacement: шаг 5, изображение 2 из 2
    Инструмент, используемый на этом этапе:
    Tweezers
    $4.99
    Купить
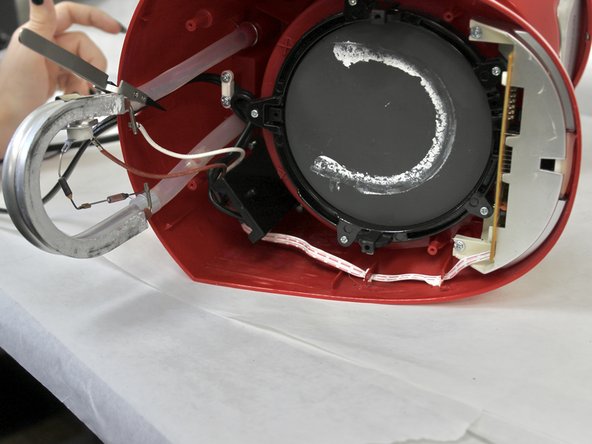
    • Pull back the tubing and wiring to reveal the hot plate.

    • To hold these out of your way, you can use the Nylon Tipped Tweezers to pin them back to the back panel.

  6. Black and Decker DCM100R Heating Element Replacement: шаг 6, изображение 1 из 2 Black and Decker DCM100R Heating Element Replacement: шаг 6, изображение 2 из 2
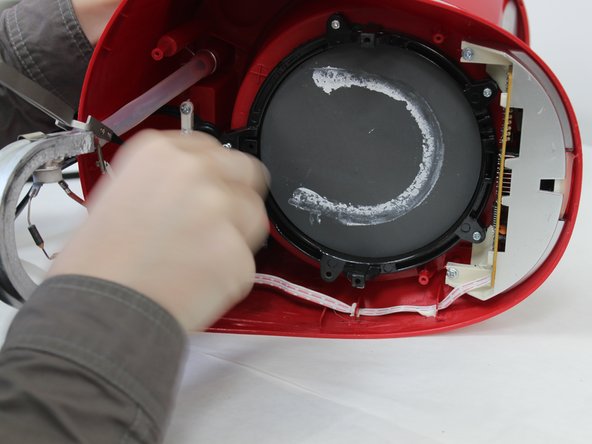
    • Use a Phillips #2 screwdriver to remove the five 8 mm screws that secure the mounting bracket and hot plate.

  7. Black and Decker DCM100R Heating Element Replacement: шаг 7, изображение 1 из 2 Black and Decker DCM100R Heating Element Replacement: шаг 7, изображение 2 из 2
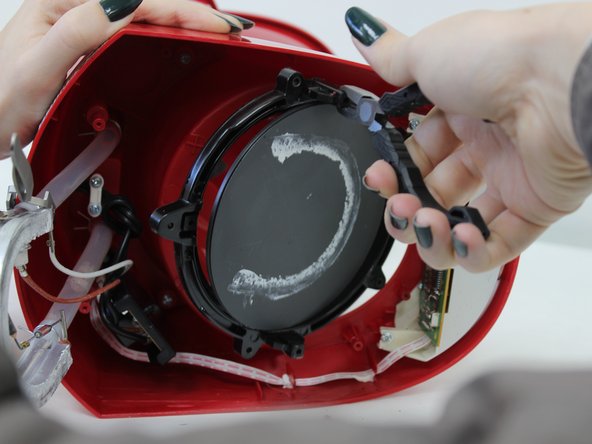
    • Use a pair of pliers to gently pull the mounting bracket out of place.

  8. Black and Decker DCM100R Heating Element Replacement: шаг 8, изображение 1 из 3 Black and Decker DCM100R Heating Element Replacement: шаг 8, изображение 2 из 3 Black and Decker DCM100R Heating Element Replacement: шаг 8, изображение 3 из 3
    • Remove the hot plate from the mounting bracket.

    • Remove the O-ring from the hot plate.

Заключение

To reassemble your device, follow these instructions in reverse order.

Ella Barbour

Участник с: 09/13/23

207 Репутация

1 руководство автора

Команда

University of North Texas, Team 6-6, Kilpatrick Fall 2023 Участник University of North Texas, Team 6-6, Kilpatrick Fall 2023

UNT-KILPATRICK-F23S6G6

4 членов

Автор 5 руководств

0 Комментариев

Добавить комментарий

Просмотр статистики:

За последние 24часов: 0

За последние 7 дней: 3

За последние 30 дней: 18

За всё время: 128