Перейти к основному содержанию

Black and Decker PHV1810 Hand Vac Charging Port Replacement

Выберете то, что вам нужно

  1. Black and Decker PHV1810 Hand Vac Charging Port Replacement, Nozzle, Filter, and Catch Bowl: шаг 1, изображение 1 из 2 Black and Decker PHV1810 Hand Vac Charging Port Replacement, Nozzle, Filter, and Catch Bowl: шаг 1, изображение 2 из 2
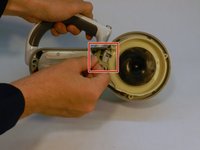
    • To take off the nozzle, filter, and catch bowl first start off by pushing in the button identified with a red square and twist that part of the device toward the handle portion of the vacuum and it should click and pop off the chassis.

  2. Black and Decker PHV1810 Hand Vac Charging Port Replacement: шаг 2, изображение 1 из 2 Black and Decker PHV1810 Hand Vac Charging Port Replacement: шаг 2, изображение 2 из 2
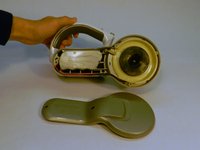
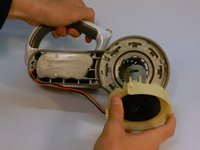
    • Once the nozzle, filter and dust bowl have been removed each part can be removed from the nozzle section of the device.

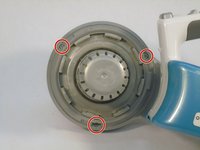
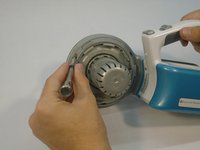
  3. Black and Decker PHV1810 Hand Vac Charging Port Replacement, Motor: шаг 3, изображение 1 из 2 Black and Decker PHV1810 Hand Vac Charging Port Replacement, Motor: шаг 3, изображение 2 из 2
    • Remove the three screws displayed in the image.

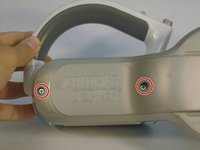
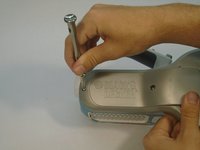
  4. Black and Decker PHV1810 Hand Vac Charging Port Replacement: шаг 4, изображение 1 из 2 Black and Decker PHV1810 Hand Vac Charging Port Replacement: шаг 4, изображение 2 из 2
    • Turn the vacuum around until you see the company logo. Once we are there remove the two screws on the vacuum.

  5. Black and Decker PHV1810 Hand Vac Charging Port Replacement: шаг 5, изображение 1 из 3 Black and Decker PHV1810 Hand Vac Charging Port Replacement: шаг 5, изображение 2 из 3 Black and Decker PHV1810 Hand Vac Charging Port Replacement: шаг 5, изображение 3 из 3
    • Once all screws are removed the casing of the vacuum can be removed.

    • Remove the L-shaped plastic hook.

    • Once the L shaped hook has been removed the motor will easily fall out of place.

  6. Black and Decker PHV1810 Hand Vac Charging Port Replacement: шаг 6, изображение 1 из 1
    • Disconnect any wires or components attached to the motor by gently unplugging them. Remove the motor by unscrewing or unclipping it from the casing

    • This will then allow for you to replace the motor.

  7. Black and Decker PHV1810 Hand Vac Charging Port Replacement, Battery: шаг 7, изображение 1 из 3 Black and Decker PHV1810 Hand Vac Charging Port Replacement, Battery: шаг 7, изображение 2 из 3 Black and Decker PHV1810 Hand Vac Charging Port Replacement, Battery: шаг 7, изображение 3 из 3
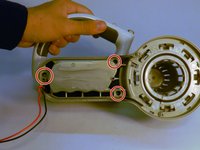
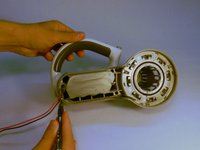
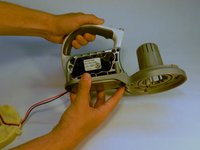
    • Remove the three screws highlighted with red circles.

  8. Black and Decker PHV1810 Hand Vac Charging Port Replacement: шаг 8, изображение 1 из 2 Black and Decker PHV1810 Hand Vac Charging Port Replacement: шаг 8, изображение 2 из 2
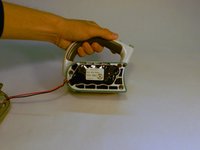
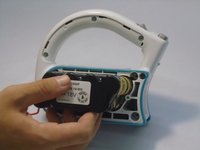
    • Remove the battery by pulling it out of the slot it sits in.

  9. Black and Decker PHV1810 Hand Vac Charging Port Replacement, Charging Port: шаг 9, изображение 1 из 3 Black and Decker PHV1810 Hand Vac Charging Port Replacement, Charging Port: шаг 9, изображение 2 из 3 Black and Decker PHV1810 Hand Vac Charging Port Replacement, Charging Port: шаг 9, изображение 3 из 3
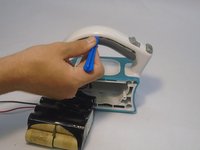
    • To get to the charging port you will need the plastic opening tool.

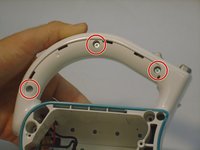
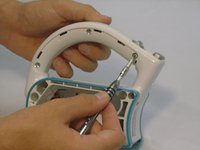
    • Remove the three screws on the handle of the vacuum.

  10. Black and Decker PHV1810 Hand Vac Charging Port Replacement: шаг 10, изображение 1 из 2 Black and Decker PHV1810 Hand Vac Charging Port Replacement: шаг 10, изображение 2 из 2
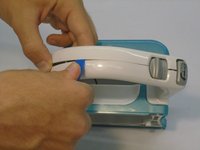
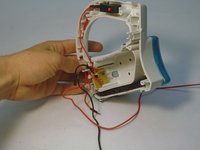
    • Use a plastic opening tool to separate the two pieces of plastic.

  11. Black and Decker PHV1810 Hand Vac Charging Port Replacement: шаг 11, изображение 1 из 1
    • Remove the plastic covering to the port.

    • Remove the wires to replace the charging port.

Заключение

To reassemble your device, follow these instructions in reverse order.

Nicholas marsoobian

Участник с: 09/24/18

486 Репутация

Автор 3 руководств

0Комментарии к руководству

Добавить комментарий

Статистика просмотров:

За последние 24 час(ов): 0

За последние 7 дней: 3

За последние 30 дней: 19

За всё время: 992