Перейти к основному содержанию

Этот документ имеет более свежие изменения. Перейти к последней непроверенной версии.

BlackBerry Curve 8310 Trackball Replacement

Выберете то, что вам нужно

  1. BlackBerry Curve 8310 Trackball Replacement, Battery: шаг 1, изображение 1 из 1
    • Press down on the battery release button and slide the back cover up with your thumb.

  2. BlackBerry Curve 8310 Trackball Replacement: шаг 2, изображение 1 из 1
    • Pry from the top of the battery to pull it out.

  3. BlackBerry Curve 8310 Trackball Replacement, Lens: шаг 3, изображение 1 из 1
    • Slide the metal sim card cover to the unlock position.

    • Remove the sim card.

    • The arrows on the sim card enclosure indicate the lock and unlock positions.

  4. BlackBerry Curve 8310 Trackball Replacement: шаг 4, изображение 1 из 1
    • Remove the two T5 Torx screws circled at the top of the phone.

    • The T5 Torx screws may be covered by a white sticker.

  5. BlackBerry Curve 8310 Trackball Replacement: шаг 5, изображение 1 из 1
    • Remove the red cover at the bottom of the phone.

    • You may have to work a spudger underneath to release the plastic clips.

  6. BlackBerry Curve 8310 Trackball Replacement: шаг 6, изображение 1 из 3 BlackBerry Curve 8310 Trackball Replacement: шаг 6, изображение 2 из 3 BlackBerry Curve 8310 Trackball Replacement: шаг 6, изображение 3 из 3
    • Be careful not to damage the front cover's plastic clips while trying to separate it from the phone.

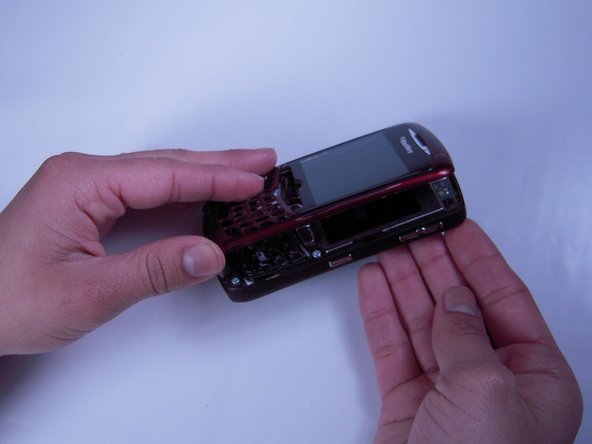
    • Use a spudger to pry the front cover away from the side panels.

    • Work the spudger around the entire phone until the front cover is free.

  7. BlackBerry Curve 8310 Trackball Replacement, Keyboard: шаг 7, изображение 1 из 1
    • Remove the keyboard.

  8. BlackBerry Curve 8310 Trackball Replacement, Trackball: шаг 8, изображение 1 из 1
    • Use a spudger to pry off the plastic ring surrounding the trackball.

  9. BlackBerry Curve 8310 Trackball Replacement: шаг 9, изображение 1 из 2 BlackBerry Curve 8310 Trackball Replacement: шаг 9, изображение 2 из 2
    • Remove the trackball from the phone.

Заключение

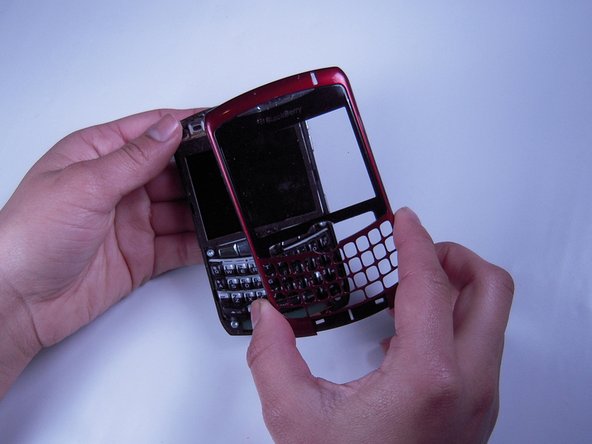
To reassemble your device, follow these instructions in reverse order.

Еще один человек закончил это руководство.

Sean Willis

Участник с: 01/26/12

229 Репутация

Автор 5 руководств

Команда

Cal Poly, Team 10-32, Amido Winter 2012 Участник Cal Poly, Team 10-32, Amido Winter 2012

CPSU-AMIDO-W12S10G32

4 членов

Автор 8 руководств

0 Комментариев

Добавить комментарий

Просмотр статистики:

За последние 24часов: 3

За последние 7 дней: 8

За последние 30 дней: 11

За всё время: 3,781