Перейти к основному содержанию

BlackBerry Torch 9860 Handset Disassembly

Выберете то, что вам нужно

  1. BlackBerry Torch 9860 Handset Disassembly, BlackBerry Torch 9860: шаг 1, изображение 1 из 2 BlackBerry Torch 9860 Handset Disassembly, BlackBerry Torch 9860: шаг 1, изображение 2 из 2
    • Depress the battery cover release button and remove the battery cover

    • Remove the battery from the phone before continuing.

    • Slide the yellow button toward the battery to eject the SIM card

    • Remove the MicroSD card from the SD slot (if present)

  2. BlackBerry Torch 9860 Handset Disassembly: шаг 2, изображение 1 из 2 BlackBerry Torch 9860 Handset Disassembly: шаг 2, изображение 2 из 2
    • There will be a silver bezel around the edge (the dog ate mine!)

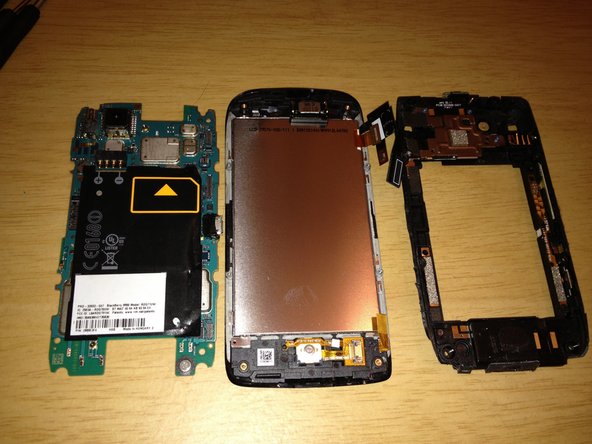
    • Insert pry tool near the padlock icon and gently work your way around the bezel to pry it off and reveal the screws.

  3. BlackBerry Torch 9860 Handset Disassembly: шаг 3, изображение 1 из 2 BlackBerry Torch 9860 Handset Disassembly: шаг 3, изображение 2 из 2
    • Grab your T5 Torx screwdriver, and remove all 8 screws

    • Be careful when taking out screws. The silver ones go in the corners, black ones in the middle

  4. BlackBerry Torch 9860 Handset Disassembly: шаг 4, изображение 1 из 2 BlackBerry Torch 9860 Handset Disassembly: шаг 4, изображение 2 из 2
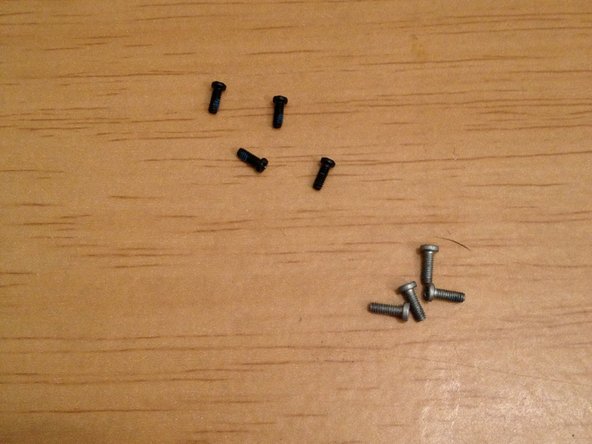
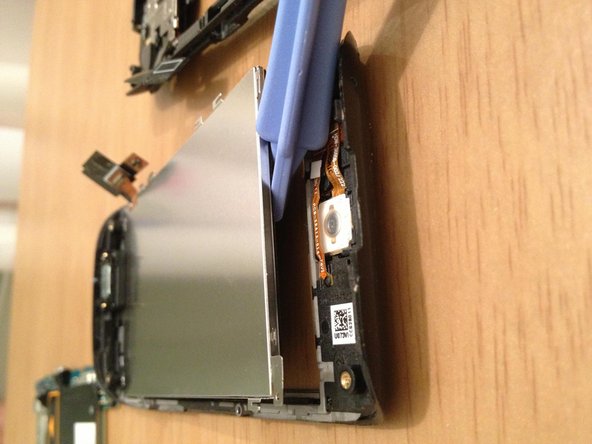
    • With the 8 screws removed, you can gently pry the back cover off. Be gentle, as it is still connected by a ribbon cable

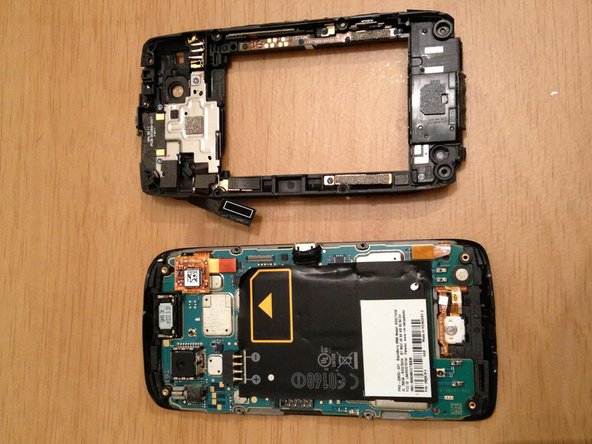
    • Gently pry ribbon cable off, and then you will have the back cover fully removed

  5. BlackBerry Torch 9860 Handset Disassembly: шаг 5, изображение 1 из 3 BlackBerry Torch 9860 Handset Disassembly: шаг 5, изображение 2 из 3 BlackBerry Torch 9860 Handset Disassembly: шаг 5, изображение 3 из 3
    • The next step is to remove the board.

    • There are 3 ribbon cables connected to it

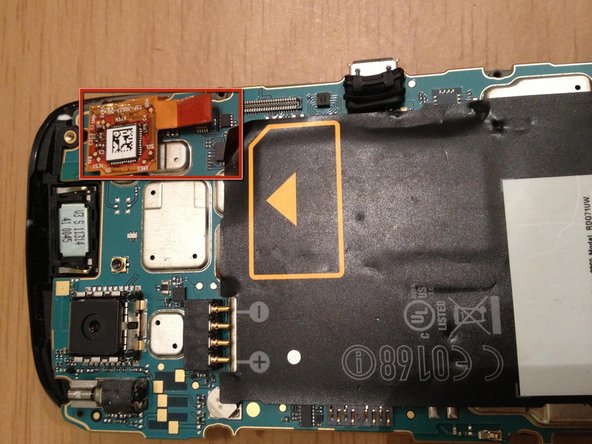
    • Disconnect the first ribbon cable

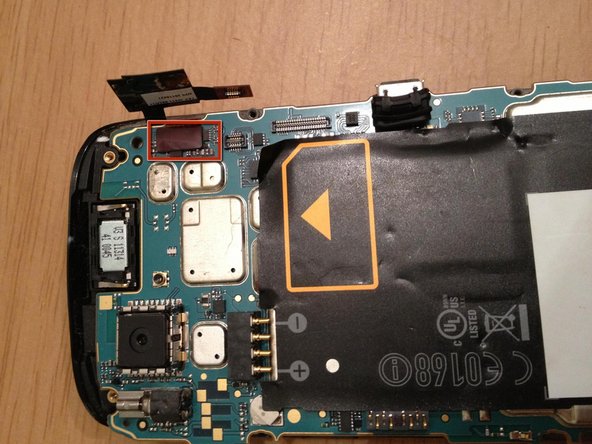
    • When you remove the second ribbon cable it will reveal the third ribbon cable

  6. BlackBerry Torch 9860 Handset Disassembly: шаг 6, изображение 1 из 3 BlackBerry Torch 9860 Handset Disassembly: шаг 6, изображение 2 из 3 BlackBerry Torch 9860 Handset Disassembly: шаг 6, изображение 3 из 3
    • With the 3 ribbon cables disconnected you can gently pry the board up and away from phone

    • With the board removed, you can then simply lift out the LCD display

  7. BlackBerry Torch 9860 Handset Disassembly: шаг 7, изображение 1 из 1
    • Once the LCD is removed, the handset disassembled.

Заключение

To reassemble your device, follow these instructions in reverse order.

7 участников успешно повторили данное руководство.

daniel

Участник с: 12/22/11

380 Репутация

Автор 2 руководств

0 Комментариев

Добавить комментарий

Просмотр статистики:

За последние 24часов: 1

За последние 7 дней: 3

За последние 30 дней: 7

За всё время: 7,059