Введение
Follow this guide to replace the motherboard on your BLU Grand M. If your phone has been submerged in water and fails to turn on, the motherboard may be damaged and will need to be replaced. If your phone fails to charge, even after replacing the battery, replacing the motherboard may also help. Be sure to power off your phone prior to beginning the project.
Выберете то, что вам нужно
-
-
Using a Phillips #000 screwdriver, remove the 3mm screws. Be sure to do this for the top and bottom of the phone.
-
-
-
Remove SIM card tray with paperclip or SIM card tray removal tool.
-
Push down on the phone beside the camera and up on the backplate with your thumbs to remove the back plate. Remove adhesive if necessary.
-
-
-
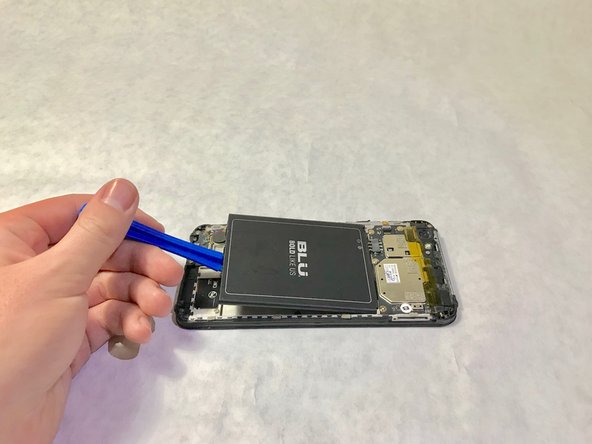
Place the plastic opening tool in the highlighted indent, and push up on the battery to remove it.
-
-
-
-
Use a Phillips #000 screwdriver to remove two black 4.0mm screws.
-
Use a Phillips #000 screwdriver to remove 2 silver 4.0mm screws
-
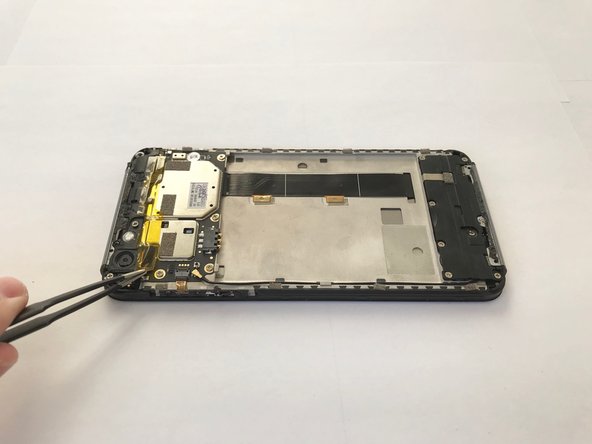
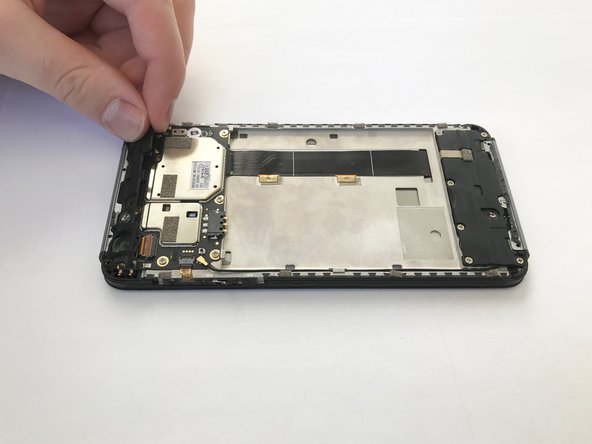
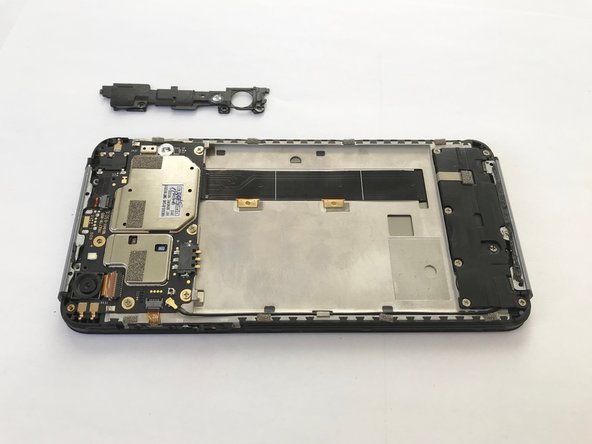
Remove the plastic cover along the top by tugging on it on the corner as shown.
-
-
-
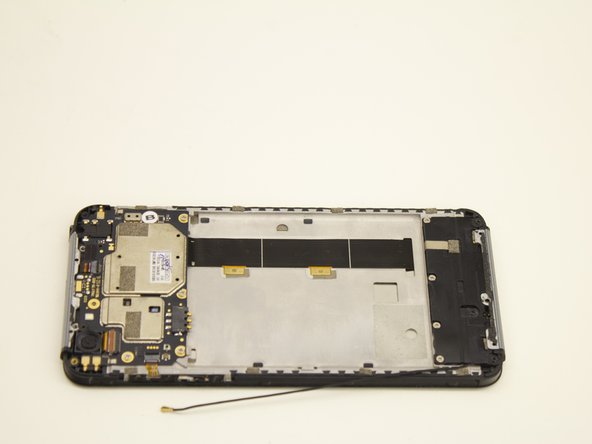
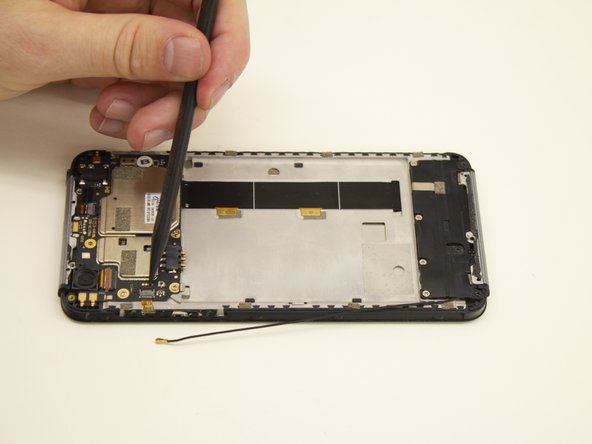
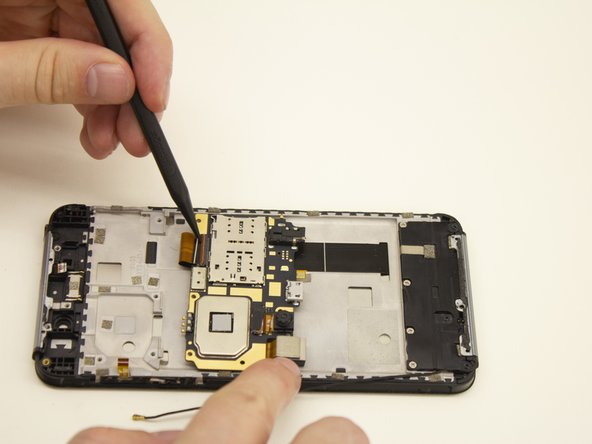
Place a spudger or other tool underneath the black wire.
-
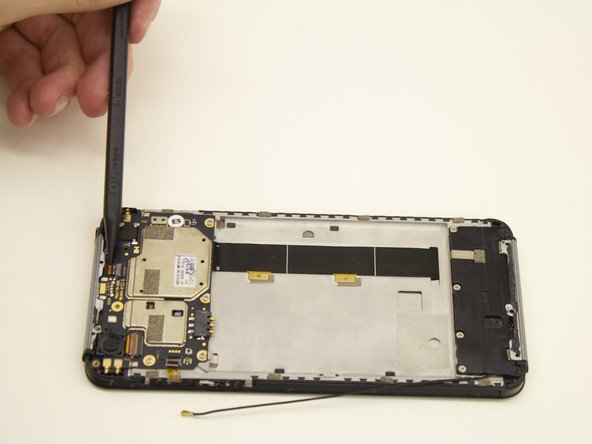
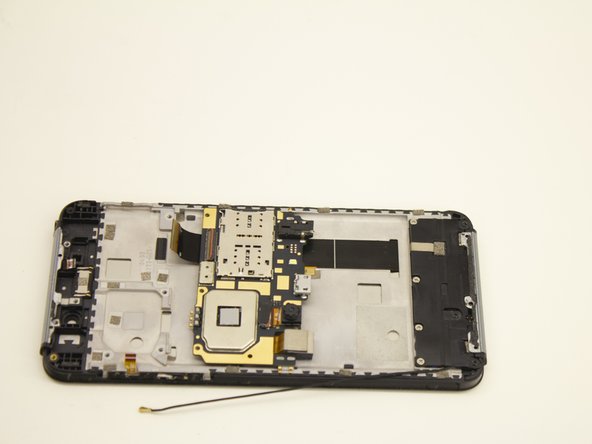
Lift up on the gold coaxial cable connector so it disconnects from the motherboard.
-
-
-
Using the the narrow tip of a nylon spudger, open the two cable connector ports.
-
-
-
Insert the spudger underneath the ribbon cable.
-
Pull the ribbon cable away from the gray connector.
-
-
-
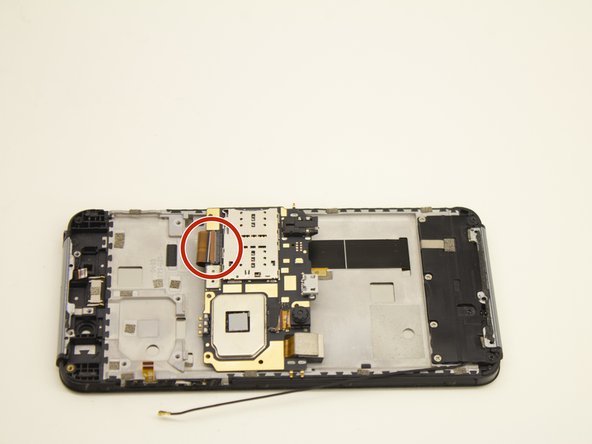
Lift the motherboard up and slightly away from the smartphone frame using the nylon tipped tweezers or other ESD safe tool.
-
Flip the motherboard upside down to reveal the ribbon cable connector.
-
-
-
Insert the spudger into the folded ribbon cable loop.
-
Pull the ribbon cable away from the black plastic connector.
-
-
-
Remove the motherboard with the nylon tweezers.
-
Place the motherboard on an electrostatic discharge (ESD) safe material.
-


To reassemble your, follow these instructions in reverse order.
Note: The ribbon clamp connector, also known as a Zero Insertion Force (ZIF) connector, might be difficult to reinsert. Follow the reinstallation step at the end of this guide: Recognizing & Disconnecting Cable Connectors.
To reassemble your, follow these instructions in reverse order.
Note: The ribbon clamp connector, also known as a Zero Insertion Force (ZIF) connector, might be difficult to reinsert. Follow the reinstallation step at the end of this guide: Recognizing & Disconnecting Cable Connectors.

Команда

Idaho State University, Team S1-G2, Watkins Fall 2019 Участник Idaho State University, Team S1-G2, Watkins Fall 2019
ISU-WATKINS-F19S1G2
4 членов
Автор 2 руководств