Введение
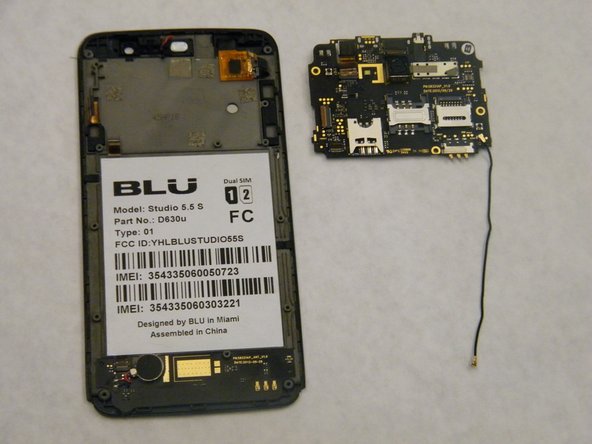
Occasionally, the phone may be subject to serious hardware issues with the motherboard being the primary cause. This guide describes how to disassemble the phone to allow the user to either repair or replace the phone's motherboard.
Выберете то, что вам нужно
-
-
In order to remove the back case, start by flipping the phone to the back side and look at it from the top.
-
-
-
Place your finger in the small notch on the left side of the charging port (facing from the back).
-
Once your finger is in the notch, pull the back case towards yourself to remove it.
-
-
-
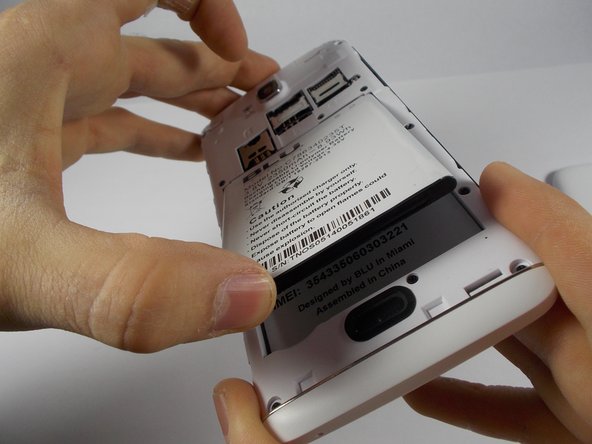
Once the back case is removed, locate the battery. It is the large brick embedded in the phone. It has BLU Products, a caution statement, and a barcode on it.
-
Insert your finger into the notch near the lower left of the battery, apply pressure and lift up.
-
-
-
-
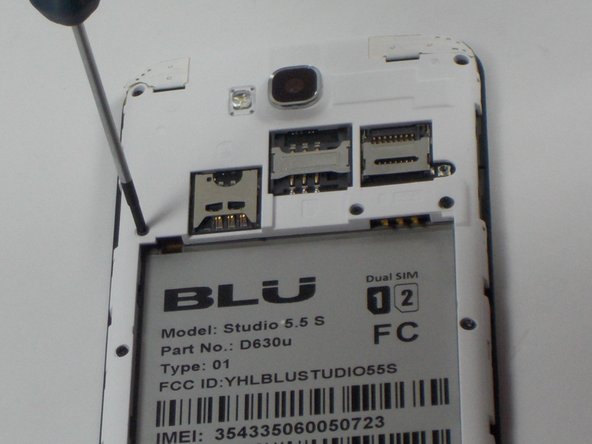
The speaker is located behind the inner back case. Using a Phillips #0 screwdriver, unscrew the 10, 7mm screws.
-
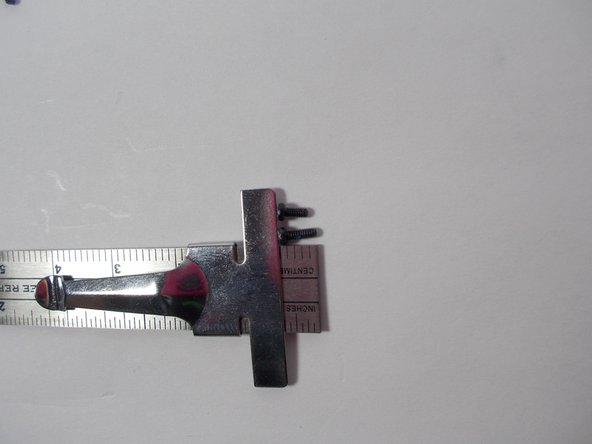
Using the Phillips #00 screwdriver, unscrew the two, 10mm screws at the bottom.
-
-
-
Apply pressure and pop off the bottom aesthetic case, being careful not to break it.
-
-
-
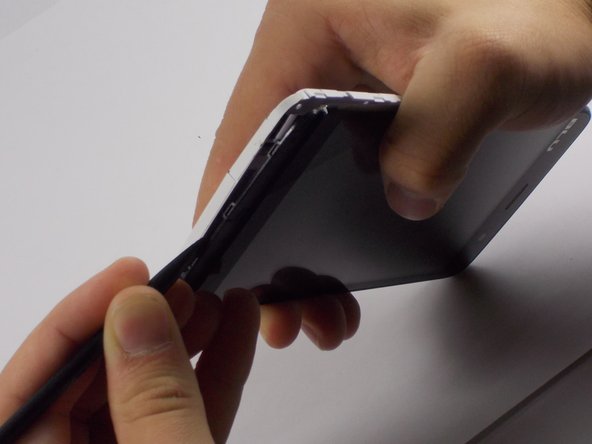
Use the Spudger to pop the inner back casing off. Do this by lightly raising the side of the battery housing, then sliding the Spudger around the case.
-
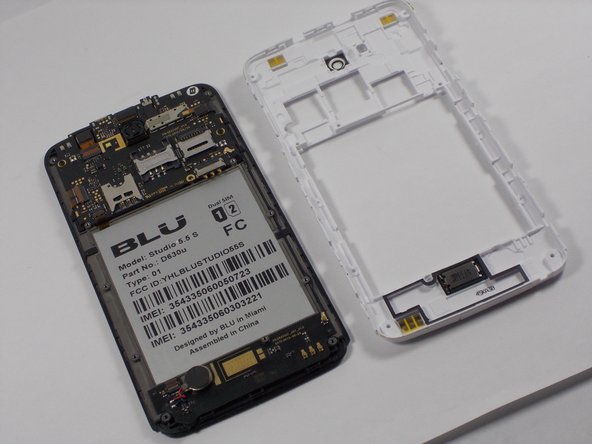
Pick up the inner back case and flip it over.
-
-
-
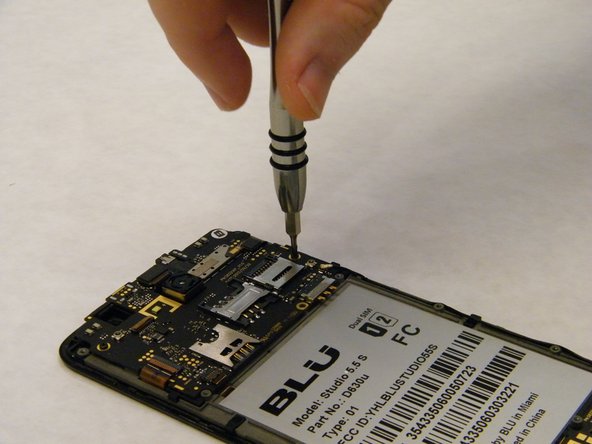
Remove the three 7 mm screws using the Phillips #00 Screwdiver.
-
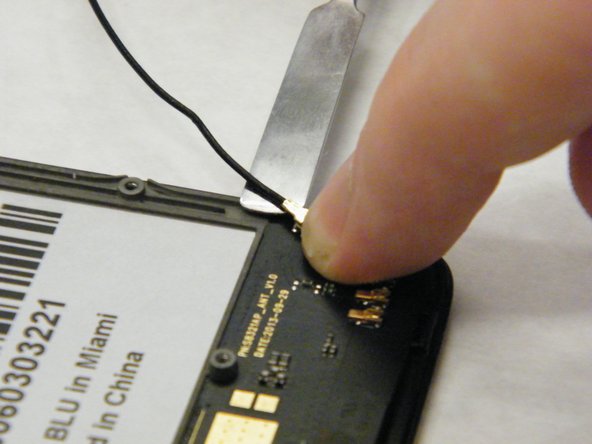
Disconnect motherboard plug connector near bottom right of battery using fingers to pull off the cap plug.
-
-
-
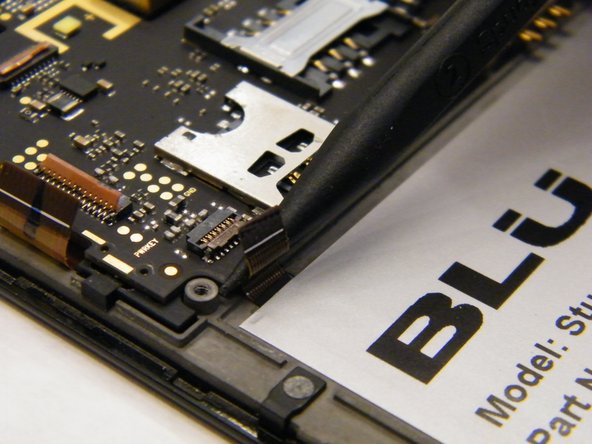
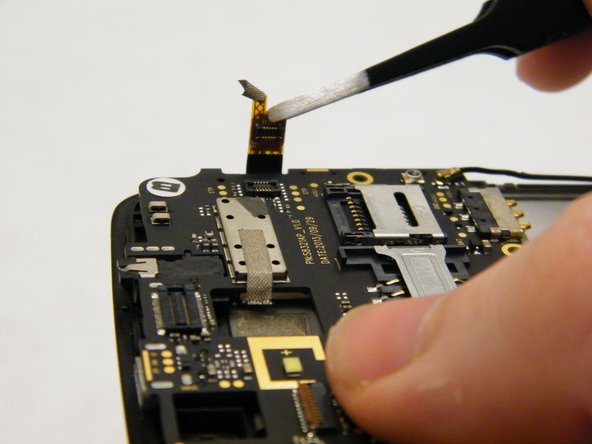
Use the nylon spudger to lift the release tabs by carefully grabbing the tabs from the sides and lifting up.
-
Release the four ribbon wires from the motherboard.
-
After the final step has been completed, the replacement motherboard can then be put in place of the old one. To reassemble your device, follow these instructions in reverse order.
After the final step has been completed, the replacement motherboard can then be put in place of the old one. To reassemble your device, follow these instructions in reverse order.
Отменить: Я не выполнил это руководство.
2 участников успешно повторили данное руководство.


