Введение
The button covers for the Bose Soundlink II require substantial disassembly of the device. The button cover is difficult to remove and easy to break. Be careful!
Выберете то, что вам нужно
-
-
Using a 2.5 mm hex wrench, remove the two 13 mm screws from the bottom of the speaker.
-
-
-
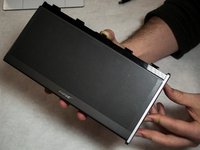
Push up on the back of the cover until it slides up slightly.
-
Pull the cover up and away from the speaker backing.
-
-
-
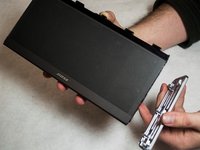
Remove the black electrical tape in order to reveal the screws attaching the side cover to the main body of the speaker. These screws are on the base of the device.
-
-
-
-
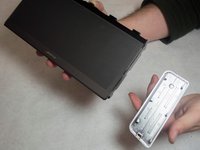
Using the T-10 star tip screwdriver, remove the two 13 mm screws located on the bottom of the speaker on each side of the battery pack.
-
-
-
Slide the silver side cover down toward the base of the speaker. The silver cover will come off easily.
-
-
-
Once the Bose Soundlink II Side Covers Removal has been completed, remove the two screws (13 mm) an inch below the buttons on the back of the speaker using the T-10 star tip screwdriver.
-
-
-
Using a tool such as a spudger or plastic opening tool, insert the end into one of the small indentations located on the back of the speaker. Start either on the indentation farthest to the right or to the left.
-
Pry up with the spudger or plastic opening tool so that the cover is pushed up slightly.
-
-
-
Repeat this process with each of the indentations, working your way left or right (depending on where you start).
-
-
-
Pull the cover around the buttons off. If you’d like, you can remove the button cover as well.
-


To reassemble your device, follow these instructions in reverse order.
Отменить: Я не выполнил это руководство.
2 человек успешно провели ремонт по этому руководству.
Команда

IUPUI, Team S3-G3, Harley Spring 2017 Участник IUPUI, Team S3-G3, Harley Spring 2017
IUPUI-HARLEY-S17S3G3
4 членов
Автор 3 руководств