Введение
Screens often fail or stop displaying properly. Use this guide to remove and replace the screen assembly.
Выберете то, что вам нужно
-
-
-
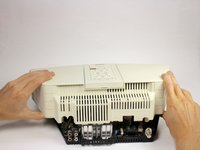
Wedge the spudger between the top and front panel on the right side of the device.
-
Push down on the spudger, lifting the front panel away from the top panel until it pops out of the right side.
-
Repeat for the left side of the device.
-
-
-
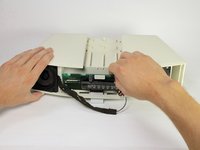
Once the panel is released on the left side, wedge the spudger between the top panel and front grill of the device as shown.
-
Apply pressure and move the spudger upward until the front grill pops out.
-
Repeat for the right side of the device.
-
-
-
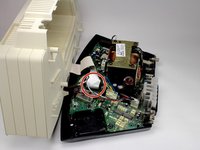
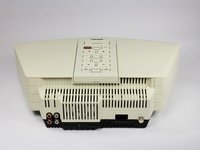
Turn the device around.
-
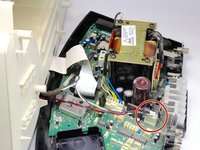
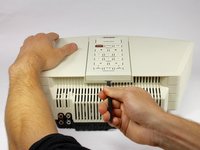
Wedge the spudger into the larger part of the gap under the back of the device.
-
-
-
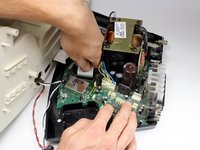
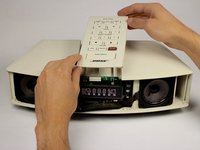
Move the spudger up until the button panel is loose.
-
Push forward on the back of the button panel to disconnect the panel from the top of the device.
-
-
-
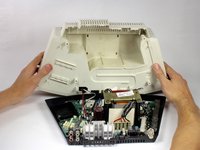
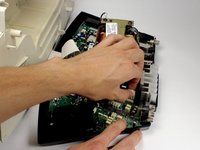
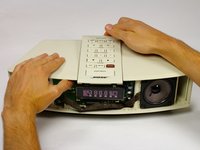
Turn the device around.
-
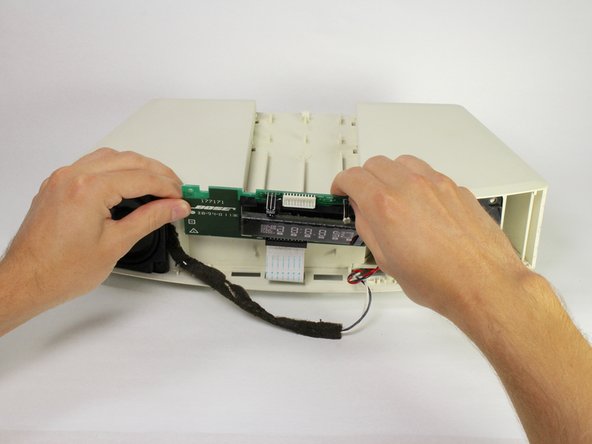
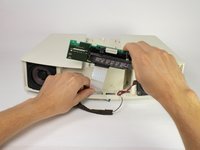
Pull the button panel forward with one hand and push the screen assembly into the device with the other to disconnect the button panel.
-
-
-
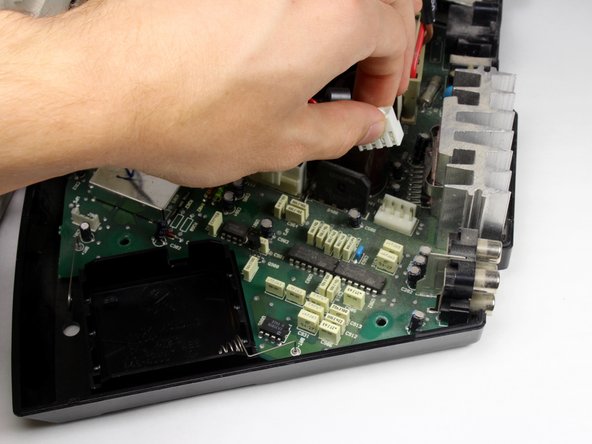
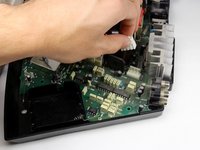
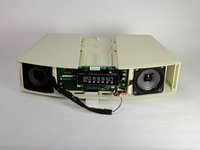
Lift the screen assembly upward and pull the white wire strip out of the device.
-


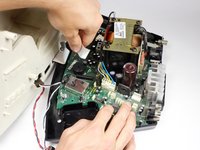


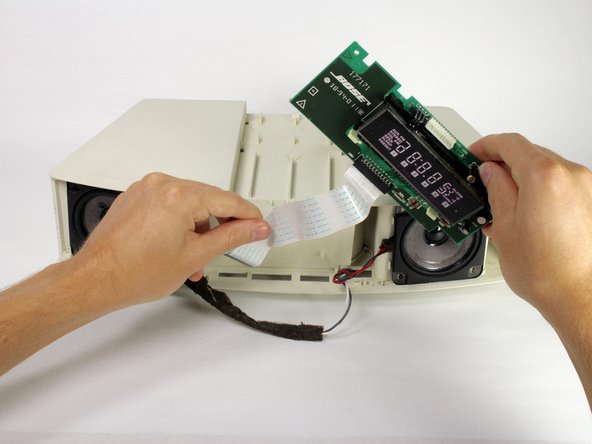

To reassemble your device, follow these instructions in reverse order.
Отменить: Я не выполнил это руководство.
4 человек успешно провели ремонт по этому руководству.
Команда

Cal Poly, Team S15-G2, Banghart Spring 2017 Участник Cal Poly, Team S15-G2, Banghart Spring 2017
CPSU-BANGHART-S17S15G2
4 членов
Автор 6 руководств
5 Комментарии к руководству
Nicely done. Love the details. Just one question - where can I get the replacement screen?
Instructions were PERFECT! Thank you. I found my replacement screen on ebay for $25, took a chance that it would work as stated by the seller. Otherwise I would have thrown the radio away.
How to purchase White wire strip