Введение
This step-by-step guide will walk you through the process of replacing the printer ink cartridges in your Brother MFC-9130CW printer. Over time, printers will run out of ink, affecting their performance. By following this guide, you can navigate through the steps of efficient ink cartridge replacement, ensuring a smooth printing experience.
Before starting the process, remember to press the power button to turn off the printer. It's essential to handle the printer components with care.
Выберете то, что вам нужно
-
-
Press the power button on the printer for a couple of seconds to turn it off.
-
-
-
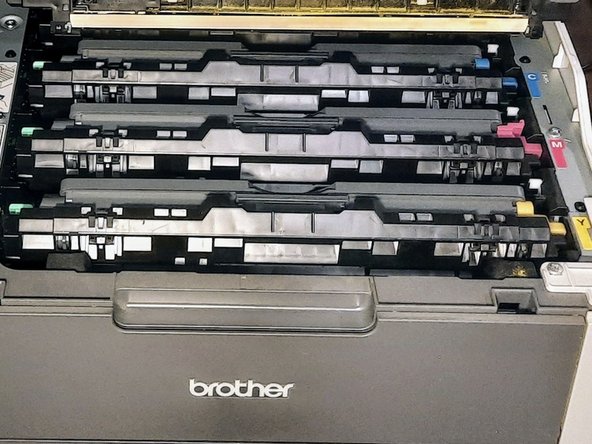
Press the latch beneath the paper output area and lift it to access the ink compartment.
-
-
-
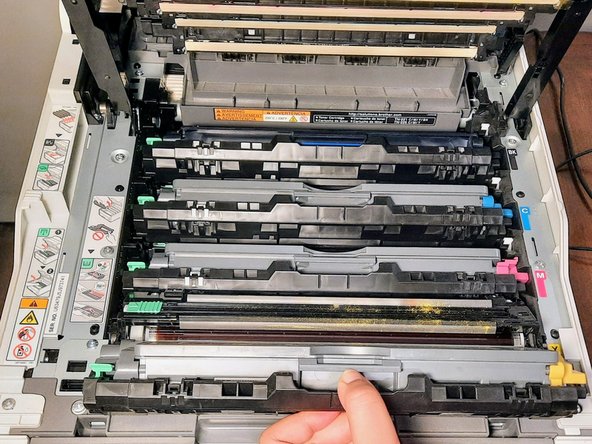
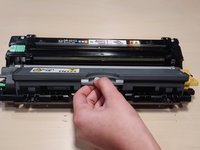
Identify the specific ink color you wish to replace among the available cartridges in the ink compartment.
-
-
-
-
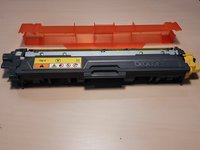
Place the new ink cartridge on a clean surface.
-
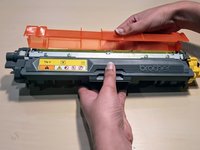
Release the orange cover, as shown on the photo.
-
-
-
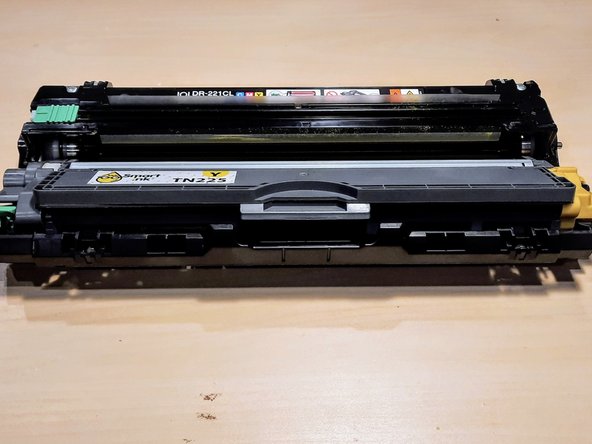
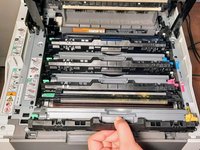
Place the cartridge in the tray.
-
Gently press down on the ink tray with your thumb.
-
-
-
Slide the ink tray back into its original position within the printer.
-
Once the ink tray is secured, press the ink compartment latch with your thumb, and gently close the lid.
-
-
-
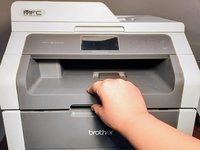
Press the power button for a couple of seconds to turn the printer back on.
-
Print a couple of test copies to ensure the toner cartridge replacement was a success.
-


To reassemble your device, follow these instructions in the given order.
To reassemble your device, follow these instructions in the given order.
Отменить: Я не выполнил это руководство.
Еще один человек закончил это руководство.

Команду

York University, Team 2-28, O'Regan Winter 2024 Участник York University, Team 2-28, O'Regan Winter 2024
YORK-O'REGAN-W24S2G28
1 член
Автор 2 руководств