Перейти к основному содержанию

Canary CAN100USBK Infrared LED Board Replacement

Выберете то, что вам нужно

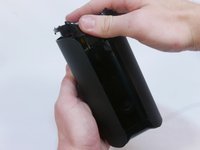
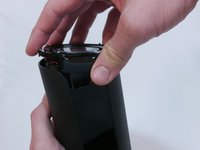
  1. Canary CAN100USBK Infrared LED Board Replacement, Bottom Casing: шаг 1, изображение 1 из 2 Canary CAN100USBK Infrared LED Board Replacement, Bottom Casing: шаг 1, изображение 2 из 2
    • Grip the rubber ring with your fingers and pull up.

    • Rotate the Canary as you pull out one tab at a time.

  2. Canary CAN100USBK Infrared LED Board Replacement: шаг 2, изображение 1 из 1
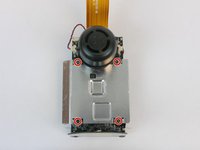
    • Use your Phillips #0 screwdriver to remove the four 6mm screws.

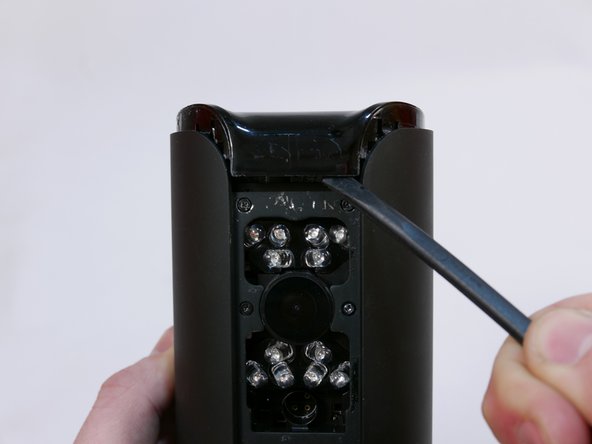
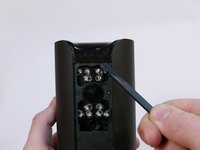
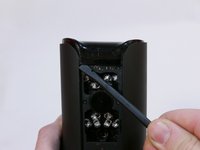
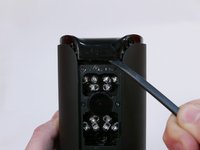
  3. Canary CAN100USBK Infrared LED Board Replacement: шаг 3, изображение 1 из 3 Canary CAN100USBK Infrared LED Board Replacement: шаг 3, изображение 2 из 3 Canary CAN100USBK Infrared LED Board Replacement: шаг 3, изображение 3 из 3
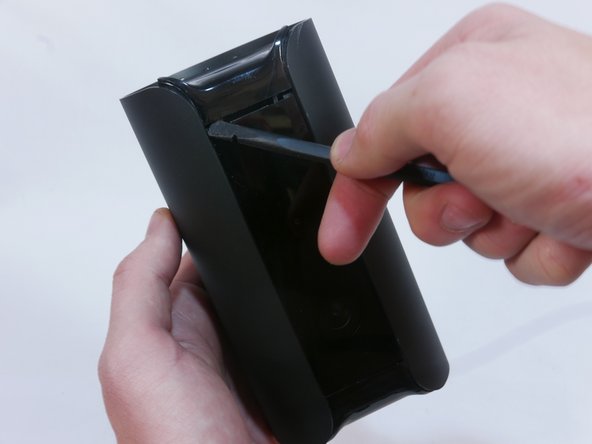
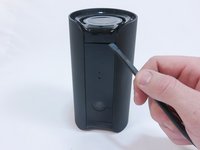
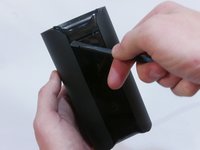
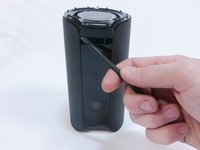
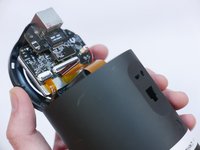
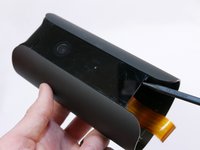
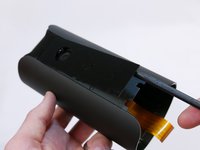
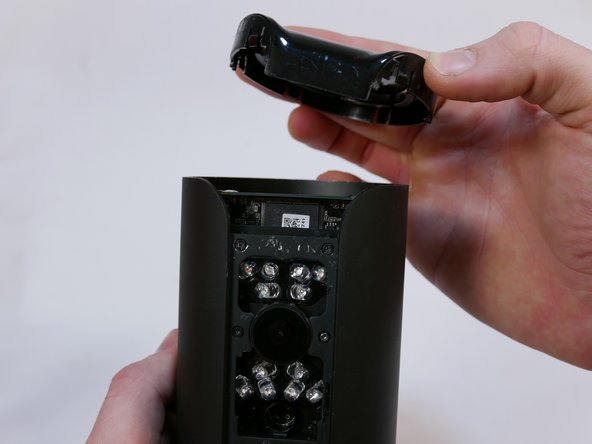
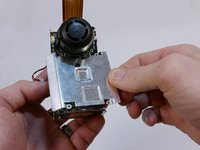
    • Use the flat end of the spudger to carefully pry off the bottom casing.

    • Alternate pushing up on the left and right sides until the clips holding the case in are visible.

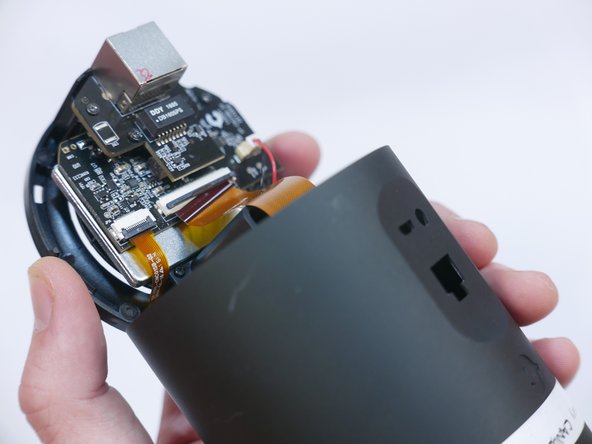
  4. Canary CAN100USBK Infrared LED Board Replacement: шаг 4, изображение 1 из 2 Canary CAN100USBK Infrared LED Board Replacement: шаг 4, изображение 2 из 2
    • Do not yank the bottom off or you may damage the ribbon cable or the ZIF connector.

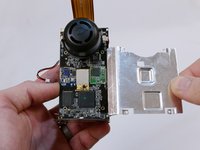
    • Carefully remove the bottom casing by gripping it on both sides and pulling straight up.

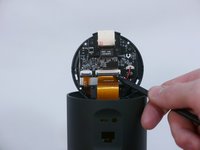
  5. Canary CAN100USBK Infrared LED Board Replacement: шаг 5, изображение 1 из 2 Canary CAN100USBK Infrared LED Board Replacement: шаг 5, изображение 2 из 2
    • Use the pointed end of the spudger to flip up the small retaining flap on the ZIF (zero insertion force) connector.

    • Pull the ribbon cable out towards the device.

  6. Canary CAN100USBK Infrared LED Board Replacement, Front Panel: шаг 6, изображение 1 из 2 Canary CAN100USBK Infrared LED Board Replacement, Front Panel: шаг 6, изображение 2 из 2
    • There are two empty nooks underneath the bottom of the panel close to each side of the case.

    • Place the pointed edge of the spudger in one of the nooks under the panel and pry upwards.

  7. Canary CAN100USBK Infrared LED Board Replacement: шаг 7, изображение 1 из 1
    • Adhesive will have to be reapplied after removing the panel.

    • Pull the panel away from the device.

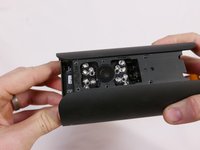
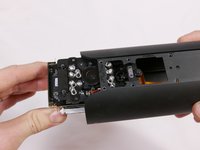
  8. Canary CAN100USBK Infrared LED Board Replacement, Top Casing: шаг 8, изображение 1 из 3 Canary CAN100USBK Infrared LED Board Replacement, Top Casing: шаг 8, изображение 2 из 3 Canary CAN100USBK Infrared LED Board Replacement, Top Casing: шаг 8, изображение 3 из 3
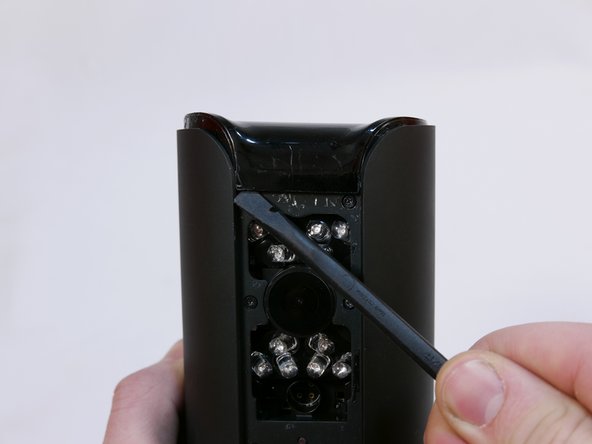
    • Use the flat end of the spudger to carefully pry off the top casing.

    • Alternate pushing up on the left and right sides until the inner clips are released.

    • Do not use too much force or the top may fly off unexpectedly.

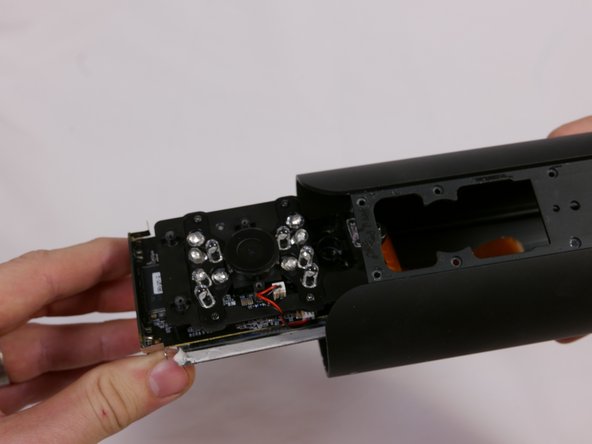
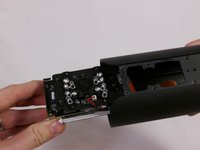
  9. Canary CAN100USBK Infrared LED Board Replacement: шаг 9, изображение 1 из 2 Canary CAN100USBK Infrared LED Board Replacement: шаг 9, изображение 2 из 2
    • Pull the top casing away from the device.

  10. Canary CAN100USBK Infrared LED Board Replacement: шаг 10, изображение 1 из 1
    • Use your Phillips #0 screwdriver to remove the two 5mm screws.

  11. Canary CAN100USBK Infrared LED Board Replacement, Infrared LED Board: шаг 11, изображение 1 из 1
    • Using a Phillips #0 screwdriver, remove the six 6mm screws.

    • The seventh screw in the bottom middle is not connected to the motherboard and does not need to be removed.

    • As you remove the screws, hold on to the motherboard to prevent it from falling and sustaining damage.

  12. Canary CAN100USBK Infrared LED Board Replacement: шаг 12, изображение 1 из 3 Canary CAN100USBK Infrared LED Board Replacement: шаг 12, изображение 2 из 3 Canary CAN100USBK Infrared LED Board Replacement: шаг 12, изображение 3 из 3
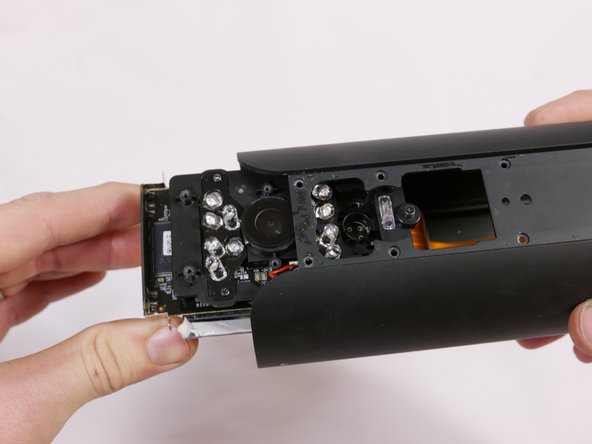
    • Grip the circular part of the motherboard and pull it straight out of the device.

  13. Canary CAN100USBK Infrared LED Board Replacement: шаг 13, изображение 1 из 2 Canary CAN100USBK Infrared LED Board Replacement: шаг 13, изображение 2 из 2
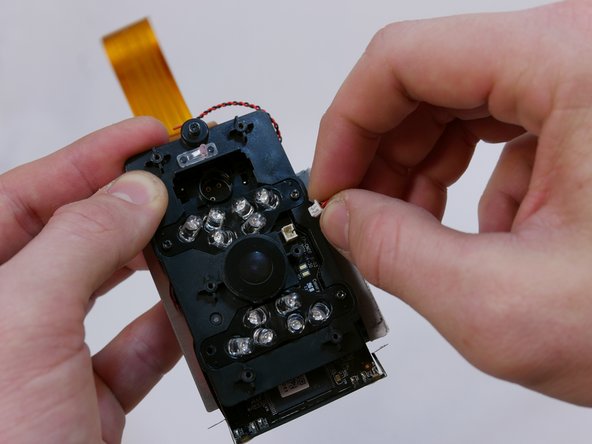
    • Do not pull on the wires themselves as they are fragile and may break from the connector.

    • Locate the power connector next to the lens protector on the infrared LED board. Using your fingers, wiggle the power connector back and forth until it is loose.

  14. Canary CAN100USBK Infrared LED Board Replacement: шаг 14, изображение 1 из 2 Canary CAN100USBK Infrared LED Board Replacement: шаг 14, изображение 2 из 2
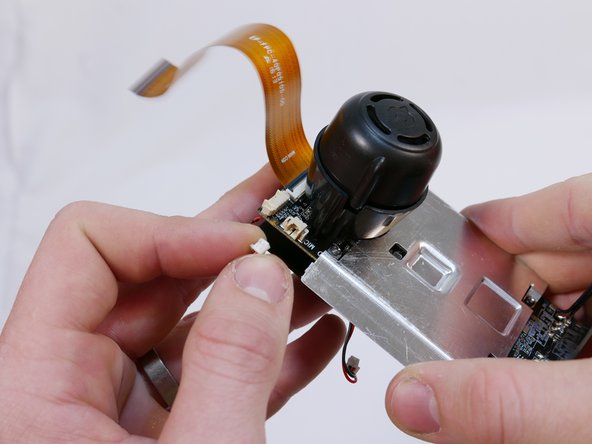
    • Find the power connector next to the buzzer that is labelled "MIC IR-LED". Use your fingers to wiggle it back and forth until it becomes loose.

  15. Canary CAN100USBK Infrared LED Board Replacement: шаг 15, изображение 1 из 3 Canary CAN100USBK Infrared LED Board Replacement: шаг 15, изображение 2 из 3 Canary CAN100USBK Infrared LED Board Replacement: шаг 15, изображение 3 из 3
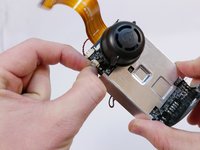
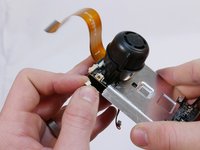
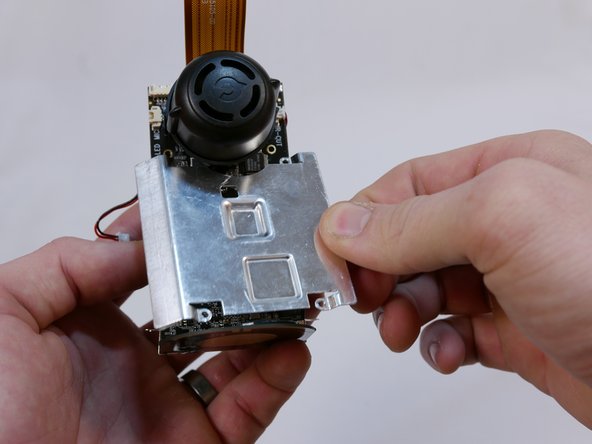
    • Remove the four Phillips #0 6mm screws.

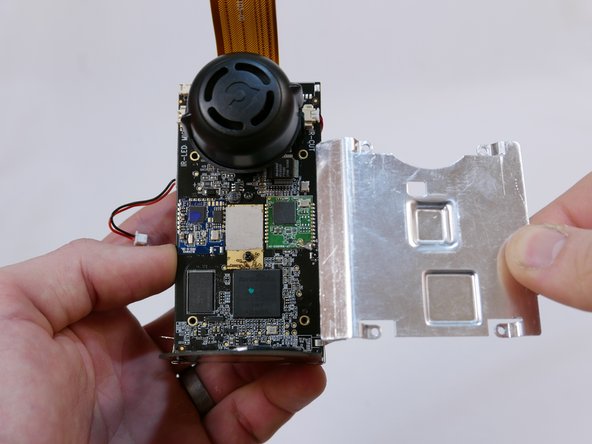
    • Lift the heatsink up and pull it away from the motherboard.

    • These screws also hold the infrared LED board in. Be sure to hold it while you remove the heatsink screws.

  16. Canary CAN100USBK Infrared LED Board Replacement: шаг 16, изображение 1 из 3 Canary CAN100USBK Infrared LED Board Replacement: шаг 16, изображение 2 из 3 Canary CAN100USBK Infrared LED Board Replacement: шаг 16, изображение 3 из 3
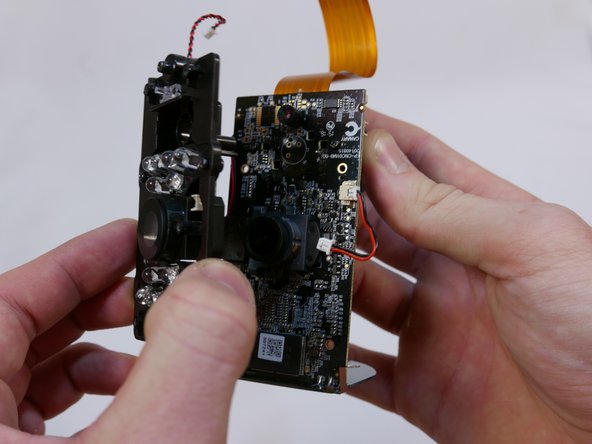
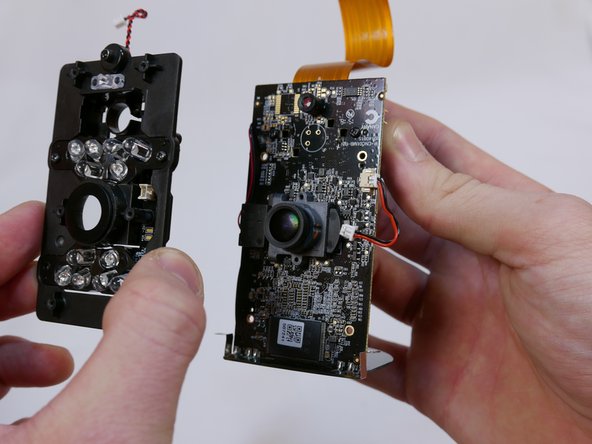
    • Lift the infrared LED board directly upwards and pull away from the motherboard.

Заключение

To reassemble your device, follow these instructions in reverse order.

Еще один человек закончил это руководство.

Tommy Nguyen

Участник с: 02/28/17

597 Репутация

Автор 5 руководств

Команда

USF Tampa, Team S1-G2, Nance Spring 2017 Участник USF Tampa, Team S1-G2, Nance Spring 2017

USFT-NANCE-S17S1G2

4 членов

Автор 16 руководств

0 Комментариев

Добавить комментарий

Просмотр статистики:

За последние 24часов: 1

За последние 7 дней: 4

За последние 30 дней: 13

За всё время: 419