Введение
This replacement is not easy and takes a considerable amount of time. This guide will show you how to safely remove the ink head from your printer.
Выберете то, что вам нужно
-
-
There are a few tabs on the top of the panel that hook down and into the black side panel. Insert the tool in-between the black panel and the blue panel as shown and pull the two pieces apart.
-
-
-
Unhook the lid support by sliding the hook down and to the left. Make sure the support is fully disconnected before proceeding.
-
-
-
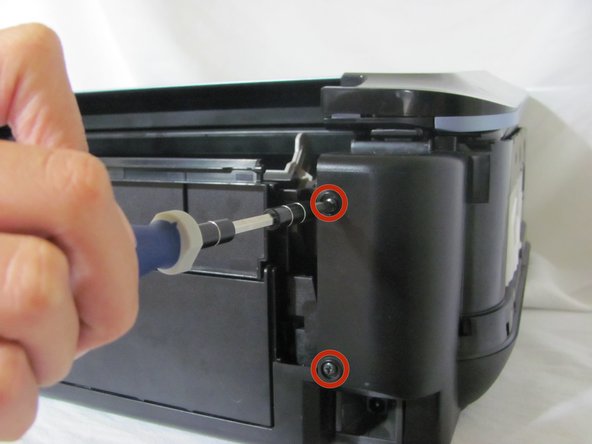
Remove the four black screws on the back panels from both the left and right side.
-
-
-
-
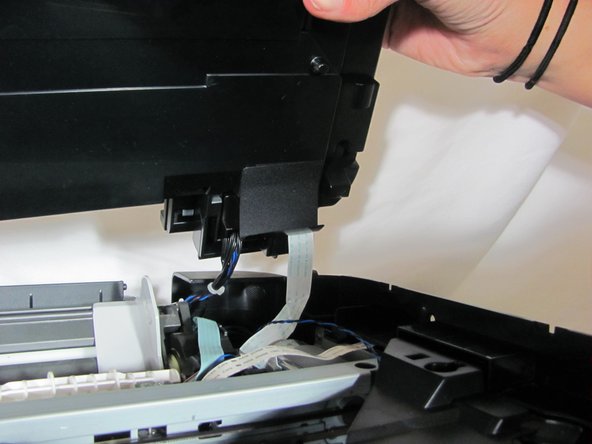
Remove the scanner by pulling the side panels out until the scanner pin is free. Set the scanner aside.
-
-
-
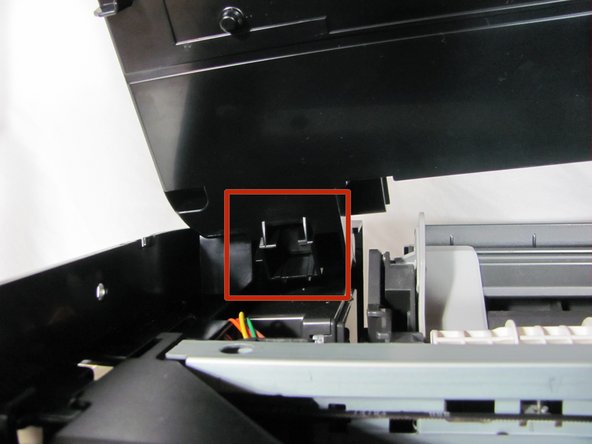
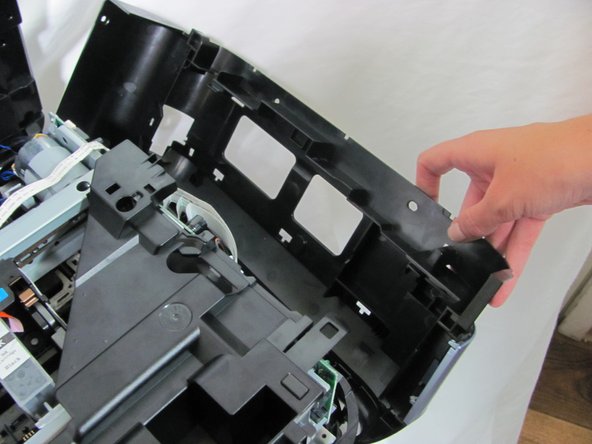
Press down on the clip on the left side of the printer until it clicks, and pull the panel free.
-
-
-
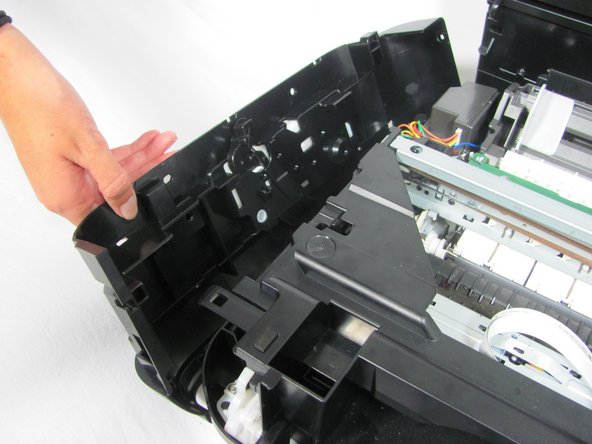
Press down on the clip on the right side panel until it clicks and then pull the panel free.
-
-
-
Remove the plastic cover by depressing the clip located on the right side of the printer. Press the clip inwards until it clicks, and then lift the cover upwards and off the printer.
-
-
-
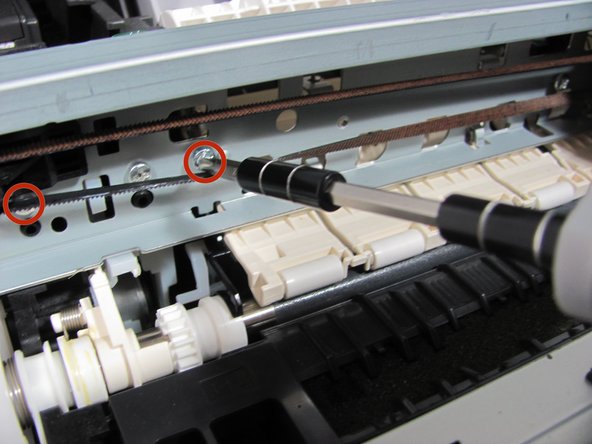
Unscrew the three screws holding the rail.
-
-
-
Remove the cord by pulling upwards on it and unhooking it from the pulleys on either end.
-


To reassemble your device, follow these instructions in reverse order.
To reassemble your device, follow these instructions in reverse order.
Отменить: Я не выполнил это руководство.
4 участников успешно повторили данное руководство.

Команда

Cal Poly, Team 6-21, Maness Fall 2014 Участник Cal Poly, Team 6-21, Maness Fall 2014
CPSU-MANESS-F14S6G21
4 членов
Автор 10 руководств