Перейти к основному содержанию

Canon ZR70MC LCD Component Replacement

Выберете то, что вам нужно

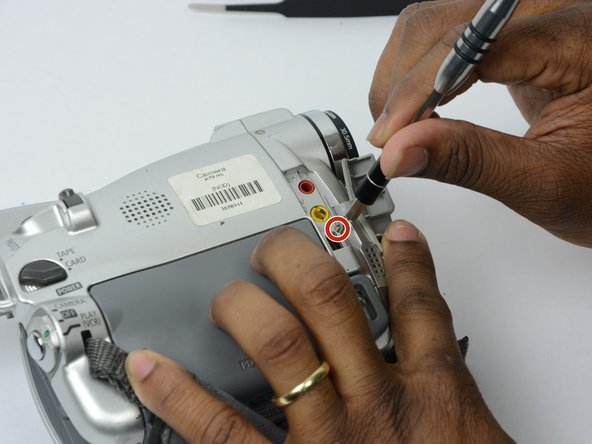
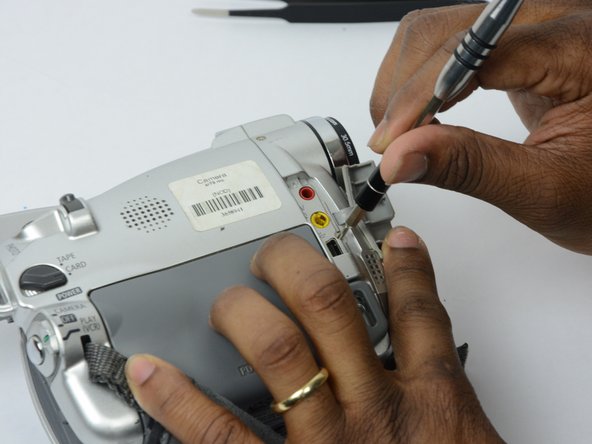
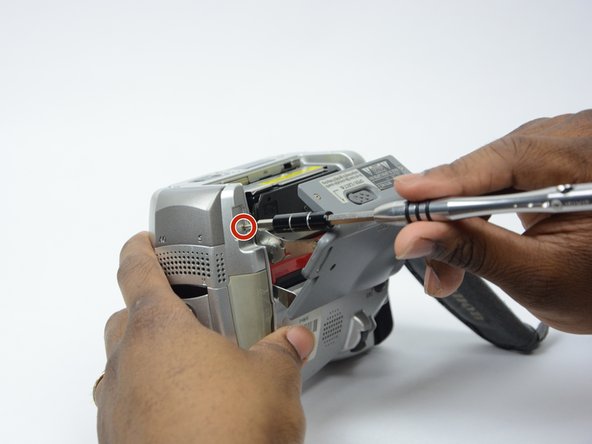
  1. Canon ZR70MC LCD Component Replacement, Front Panel: шаг 1, изображение 1 из 2 Canon ZR70MC LCD Component Replacement, Front Panel: шаг 1, изображение 2 из 2
    • Unscrew the 3.35mm screw.

  2. Canon ZR70MC LCD Component Replacement: шаг 2, изображение 1 из 1
    • Turn the ZR70MC so that you can see the bottom of the camcorder.

    • Unscrew the 3.35 mm located in the top left portion of the camera.

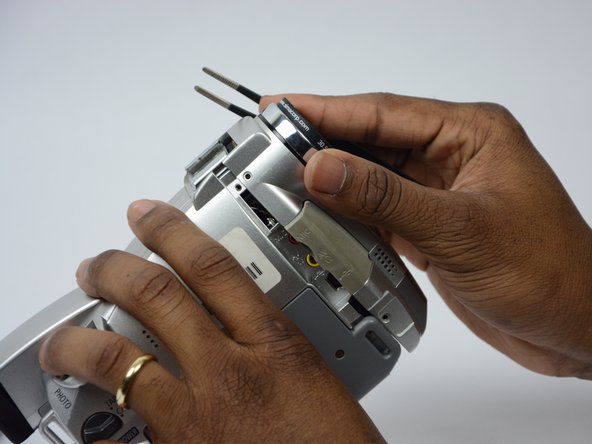
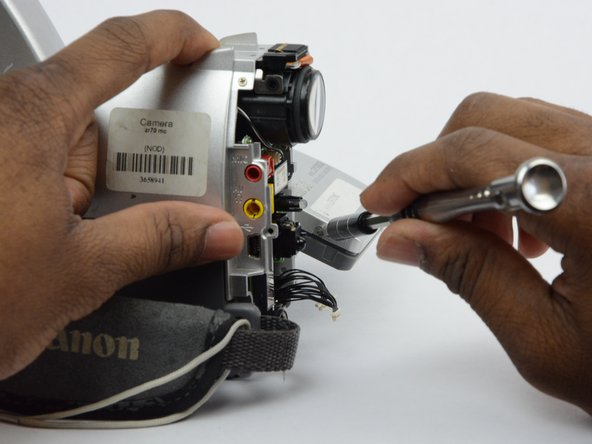
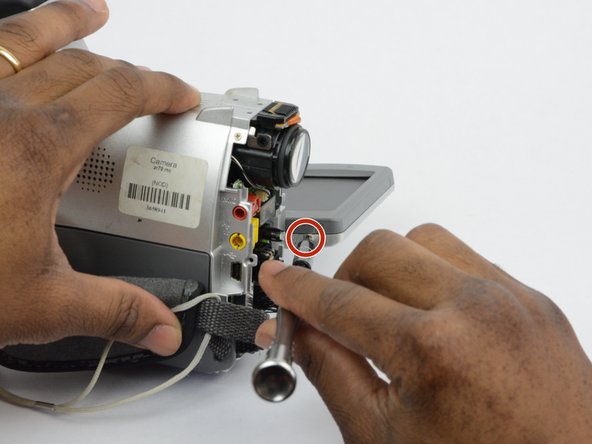
  3. Canon ZR70MC LCD Component Replacement: шаг 3, изображение 1 из 3 Canon ZR70MC LCD Component Replacement: шаг 3, изображение 2 из 3 Canon ZR70MC LCD Component Replacement: шаг 3, изображение 3 из 3
    • Turn the camera on the side and remove the cover for the audio inputs. There is a 2.65 mm screw located behind the cover.

    • Remove the 2.65 mm screw.

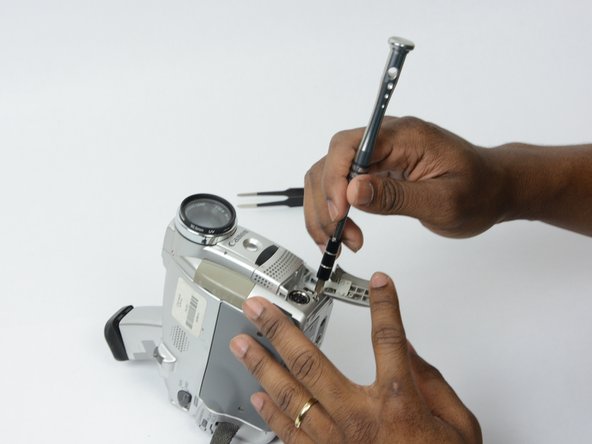
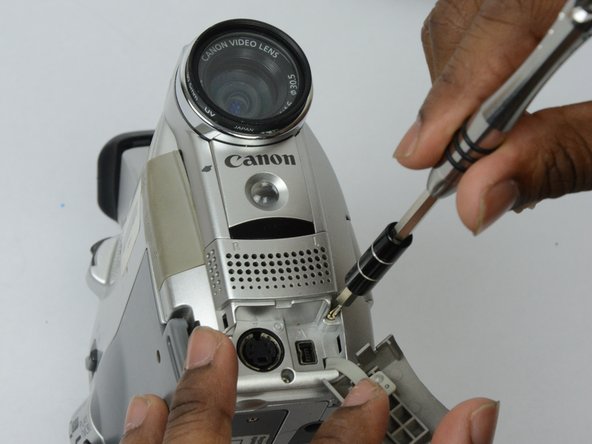
  4. Canon ZR70MC LCD Component Replacement: шаг 4, изображение 1 из 3 Canon ZR70MC LCD Component Replacement: шаг 4, изображение 2 из 3 Canon ZR70MC LCD Component Replacement: шаг 4, изображение 3 из 3
    • Remove the cover located on the front of the camcorder and remove the cover by pulling on the bottom groove.

    • Locate and remove the two 3.35 mm screws.

  5. Canon ZR70MC LCD Component Replacement: шаг 5, изображение 1 из 2 Canon ZR70MC LCD Component Replacement: шаг 5, изображение 2 из 2
    • Turn the camcorder so that the bottom is facing up and open the tape cassette compartment.

    • There is one 3.35 mm screw located under the tape cassette panel on the front left side of the camcorder. Remove the screw.

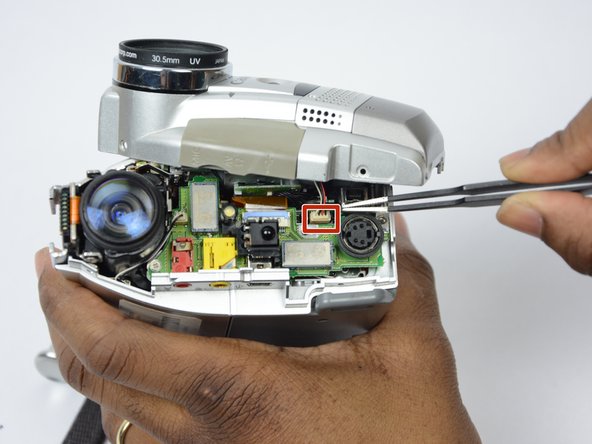
  6. Canon ZR70MC LCD Component Replacement: шаг 6, изображение 1 из 3 Canon ZR70MC LCD Component Replacement: шаг 6, изображение 2 из 3 Canon ZR70MC LCD Component Replacement: шаг 6, изображение 3 из 3
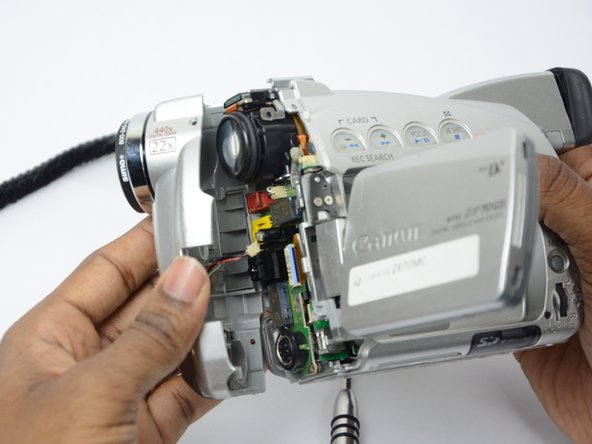
    • Now that all of the screws are removed, remove the front panel by gently pulling on the front panel.

    • The speaker will be connected to the main body by a wire. Be careful not to damage this wire.

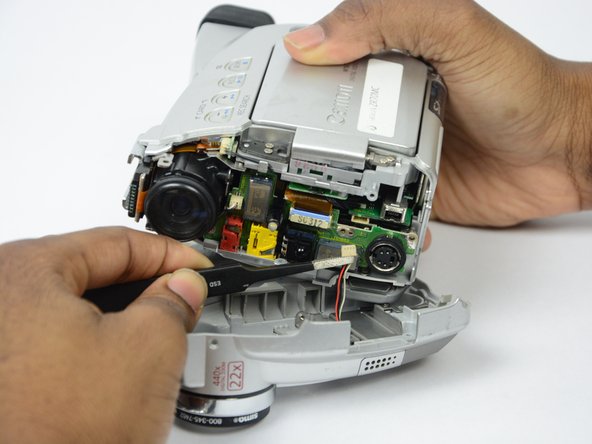
  7. Canon ZR70MC LCD Component Replacement: шаг 7, изображение 1 из 3 Canon ZR70MC LCD Component Replacement: шаг 7, изображение 2 из 3 Canon ZR70MC LCD Component Replacement: шаг 7, изображение 3 из 3
    Инструмент, используемый на этом этапе:
    Tweezers
    $4.99
    Купить
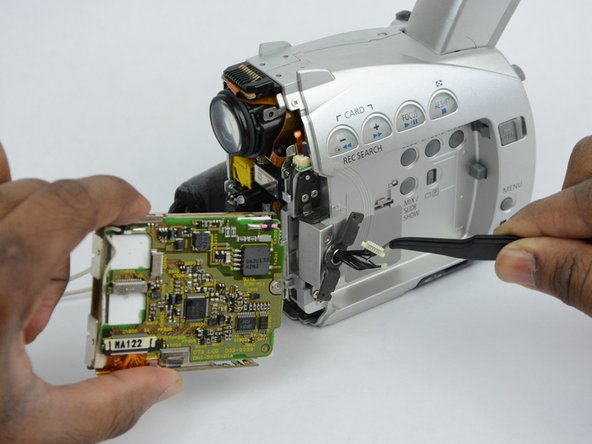
    • Use tweezers to gently pull the speaker wire from the main body of the camcorder.

    • Pull the front panel completely away from the main body of the camcorder.

  8. Canon ZR70MC LCD Component Replacement, LCD screen: шаг 8, изображение 1 из 3 Canon ZR70MC LCD Component Replacement, LCD screen: шаг 8, изображение 2 из 3 Canon ZR70MC LCD Component Replacement, LCD screen: шаг 8, изображение 3 из 3
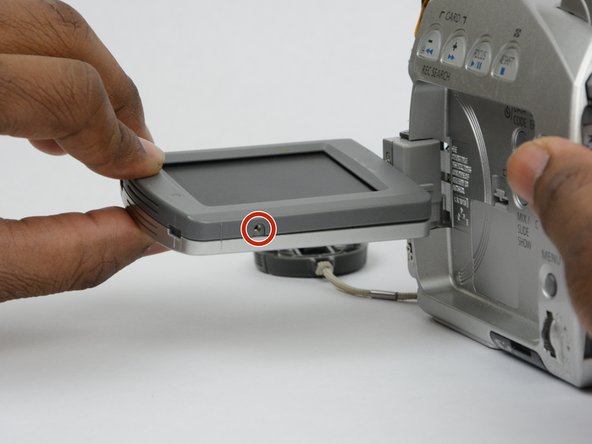
    • Open the LCD screen.

    • Locate and remove the 2.7 mm screw on the bottom of the LCD monitor.

  9. Canon ZR70MC LCD Component Replacement: шаг 9, изображение 1 из 3 Canon ZR70MC LCD Component Replacement: шаг 9, изображение 2 из 3 Canon ZR70MC LCD Component Replacement: шаг 9, изображение 3 из 3
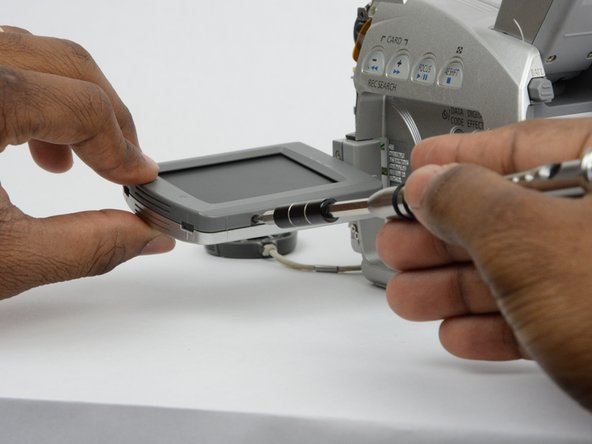
    • Turn the LCD monitor so that the screen is facing down.

    • There is a 2.7 mm screw on the LCD monitor where the monitor is connected to the main body of the camcorder. Remove the 2.7 mm screw.

  10. Canon ZR70MC LCD Component Replacement: шаг 10, изображение 1 из 2 Canon ZR70MC LCD Component Replacement: шаг 10, изображение 2 из 2
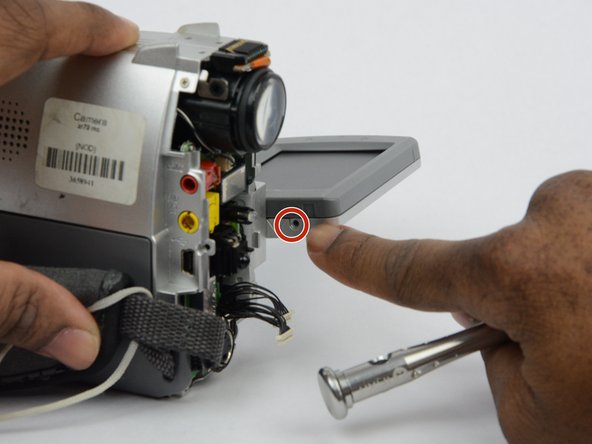
    • Turn the LCD monitor so that the screen is facing up.

    • There is a 2.7 mm screw located where the LCD monitor is connected to the main body of the camcorder. Remove the 2.7 mm screw.

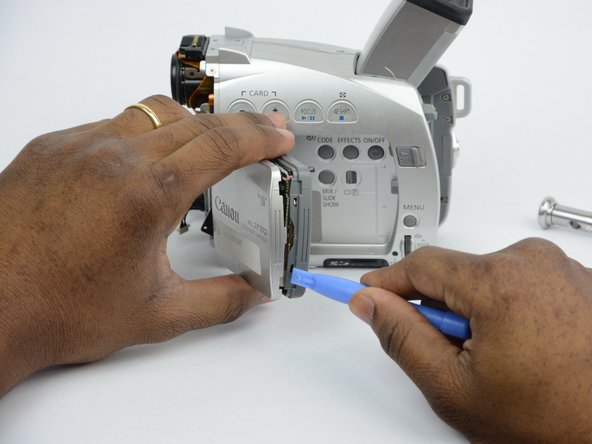
  11. Canon ZR70MC LCD Component Replacement: шаг 11, изображение 1 из 3 Canon ZR70MC LCD Component Replacement: шаг 11, изображение 2 из 3 Canon ZR70MC LCD Component Replacement: шаг 11, изображение 3 из 3
    • Now that all the screws are removed, use the plastic opening tool to gently pry the LCD monitor case open.

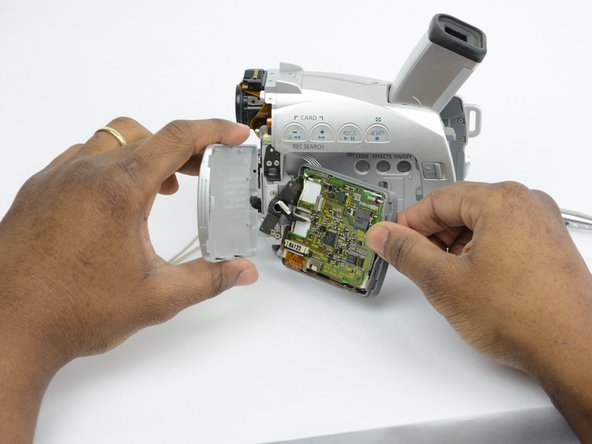
  12. Canon ZR70MC LCD Component Replacement: шаг 12, изображение 1 из 3 Canon ZR70MC LCD Component Replacement: шаг 12, изображение 2 из 3 Canon ZR70MC LCD Component Replacement: шаг 12, изображение 3 из 3
    Инструмент, используемый на этом этапе:
    Tweezers
    $4.99
    Купить
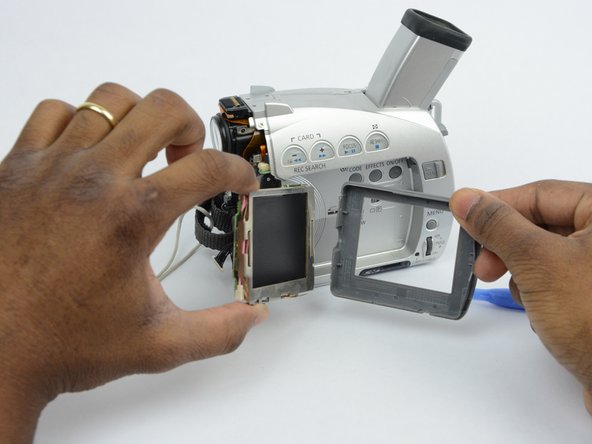
    • Use tweezers to remove the wire connections that hold the LCD screen in place.

    • Remove the entire LCD screen.

Заключение

To reassemble your device, follow these instructions in reverse order.

Еще один человек закончил это руководство.

khalid clarke

Участник с: 09/26/17

824 Репутация

Автор 7 руководств

Команда

USF Tampa, Team S13-G2, Boczar Fall 2017 Участник USF Tampa, Team S13-G2, Boczar Fall 2017

USFT-BOCZAR-F17S13G2

3 членов

Автор 14 руководств

0 Комментариев

Добавить комментарий

Просмотр статистики:

За последние 24часов: 0

За последние 7 дней: 0

За последние 30 дней: 3

За всё время: 168