Перейти к основному содержанию

Car Thing dial spring removal and contacts cleaning

Выберете то, что вам нужно

  1. Car Thing dial spring removal and contacts cleaning, Removing the dial: шаг 1, изображение 1 из 2 Car Thing dial spring removal and contacts cleaning, Removing the dial: шаг 1, изображение 2 из 2
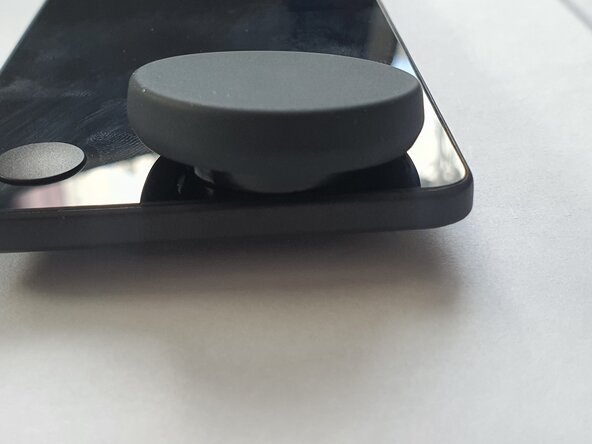
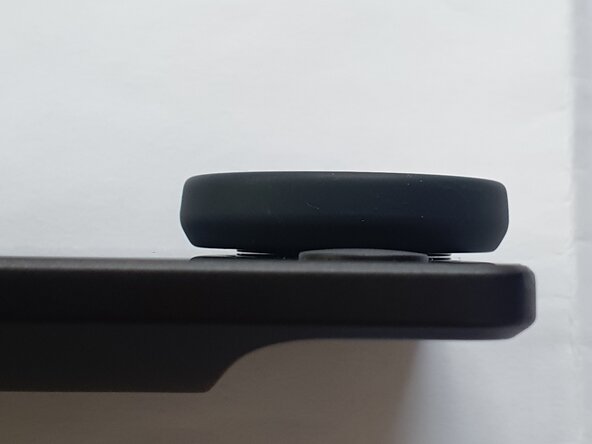
    • The dial on the car thing is clipped on with a plastic insert in the dial rubber cover.

    • It is easy to pull off, be gentle and you should be able to pry it off with your fingers.

    • Be careful using metal tools as it may scratch or crack the glass.

  2. Car Thing dial spring removal and contacts cleaning, Removing the shield: шаг 2, изображение 1 из 3 Car Thing dial spring removal and contacts cleaning, Removing the shield: шаг 2, изображение 2 из 3 Car Thing dial spring removal and contacts cleaning, Removing the shield: шаг 2, изображение 3 из 3
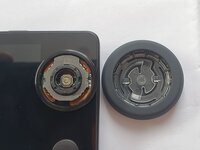
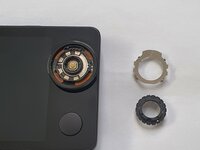
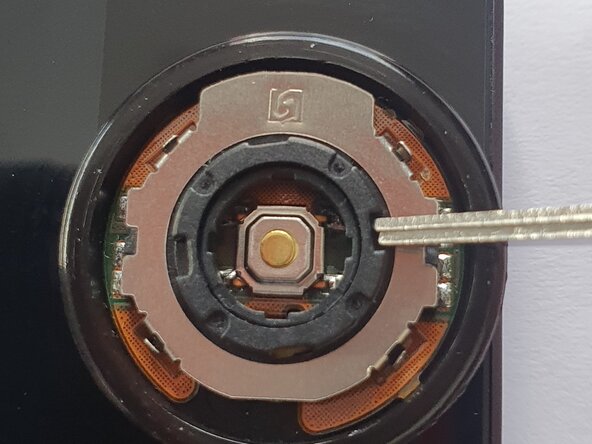
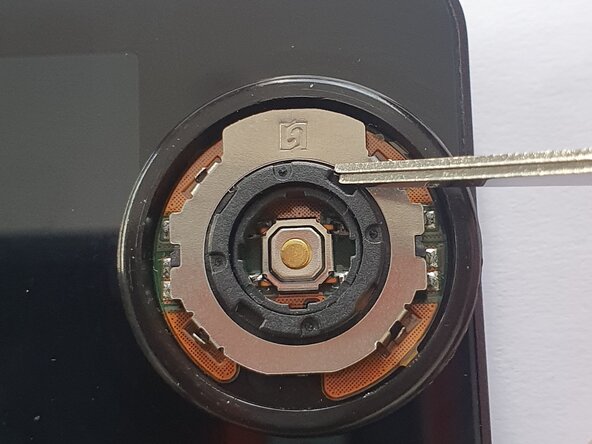
    • Using a small flathead screwdriver or pair of tweezers, gently work your way around the silver shield to pry it off.

    • It is held around 4 corners with clips.

    • To use the clip I recommend bending the tabs backwards to make installation easier.

  3. Car Thing dial spring removal and contacts cleaning, Get rid of the spring!: шаг 3, изображение 1 из 1
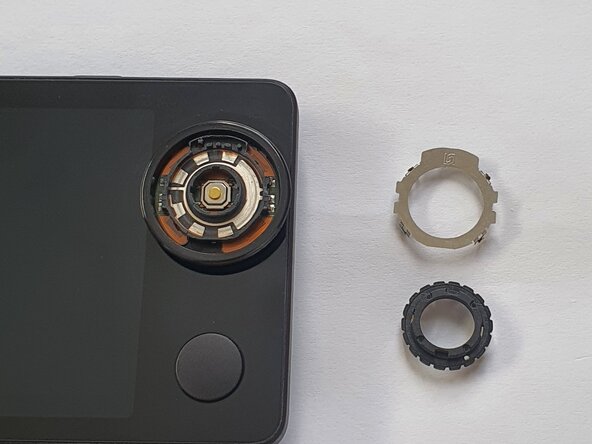
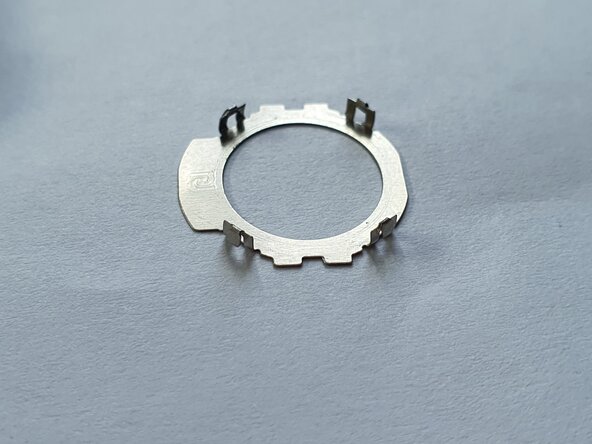
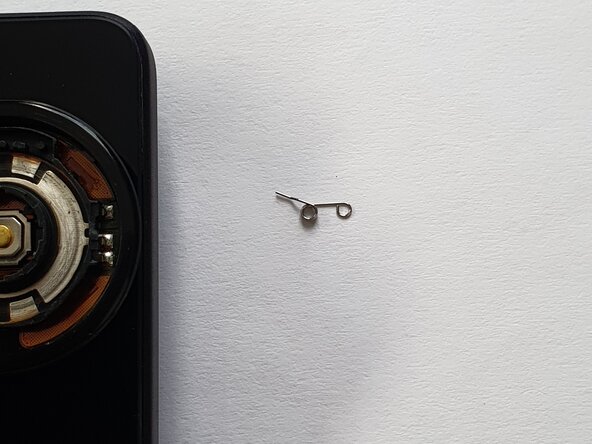
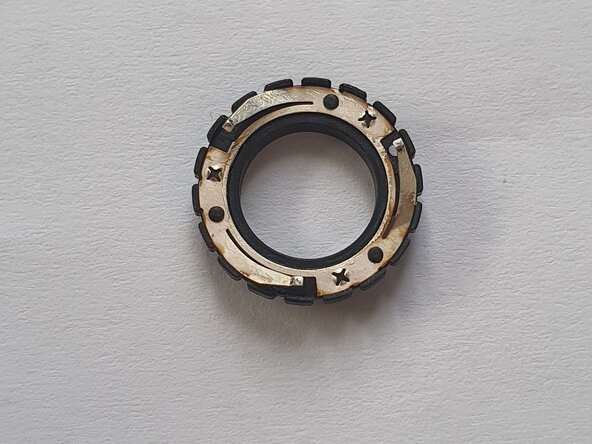
    • At this point if you want to remove the spring to enjoy a smooth feel on your dial, remove the spring.

    • If you do want to retain your clicky feel, you can reinstall it after cleaning the contacts.

  4. Car Thing dial spring removal and contacts cleaning, Clean the contacts: шаг 4, изображение 1 из 2 Car Thing dial spring removal and contacts cleaning, Clean the contacts: шаг 4, изображение 2 из 2
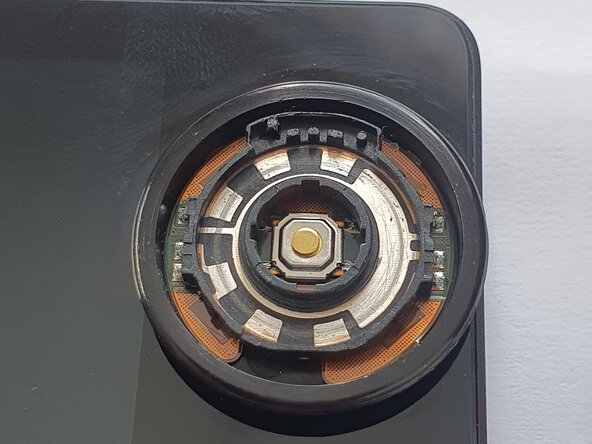
    • Using a cotton bud, dab the contacts in some isopropyl alcohol to clean any debris or grease that can interfere with the dial making contact.

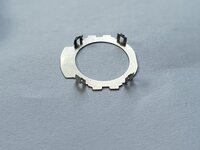
    • Don't forget to also clean the brushes (ring with metal contacts sticking up)

    • You can VERY slightly bend the metal tabs up to help maintain contact. Be very gentle to not break this.

  5. Car Thing dial spring removal and contacts cleaning, Reinstall metal shield and ring: шаг 5, изображение 1 из 2 Car Thing dial spring removal and contacts cleaning, Reinstall metal shield and ring: шаг 5, изображение 2 из 2
    • Now reinstall the ring and the silver shield.

    • It should clip into place. Gently press on the 4 tabs to secure it.

  6. Car Thing dial spring removal and contacts cleaning, Reinstalling the dial: шаг 6, изображение 1 из 3 Car Thing dial spring removal and contacts cleaning, Reinstalling the dial: шаг 6, изображение 2 из 3 Car Thing dial spring removal and contacts cleaning, Reinstalling the dial: шаг 6, изображение 3 из 3
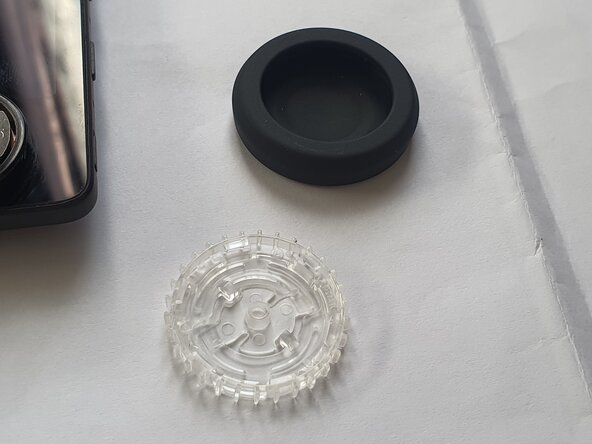
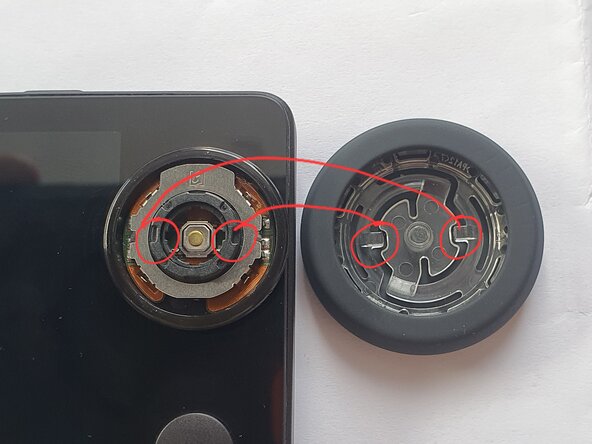
    • Peel the clear plastic out of the rubber cover.

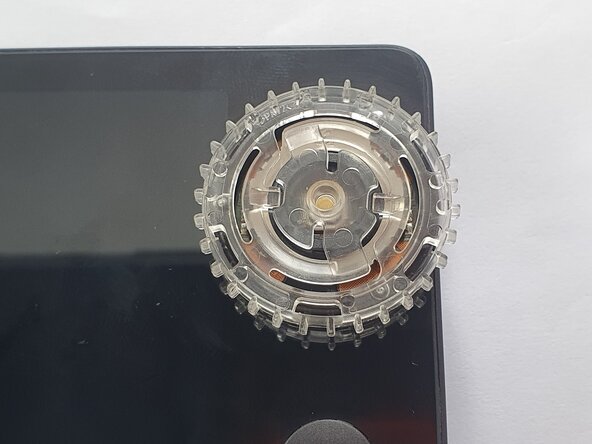
    • We must now align the clear plastic over the dial, there are 2 tabs thag must be aligned. Refer to the photo.

    • Once the clear plastic is installed, make sure the tabs are aligned and the rotation is smooth.

    • Do not force the plastic on if it is misaligned! It may break the plastic, just remove gently and try again.

  7. Car Thing dial spring removal and contacts cleaning, Test the dial: шаг 7, изображение 1 из 2 Car Thing dial spring removal and contacts cleaning, Test the dial: шаг 7, изображение 2 из 2
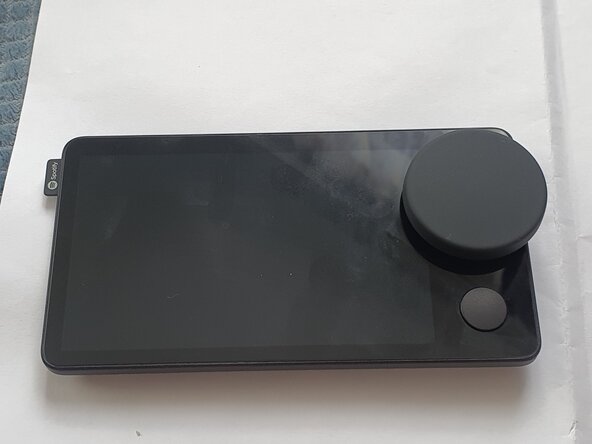
    • Once the cover is put back on, check that the rotation is smooth.

    • It should be now very easy to rotate, like your car volume dial. Just enough to rotate gently with your fingers.

Финишная прямая

Еще один человек закончил это руководство.

Steven Park

Участник с: 03/03/22

246 Репутация

Автор 2 руководств

0 Комментарии к руководству

Добавить комментарий

Статистика просмотров:

За последние 24 часов: 1

За последние 7 дней: 8

За последние 30 дней: 17

За всё время: 272