Введение
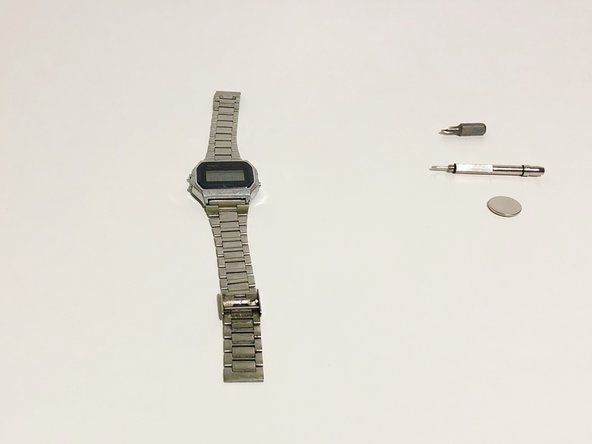
If your Casio Digital Watch (model A158W-1) unexpectedly ceases to perform its duty of telling the date, time and keeping you on your toes with its alarm function, then the watch is most likely dead. Use this guide to replace the battery of your watch.
When watches die, most of the time they are thrown away, lost in the junk drawer or even worse, end up in a landfill where its components can potentially contaminate the soil and be horrible for the environment!
This is usually because most watch owners don’t know how to change the battery or are too misguided on the complexity of the process when in reality it’s very simple and can be done with common household tools and in no more than 15 minutes!
Выберете то, что вам нужно
-
-
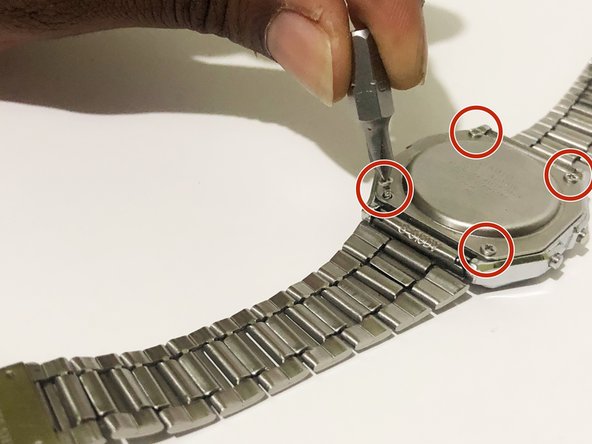
Using the Phillips #00 screwdriver, remove the four screws from the back panel of the watch.
-
-
Инструмент, используемый на этом этапе:Tweezers$4.99
-
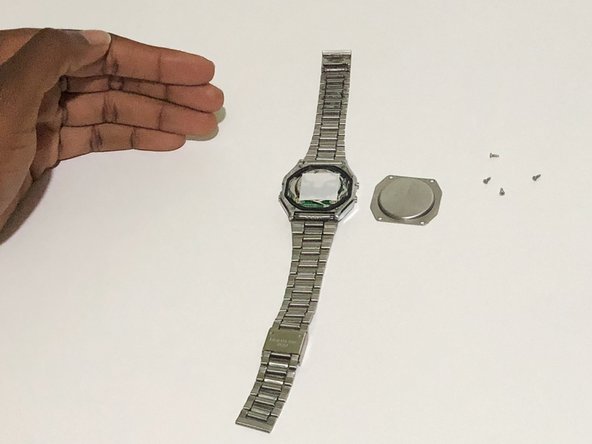
With your fingers, or tweezers if available, remove the rubber gasket surrounding the base of the watch.
-
-
-
-
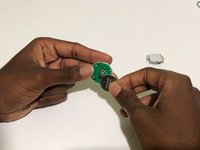
Using the Flathead screwdriver, push the four tabs located around the centerpiece inwards to open it up.
-
-
-
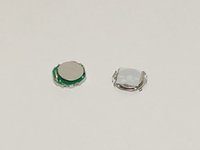
Insert the new Cr2016 3V Lithium battery into the centerpiece.
-
Reattach the back of the centerpiece together.
-
-
-
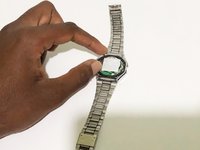
Insert the centerpiece back into the casing of the watch with the "front" facing down.
-
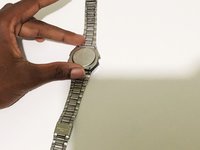
Position the rubber gasket back into place.
-
-
-
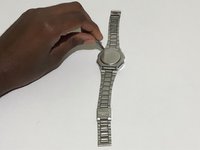
After putting the back panel of the watch into place, use the Phillips #00 screwdriver to screw four screws into place.
-


To reassemble your device, follow these instructions in reverse order.
To reassemble your device, follow these instructions in reverse order.
Отменить: Я не выполнил это руководство.
5 человек успешно провели ремонт по этому руководству.

Команду

York University, Team 1-12, O'Regan Fall 2021 Участник York University, Team 1-12, O'Regan Fall 2021
YORK-O'REGAN-F21S1G12
1 член
Автор 5 руководств
2 Комментариев
Thanks for the guide! I successfully managed to replace my battery. A few things I noticed during my own attempt:
1. The centerpiece cover only fits in one way when replacing it over the battery, because one side of the watch has two buttons and the other side only has one.
2. Immediately after replacing the battery and replacing the centerpiece cover, only some segments of the display were working and the watch was non-functioning. After a little googling I discovered that a CMOS clear might be required, and I followed https://rajgopalmenon.wordpress.com/2020... in order to do this. Within 5 minutes of doing the CMOS clear my watch started working again.
Casio watches on today’s market are usually shipped without instructions and in my case substantial packaging which resulted in my watch arriving with a slight dent in one of the bracelet segments. The face appeared to have some scuffs on it and it was three days before I discovered that there was a removable protection film covering the watch face. So tutorials such as this are excellent and keep the marque fully functional. As there are no moving parts in a Casio watch, battery change should be quite infrequent.