Перейти к основному содержанию

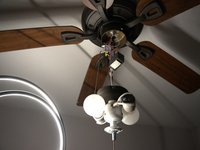
Ceiling Fan Pull Chain Switch Replacement

Выберете то, что вам нужно

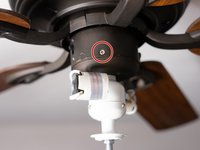
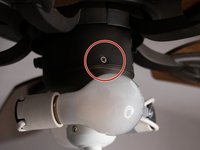
  1. Ceiling Fan Pull Chain Switch Replacement, Pull Chain Switch: шаг 1, изображение 1 из 2 Ceiling Fan Pull Chain Switch Replacement, Pull Chain Switch: шаг 1, изображение 2 из 2
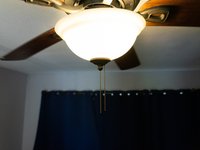
    • Caution: Turn off the power from the circuit breaker and turn off any light switches that provide power to the ceiling fan.

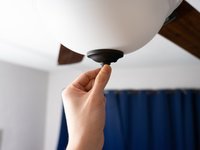
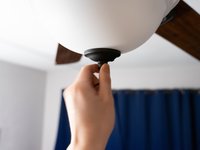
    • Remove the white cover by unscrewing the nut on the bottom from where the chain is hanging.

  2. Ceiling Fan Pull Chain Switch Replacement: шаг 2, изображение 1 из 3 Ceiling Fan Pull Chain Switch Replacement: шаг 2, изображение 2 из 3 Ceiling Fan Pull Chain Switch Replacement: шаг 2, изображение 3 из 3
    • Caution: Let the bulbs cool off before you remove them.

    • Remove the bulbs from their sockets.

  3. Ceiling Fan Pull Chain Switch Replacement: шаг 3, изображение 1 из 2 Ceiling Fan Pull Chain Switch Replacement: шаг 3, изображение 2 из 2
    • Remove the screws around the base.

    • Remove the fan housing.

  4. Ceiling Fan Pull Chain Switch Replacement: шаг 4, изображение 1 из 1
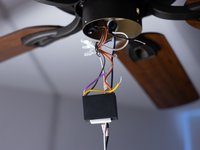
    • Pull the switch out of the fan housing, leaving the wires attached.

  5. Ceiling Fan Pull Chain Switch Replacement: шаг 5, изображение 1 из 3 Ceiling Fan Pull Chain Switch Replacement: шаг 5, изображение 2 из 3 Ceiling Fan Pull Chain Switch Replacement: шаг 5, изображение 3 из 3
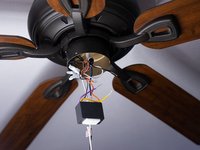
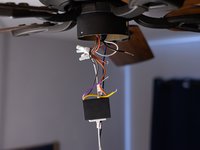
    • Cut the colored wires from the switch using a pair of wire cutters.

    • On some switch models, the wires can be detached by pulling.

  6. Ceiling Fan Pull Chain Switch Replacement: шаг 6, изображение 1 из 3 Ceiling Fan Pull Chain Switch Replacement: шаг 6, изображение 2 из 3 Ceiling Fan Pull Chain Switch Replacement: шаг 6, изображение 3 из 3
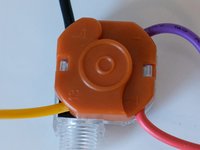
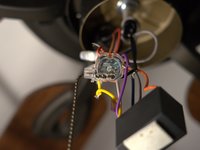
    • Note the wire colors and the terminal they attach to on the old switch.

    • 1 - Red

    • 2 - Purple

    • 3 - Yellow

    • L - Black

  7. Ceiling Fan Pull Chain Switch Replacement: шаг 7, изображение 1 из 1
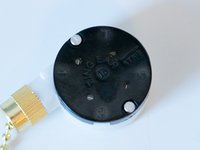
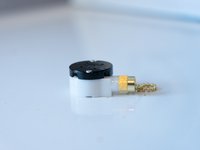
    • Attach the colored wires to the new switch's respective terminals.

  8. Ceiling Fan Pull Chain Switch Replacement: шаг 8, изображение 1 из 2 Ceiling Fan Pull Chain Switch Replacement: шаг 8, изображение 2 из 2
    • Put back the switch in the hole in the fan housing from the inside.

    • Tighten up the screws on the outside.

  9. Ceiling Fan Pull Chain Switch Replacement: шаг 9, изображение 1 из 3 Ceiling Fan Pull Chain Switch Replacement: шаг 9, изображение 2 из 3 Ceiling Fan Pull Chain Switch Replacement: шаг 9, изображение 3 из 3
    • Put back the white cover and then tighten up the nut at the bottom of the cover from where the chain is hanging.

  10. Ceiling Fan Pull Chain Switch Replacement: шаг 10, изображение 1 из 2 Ceiling Fan Pull Chain Switch Replacement: шаг 10, изображение 2 из 2
    • Turn the power back on and test the switch to find if it is working or not.

Финишная черта

2 участников успешно повторили данное руководство.

Berkeli Alashov

Участник с: 02/25/21

226 Репутация

1 руководство автора

Команда

University of North Texas, Team S1-G19, Raign Spring 2021 Участник University of North Texas, Team S1-G19, Raign Spring 2021

UNT-RAIGN-S21S1G19

2 членов

Автор 2 руководств

0 Комментариев

Добавить комментарий

Просмотр статистики:

За последние 24часов: 12

За последние 7 дней: 72

За последние 30 дней: 357

За всё время: 11,220