Введение
If your choker and/or necklace has an intact 'lobster' or 'spring' clasp that has disconnected/fallen off from the necklace body, then this guide is for you! Make sure you have a 'jump ring' on hand along with 2 long-nose pliers. This fix requires patience and a clean work area due to the handling of tiny pieces that may get dropped or lost (hovering above a box or tray with tall sides is recommended).
Выберете то, что вам нужно
-
-
The materials include: two long-nose pliers, a jump ring, and the necklace you are repairing.
-
-
-
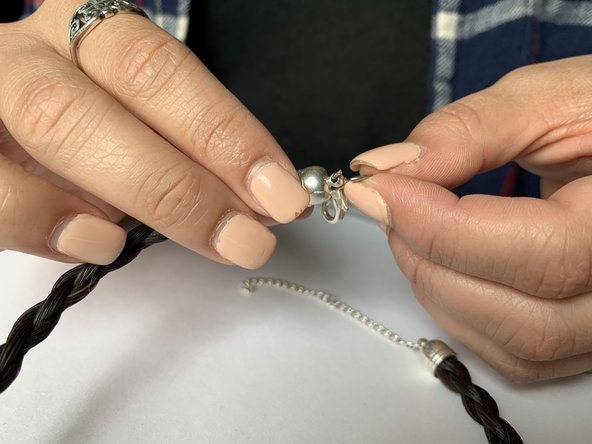
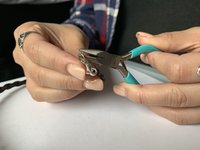
Grab the jump ring at the opposite side of the slit with your fingers (or long-nose pliers if the jump ring is too small to handle). Then, with your other hand (or long-nose pliers), grab the clasp at the end that's opposite of the loop ring hole.
-
-
-
Thread the loop ring through the tiny hole that's protruding from the bottom of the clasp. Continue to hold onto the loop ring without letting the clasp fall off and remove the opposite hand/tool's hold on the clasp.
-
-
-
Without releasing the hold on the loop ring and clasp, use the opposite hand to grab the end of the necklace that doesn't have the long chain attached to it. Carefully place the necklace end on the loop ring and release, allowing the loop ring to thread through it without having to move the loop ring.
-
-
-
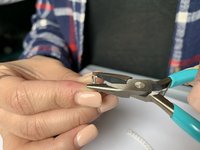
Going from the sides, use the long-nose pliers to slowly and gently pinch close the loop ring as seen in the picture. Loop ring may break If done with too much pressure.
-
-
-
Going from the top, squeeze the jump ring together using the long-nose pliers. This will keep the loop ring from opening back up without having to solder it.
-


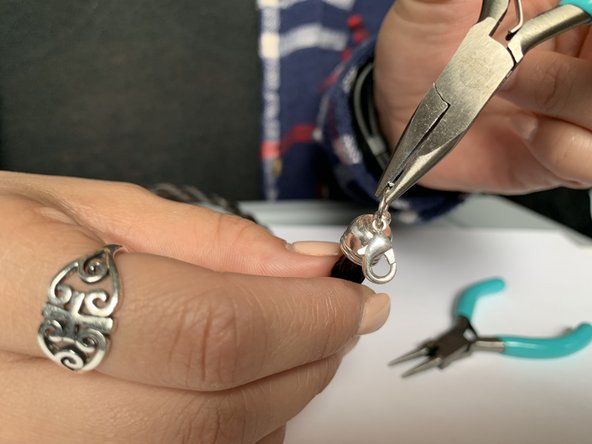


Now that the jump ring is secured, the fixed necklace can now be worn.
Now that the jump ring is secured, the fixed necklace can now be worn.
Отменить: Я не выполнил это руководство.
Еще один человек закончил это руководство.
Команду

McKendree University, Team S1-G1, Quinn Spring 2019 Участник McKendree University, Team S1-G1, Quinn Spring 2019
MCKU-QUINN-S19S1G1
2 членов
Автор 1 руководств