Эта версия возможно содержит некорректные исправления. Переключить на последнюю проверенную версию.
Выберете то, что вам нужно
-
Этот шаг не переведен. Помогите перевести
-
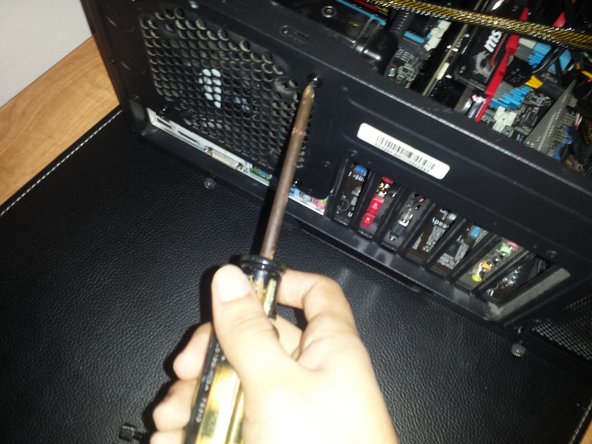
Remove the screws holding the side panel from the back side of the computer case.
-
-
Этот шаг не переведен. Помогите перевести
-
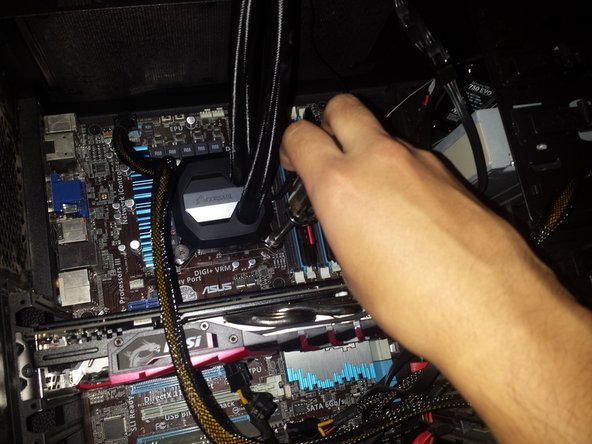
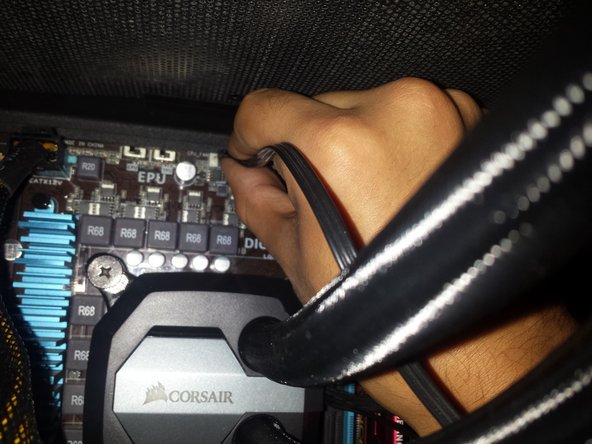
There is a cable connected to the cooler unplug it from the motherboard.
-
Unscrew the screws holding the cooler at the corners of the CPU.
-
Take out the cooler and place it at a reasonable location, underside up.
-
-
-
Этот шаг не переведен. Помогите перевести
-
Find the location of the radiator and locate the screws holding it.
-
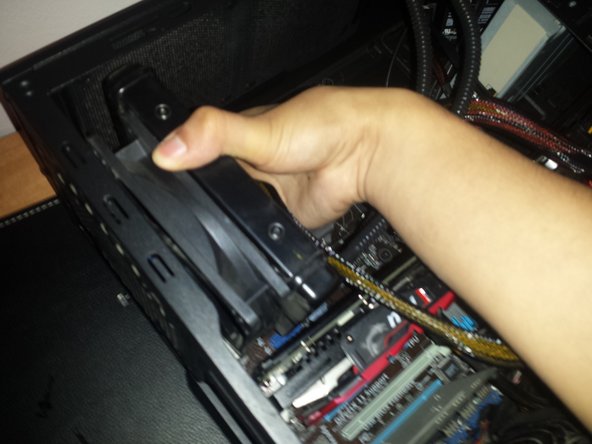
Remove the screws and being to hold both the radiator and fan as the last screw is coming off.
-
Remove the radiator and fan.
-
-
Этот шаг не переведен. Помогите перевести
-
Put a little bit of isopropyl alcohol on the microfiber.
-
Clean all of the thermal paste residue from the CPU.
-
-
Этот шаг не переведен. Помогите перевести
-
Place the new cooler over the cpu and align it with the four corners where the previous cooler was attached to.
-
Screw in the cooler, start at a corner and then move on to the corner diagonal from it, making an "X" shape as you screw them in.
-
-
Этот шаг не переведен. Помогите перевести
-
Fans should be facing out.
-
Screw the fans and radiator to the location together.
-
Put the side panel back in place.
-
NOTE FOR CORSAIR AIOs: If you see the following symbol on the ICUE tab for your cooler on on your coolers LCD screen, RMA your AIO immediately and power down your computer, as the pump is defective:https://help.corsair.com/hc/article_atta...
-
Отменить: Я не выполнил это руководство.
6 участников успешно повторили данное руководство.
3 Комментариев
Thanks for your help
DO NOT put thermal paste on the cooler first, put it on the CPU directly then apply the cpu cooler onto the cpu and screw it down in X formation. Top left, bottom right, bottom left, top right, then tighten just a little at a time till it's finger tight with screw driver.


