Перейти к основному содержанию

Conair Infiniti Pro Model 259NP Fan Grill Replacement

Выберете то, что вам нужно

  1. Conair Infiniti Pro Model 259NP Fan Grill Replacement, Back Panel: шаг 1, изображение 1 из 1
    • Caution: Unplug the hair dryer before attempting this guide. Leaving the device plugged in may result in electrocution and damage to the device.

    • Hold the hair dryer by the handle so that the back panel faces up.

  2. Conair Infiniti Pro Model 259NP Fan Grill Replacement: шаг 2, изображение 1 из 2 Conair Infiniti Pro Model 259NP Fan Grill Replacement: шаг 2, изображение 2 из 2
    • Remove the two 15.875 mm Phillips #2 screws from the back panel.

  3. Conair Infiniti Pro Model 259NP Fan Grill Replacement: шаг 3, изображение 1 из 3 Conair Infiniti Pro Model 259NP Fan Grill Replacement: шаг 3, изображение 2 из 3 Conair Infiniti Pro Model 259NP Fan Grill Replacement: шаг 3, изображение 3 из 3
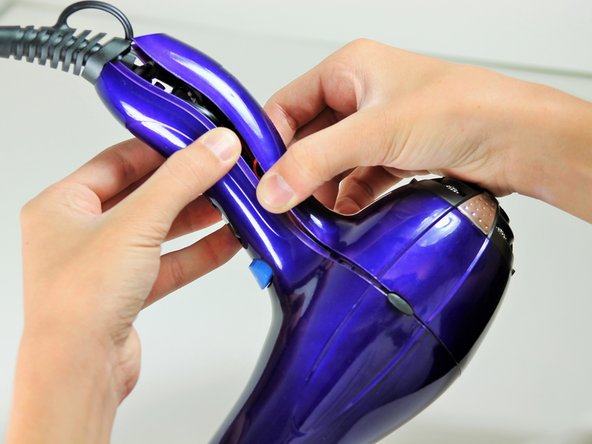
    • Starting from where the cord attaches to the handle, pull apart the two plastic panels.

    • Continue separating the back panel, working along the seam.

    • With moderate force, completely remove the back panel from the hair dryer.

  4. Conair Infiniti Pro Model 259NP Fan Grill Replacement, Fan Motor Assembly: шаг 4, изображение 1 из 2 Conair Infiniti Pro Model 259NP Fan Grill Replacement, Fan Motor Assembly: шаг 4, изображение 2 из 2
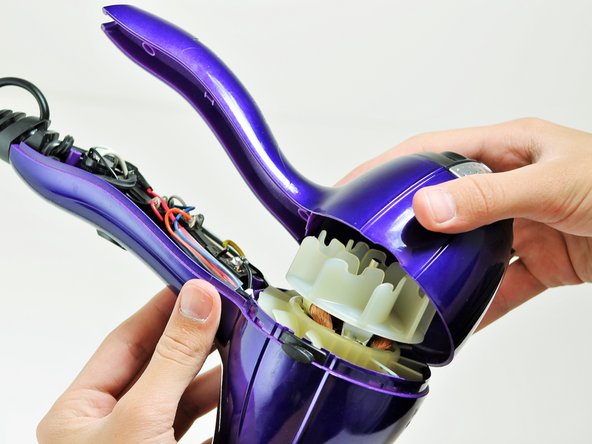
    • Hold the hair dryer by the nozzle so that the handle points to the left.

    • Remove the two 1-inch Phillips #2 screws from the back of the fan motor.

  5. Conair Infiniti Pro Model 259NP Fan Grill Replacement: шаг 5, изображение 1 из 3 Conair Infiniti Pro Model 259NP Fan Grill Replacement: шаг 5, изображение 2 из 3 Conair Infiniti Pro Model 259NP Fan Grill Replacement: шаг 5, изображение 3 из 3
    • Caution: If you recently used the hair dryer, wait at least 10 minutes before attempting this step. The heating element may still be very hot and can cause serious burns.

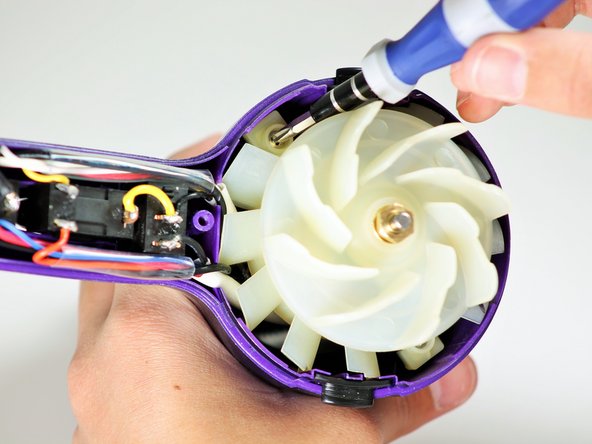
    • Pull on the back of the fan motor to gently lift the motor out of the hair dryer.

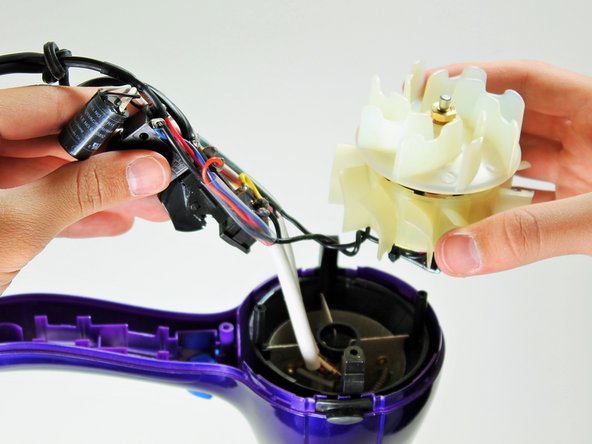
    • Lift the attached electrical wiring and heat shield completely out of the hair dryer.

  6. Conair Infiniti Pro Model 259NP Fan Grill Replacement, Fan Grill: шаг 6, изображение 1 из 1
    • Hold the front panel of the hair dryer by the nozzle facing upward.

  7. Conair Infiniti Pro Model 259NP Fan Grill Replacement: шаг 7, изображение 1 из 2 Conair Infiniti Pro Model 259NP Fan Grill Replacement: шаг 7, изображение 2 из 2
    • Using your index finger push the fan grill down with moderate force.

Заключение

To reassemble your device, follow these instructions in reverse order.

Еще один человек закончил это руководство.

Timothy Lo

Участник с: 04/22/14

1 172 Репутация

Автор 7 руководств

Команда

Cal Poly, Team 10-58, Amido Spring 2014 Участник Cal Poly, Team 10-58, Amido Spring 2014

CPSU-AMIDO-S14S10G58

4 членов

Автор 7 руководств

0 Комментариев

Добавить комментарий

Просмотр статистики:

За последние 24часов: 0

За последние 7 дней: 1

За последние 30 дней: 5

За всё время: 1,268