Введение
If you need to disassemble your Corsair Katar mouse, this guide will demonstrate how to take it apart.
Выберете то, что вам нужно
-
-
Remove the three skates on the bottom of the mouse using the plastic opening tools.
-
-
-
-
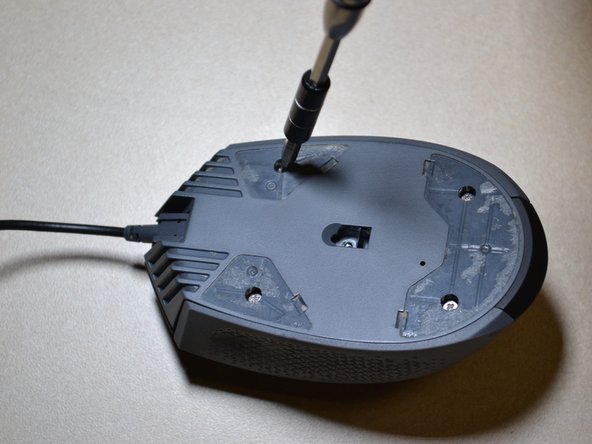
Use the JIS 0 screwdriver to remove the four 5 mm screws on the bottom of the mouse.
-
-
-
Detach the bottom of the mouse from the upper shell.
-
Use the plastic opening tool to detach the white DPI sensor cable from its port.
-


To reassemble your device, follow these instructions in reverse order.
To reassemble your device, follow these instructions in reverse order.
Отменить: Я не выполнил это руководство.
3 участников успешно повторили данное руководство.
Команда

UW Tacoma, Team S1-G3, Cardinal Summer 2018 Участник UW Tacoma, Team S1-G3, Cardinal Summer 2018
UWT-CARDINAL-SU18S1G3
3 членов
Автор 12 руководств