Введение
If you want your device to handle multiple tasks smoothly, have faster memory, and boost the efficiency of your workflow, you may want to replace or upgrade your RAM. The following guide shows you how to replace the RAM in your Google Cr-48 Chromebook in seven easy steps.
Your computer's RAM or random access memory gives applications a place to store and access short-term data. RAM is one of your computer's most important components for improving performance. If you notice your system is sluggish, or you have frequent crashes, reboots, blue screens, distorted graphics, or memory errors, it may be due to having too little RAM.
Before beginning this repair or upgrade, be sure to power off your laptop and disconnect from the charger.
Выберете то, что вам нужно
-
-
Slide the switch on the bottom of the laptop until the battery pops out.
-
Once the battery pops out, you can remove it.
-
-
-
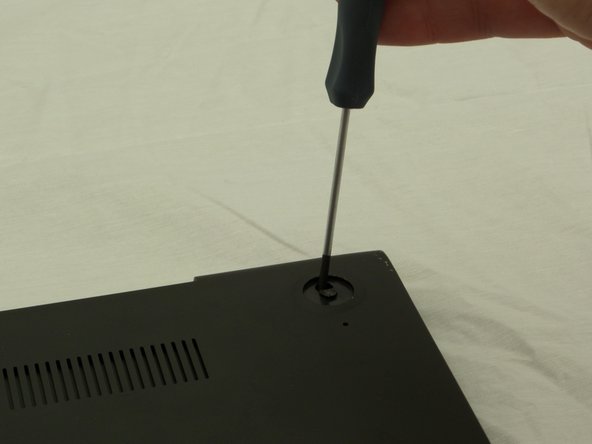
Using a pair of tweezers, remove the two rear rubber feet to expose two hidden screws.
-
-
-
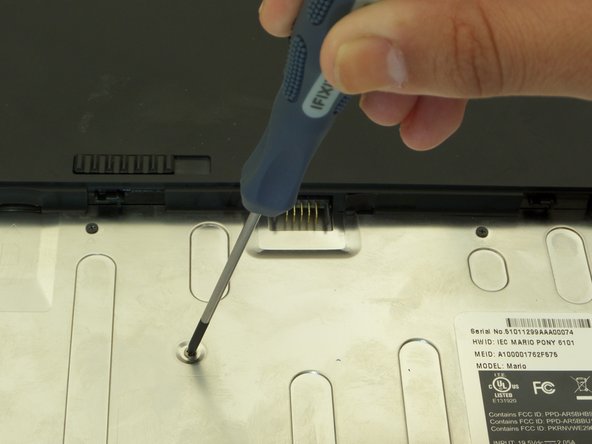
Remove ten 3 mm screws in the battery compartment using a Phillips #00 screwdriver.
-
Remove two 4.5 mm screws under the rubber feet using a Phillips #00 screwdriver.
-
-
-
-
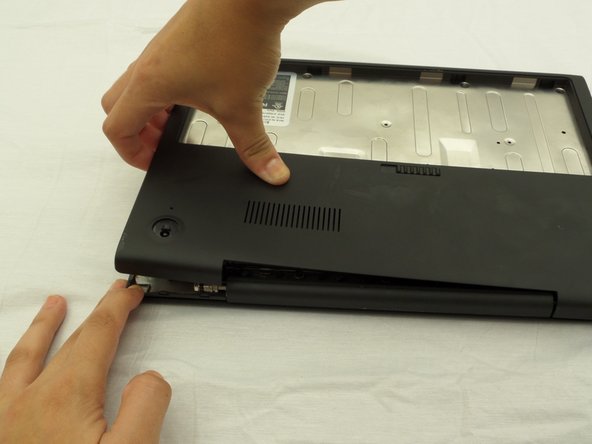
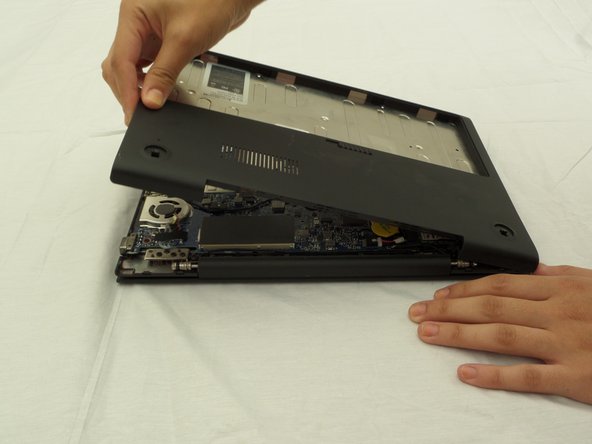
Starting where the body of the laptop and the laptop screen meet, pry apart the lower case from the rest of the laptop.
-
-
-
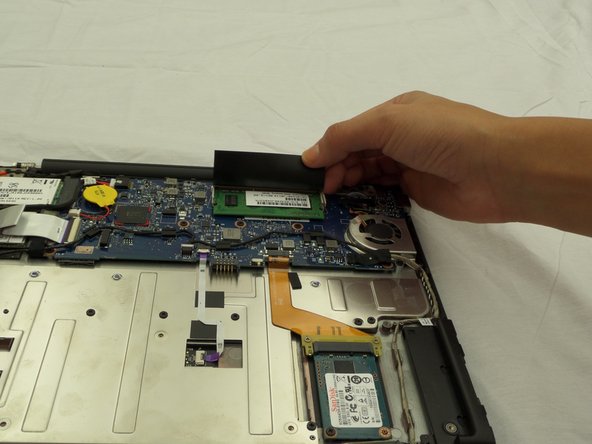
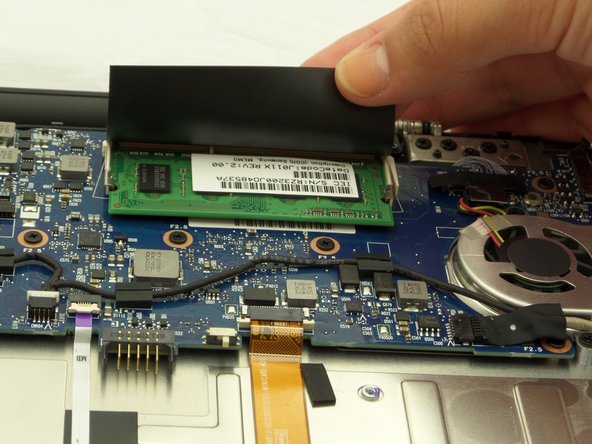
Locate the RAM under a black flap alongside where the laptop screen and device body meet.
-
-
-
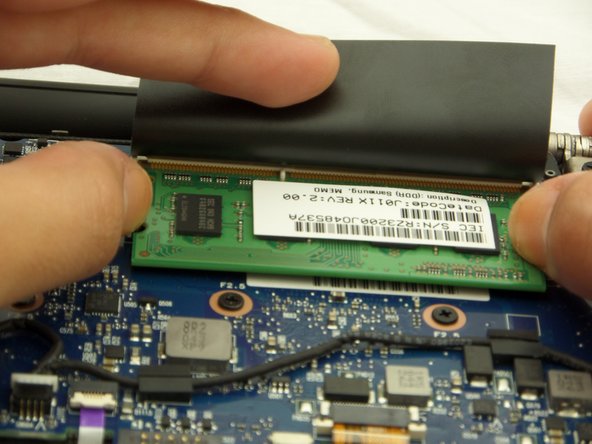
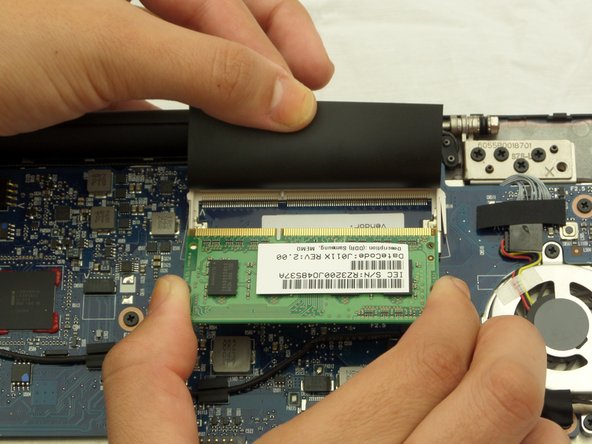
Using your thumbs, pull the metal arms away from the RAM and then the RAM card should pop up.
-


To reassemble your device, follow these instructions in reverse order.
To reassemble your device, follow these instructions in reverse order.
Отменить: Я не выполнил это руководство.
2 участников успешно повторили данное руководство.
Команда

CSU Fullerton, Team 2-2, Bruce Fall 2014 Участник CSU Fullerton, Team 2-2, Bruce Fall 2014
CSUF-BRUCE-F14S2G2
3 членов
Автор 10 руководств