Перейти к основному содержанию

Creality Ender 3 Extruder Motor Assembly Replacement

Архивированное руководство
Это руководство сохранено для исторических целей. Используйте его обновлённую версию, чтобы выполнить ремонт.

Выберете то, что вам нужно

  1. Creality Ender 3 Extruder Motor Assembly Replacement, extruder motor assembly: шаг 1, изображение 1 из 1
    • To start, unplug the cable from the power supply box.

  2. Creality Ender 3 Extruder Motor Assembly Replacement: шаг 2, изображение 1 из 2 Creality Ender 3 Extruder Motor Assembly Replacement: шаг 2, изображение 2 из 2
    • Remove the screw holding the spring in place.

    • Also, before going any further, remove the PFTE tubing from the assembly.

  3. Creality Ender 3 Extruder Motor Assembly Replacement: шаг 3, изображение 1 из 2 Creality Ender 3 Extruder Motor Assembly Replacement: шаг 3, изображение 2 из 2
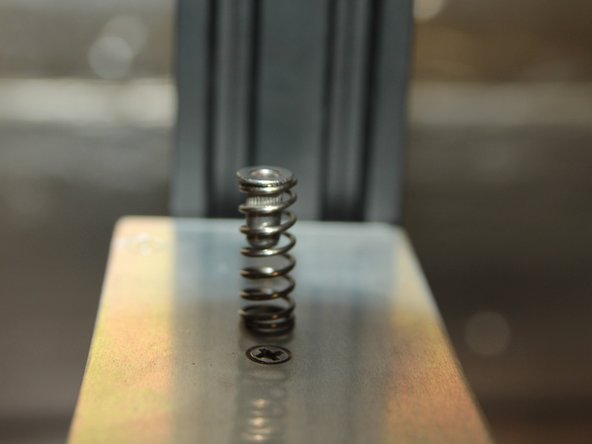
    • Once the screw is removed, take out the spring and the small metal bracket inside.

    • Once you are done, recall how the spring and bracket are put together.

  4. Creality Ender 3 Extruder Motor Assembly Replacement: шаг 4, изображение 1 из 1
    • Now, remove the small brass gear by loosening the small screws.

    • Do not loosen the screws all the way.

Заключение

This is a fairly easy repair, but if you need help, leave a comment on the guide.

Еще один человек закончил это руководство.

Cameron Smith

Участник с: 03/17/22

400 Репутация

Автор 2 руководств

Команда

Colorado Fixers Участник Colorado Fixers

Community

1 член

Автор 2 руководств

0 Комментариев

Добавить комментарий

Просмотр статистики:

За последние 24часов: 0

За последние 7 дней: 1

За последние 30 дней: 3

За всё время: 477