Перейти к основному содержанию

Эта версия возможно содержит некорректные исправления. Переключить на последнюю проверенную версию.

Выберете то, что вам нужно

  1. Этот шаг не переведен. Помогите перевести

    : шаг 1, изображение 1 из 3 : шаг 1, изображение 2 из 3 : шаг 1, изображение 3 из 3
    • Remove the back panel by using the plastic opening tool to carefully pry around the panel's edges.

    • The volume control button and the top power button may fall out during this step.

  2. Этот шаг не переведен. Помогите перевести

    : шаг 2, изображение 1 из 3 : шаг 2, изображение 2 из 3 : шаг 2, изображение 3 из 3
    • Unscrew the four Phillips #00 screws, each measuring 3mm, located at the corners of the motherboard.

  3. Этот шаг не переведен. Помогите перевести

    : шаг 3, изображение 1 из 3 : шаг 3, изображение 2 из 3 : шаг 3, изображение 3 из 3
    • Disconnect the ribbon cable located near the edge of the motherboard in the bottom right corner of the device.

  4. Этот шаг не переведен. Помогите перевести

    : шаг 4, изображение 1 из 2 : шаг 4, изображение 2 из 2
    Инструмент, используемый на этом этапе:
    Tweezers
    $4.99
    Купить
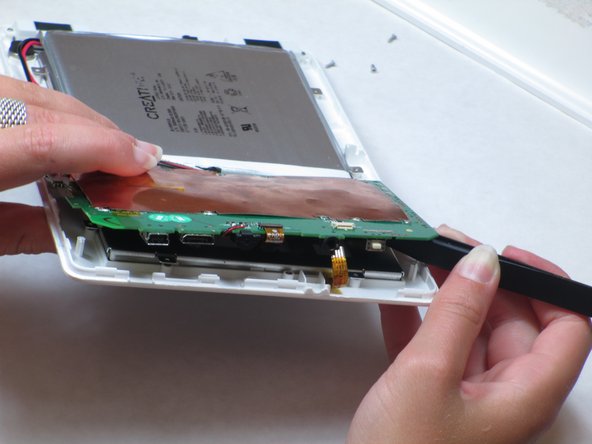
    • Lift up the motherboard carefully.

    • A mesh-like strip on the right side will be connected to the bottom of the motherboard.

    • Remove the tape on top of the strip. Use tweezers or pliers to pull on the strip and unplug it.

  5. Этот шаг не переведен. Помогите перевести

    : шаг 5, изображение 1 из 2 : шаг 5, изображение 2 из 2
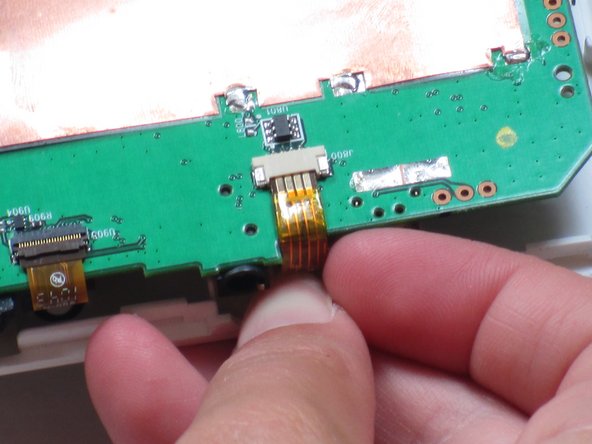
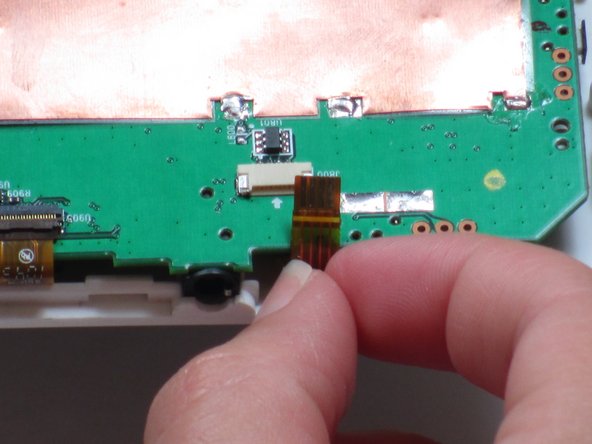
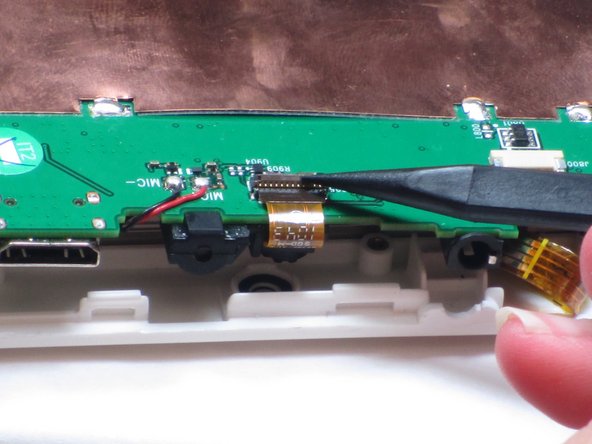
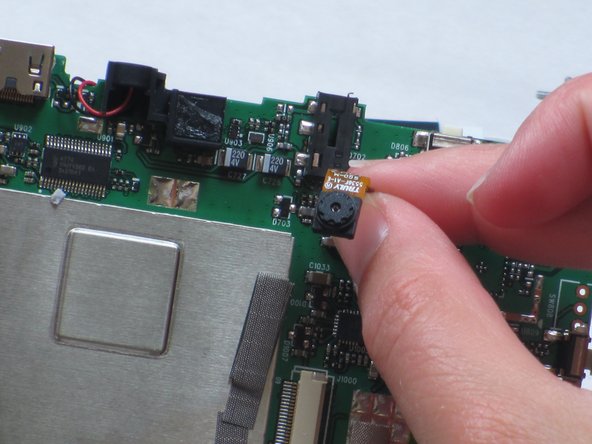
    • Lift up the motherboard and locate the ribbon cable (burnt orange-colored strip) centered on top of the motherboard.

    • The ribbon cable with the attached camera is plugged into the motherboard.

    • Unplug the ribbon cable using your fingers to pull up on the flap.

  6. Этот шаг не переведен. Помогите перевести

    : шаг 6, изображение 1 из 2 : шаг 6, изображение 2 из 2
    • Use a spudger to pry the camera away from the rubber camera mount.

    • Do not remove the entire rubber camera mount. Only remove the camera attached with adhesive.

    • Remove the broken camera and use electronic-friendly adhesive to attach a new camera.

Финишная черта

2 участников успешно повторили данное руководство.

Kendall Ruggles

Участник с: 04/16/13

35 Репутация

1 руководство автора

Команда

Cal Poly, Team 14-10, Maness Spring 2013 Участник Cal Poly, Team 14-10, Maness Spring 2013

CPSU-MANESS-S13S14G10

4 членов

Автор 13 руководств

0 Комментариев

Добавить комментарий

Просмотр статистики:

За последние 24часов: 0

За последние 7 дней: 0

За последние 30 дней: 34

За всё время: 364