Перейти к основному содержанию

Cricut Maker Roller Bar Replacement

Выберете то, что вам нужно

  1. Cricut Maker Roller Bar Replacement, Cricut Maker Lid Replacement: шаг 1, изображение 1 из 3 Cricut Maker Roller Bar Replacement, Cricut Maker Lid Replacement: шаг 1, изображение 2 из 3 Cricut Maker Roller Bar Replacement, Cricut Maker Lid Replacement: шаг 1, изображение 3 из 3
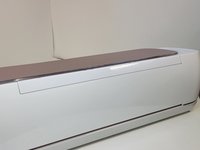
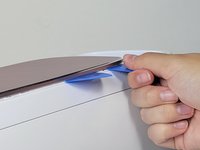
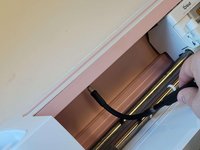
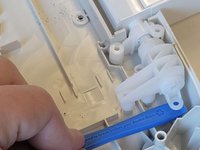
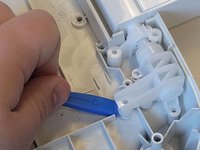
    • To remove the cover from the connecting joint, use an iFixit opening tool, and pry around the perimeter of the cover to release it.

    • Applying too much pressure to this can break it as it is very fragile.

    • There is some adhesive holding the cover, so it may take some patience and finesse to pry the cover off.

    • Remove the cover from the connecting joint and set it aside.

  2. Cricut Maker Roller Bar Replacement: шаг 2, изображение 1 из 2 Cricut Maker Roller Bar Replacement: шаг 2, изображение 2 из 2
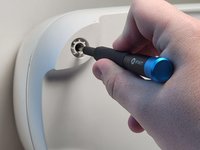
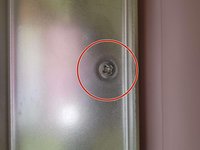
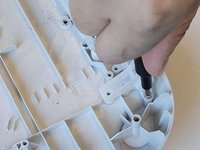
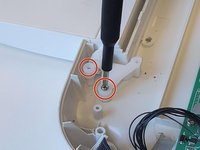
    • Remove the four, 10 mm Torx TR8 security screws holding the lid in place.

  3. Cricut Maker Roller Bar Replacement: шаг 3, изображение 1 из 3 Cricut Maker Roller Bar Replacement: шаг 3, изображение 2 из 3 Cricut Maker Roller Bar Replacement: шаг 3, изображение 3 из 3
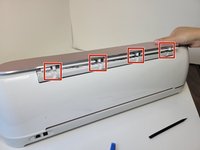
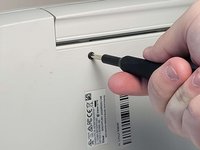
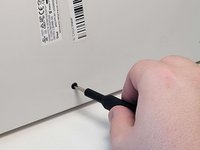
    • Turn the device around, so that the back is facing you.

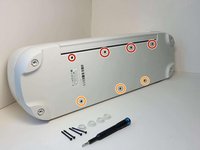
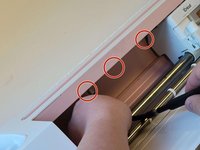
    • Look for the small rectangles along the back of the device. For every two rectangles, there is one cylindrical connector in between the two.

    • Wedge one or two iFixit opening picks in the seam connecting the Top Door to the device, and use the iFixit opening tool to pry upwards along the seam.

    • These actions should reveal the cylindrical connectors.

  4. Cricut Maker Roller Bar Replacement: шаг 4, изображение 1 из 1
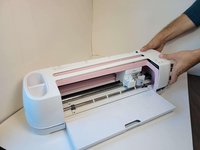
    • Press down on the lid.

    • Push the lid outwards to free it from the jointed clasps.

  5. Cricut Maker Roller Bar Replacement, Front Door Replacement: шаг 5, изображение 1 из 2 Cricut Maker Roller Bar Replacement, Front Door Replacement: шаг 5, изображение 2 из 2
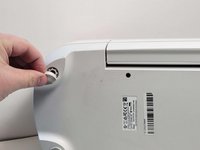
    • Using your hands or an opening tool, remove the four foot pads covering four screws.

    • Use a Phillips #1 screwdriver to remove four 41 mm screws from the feet.

  6. Cricut Maker Roller Bar Replacement: шаг 6, изображение 1 из 3 Cricut Maker Roller Bar Replacement: шаг 6, изображение 2 из 3 Cricut Maker Roller Bar Replacement: шаг 6, изображение 3 из 3
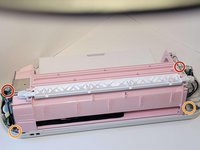
    • Remove the seven screws (Four 8.5 mm screws, and three 12.5 mm screws) on the bottom of the device, this will allow you to remove the cover later on.

    • Use a Phillips #1 screwdriver to remove the four 8.5 mm screws from the bottom of the device.

    • Use a Phillips #0 screwdriver to remove the three 12.5 mm screws.

  7. Cricut Maker Roller Bar Replacement: шаг 7, изображение 1 из 3 Cricut Maker Roller Bar Replacement: шаг 7, изображение 2 из 3 Cricut Maker Roller Bar Replacement: шаг 7, изображение 3 из 3
    • Turn the device on its side.

    • To remove the seven 10 mm screws from the underside of the top of the device, use a Phillips #1 screwdriver with the flex extension.

  8. Cricut Maker Roller Bar Replacement: шаг 8, изображение 1 из 3 Cricut Maker Roller Bar Replacement: шаг 8, изображение 2 из 3 Cricut Maker Roller Bar Replacement: шаг 8, изображение 3 из 3
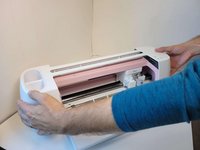
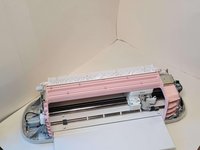
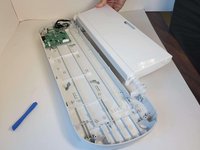
    • Lift the top case off of the base of the device.

    • After removing this cover, the internals of the device will be exposed.

  9. Cricut Maker Roller Bar Replacement: шаг 9, изображение 1 из 2 Cricut Maker Roller Bar Replacement: шаг 9, изображение 2 из 2
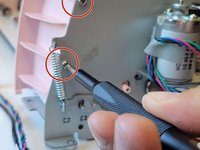
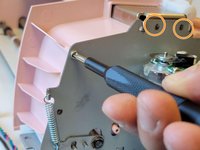
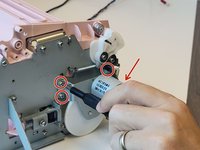
    • Use a Phillips #1 screwdriver to remove four 10 mm screws on the side of the device next to the motors.

    • Use a Phillips #1 screwdriver to remove the two 22 mm screws.

  10. Cricut Maker Roller Bar Replacement: шаг 10, изображение 1 из 3 Cricut Maker Roller Bar Replacement: шаг 10, изображение 2 из 3 Cricut Maker Roller Bar Replacement: шаг 10, изображение 3 из 3
    • Use a Phillips #1 screwdriver to remove two 10 mm screws. These are parallel to one another, one on either side of the machine.

    • Use a Phillips #1 screwdriver to remove two 8mm screws, these are also directly parallel to one another on either side of the machine.

  11. Cricut Maker Roller Bar Replacement: шаг 11, изображение 1 из 2 Cricut Maker Roller Bar Replacement: шаг 11, изображение 2 из 2
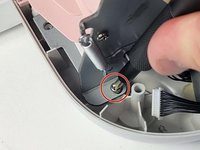
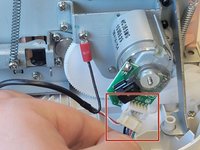
    • Unplug the bundled connector from the motor on both sides of the machine. To to avoid damage, coax the connector out of the socket gently using a spudger.

  12. Cricut Maker Roller Bar Replacement: шаг 12, изображение 1 из 2 Cricut Maker Roller Bar Replacement: шаг 12, изображение 2 из 2
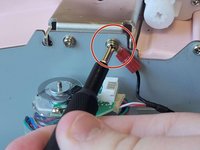
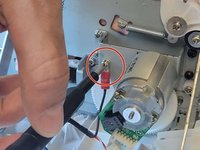
    • Using a Phillips #1 screwdriver, remove one 10 mm screw from both sides of the machine. This will release wires that are screwed into the sides of device.

    • Once the screws are removed and wires detached, the main body can be lifted off the base, and set aside.

  13. Cricut Maker Roller Bar Replacement: шаг 13, изображение 1 из 3 Cricut Maker Roller Bar Replacement: шаг 13, изображение 2 из 3 Cricut Maker Roller Bar Replacement: шаг 13, изображение 3 из 3
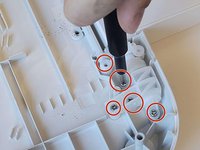
    • Remove a total of seven 10 mm screws from the underside of the door.

    • One side of the base has two 10mm screws.

    • The other side of the base has five 10 mm screws.

  14. Cricut Maker Roller Bar Replacement: шаг 14, изображение 1 из 3 Cricut Maker Roller Bar Replacement: шаг 14, изображение 2 из 3 Cricut Maker Roller Bar Replacement: шаг 14, изображение 3 из 3
    • Pry the door from hinges using an iFixit opening tool.

    • Lift upwards and towards you, to remove the door from the hinges.

  15. Cricut Maker Roller Bar Replacement, Motor: шаг 15, изображение 1 из 2 Cricut Maker Roller Bar Replacement, Motor: шаг 15, изображение 2 из 2
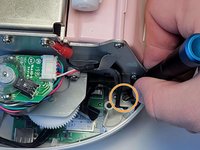
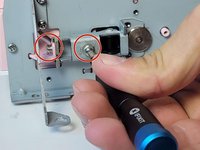
    • Use a Phillips #1 screwdriver to remove the four 5 mm screws that attach the motor on the left side of the machine.

  16. Cricut Maker Roller Bar Replacement: шаг 16, изображение 1 из 1
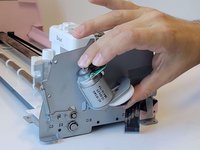
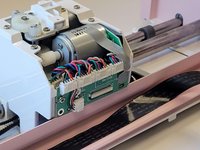
    • Remove the motor by pulling it from the device.

  17. Cricut Maker Roller Bar Replacement: шаг 17, изображение 1 из 1
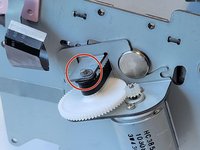
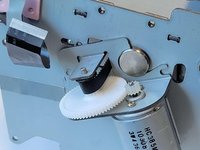
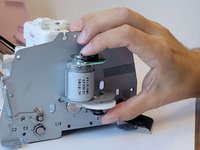
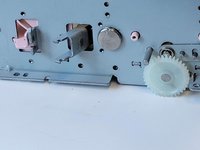
    • Under the motor there is a white plastic gear. To remove it, gently pull it off the axle.

  18. Cricut Maker Roller Bar Replacement: шаг 18, изображение 1 из 2 Cricut Maker Roller Bar Replacement: шаг 18, изображение 2 из 2
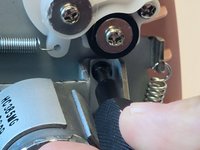
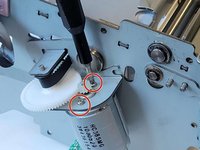
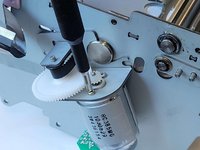
    • Remove the washer from the top screw above the motor.

    • We found it was easier done by hand.

  19. Cricut Maker Roller Bar Replacement: шаг 19, изображение 1 из 2 Cricut Maker Roller Bar Replacement: шаг 19, изображение 2 из 2
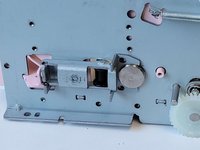
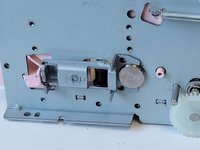
    • Remove the two 5 mm screws from the remaining motor on the opposite side, using a Phillips #2 screwdriver.

  20. Cricut Maker Roller Bar Replacement: шаг 20, изображение 1 из 2 Cricut Maker Roller Bar Replacement: шаг 20, изображение 2 из 2
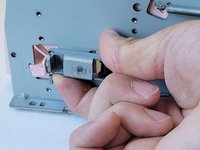
    • Twist and remove the motor from the machine.

    • Avoid touching the various tach disks on these motors.

  21. Cricut Maker Roller Bar Replacement, Belt: шаг 21, изображение 1 из 3 Cricut Maker Roller Bar Replacement, Belt: шаг 21, изображение 2 из 3 Cricut Maker Roller Bar Replacement, Belt: шаг 21, изображение 3 из 3
    • Remove the two 10 mm screws using a Phillips #2 screwdriver.

  22. Cricut Maker Roller Bar Replacement: шаг 22, изображение 1 из 2 Cricut Maker Roller Bar Replacement: шаг 22, изображение 2 из 2
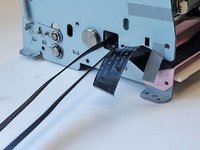
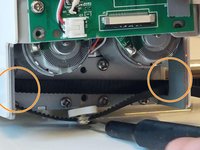
    • Pull the belt holder towards you, and twist it sideways to slide it neatly into the same hole the belt is emerging from.

  23. Cricut Maker Roller Bar Replacement: шаг 23, изображение 1 из 2 Cricut Maker Roller Bar Replacement: шаг 23, изображение 2 из 2
    • Pull the bar containing the axel and metal attachment out to remove them.

    • This should free the remaining side of the belt.

  24. Cricut Maker Roller Bar Replacement: шаг 24, изображение 1 из 2 Cricut Maker Roller Bar Replacement: шаг 24, изображение 2 из 2
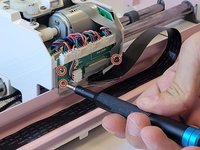
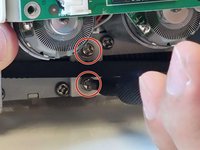
    • Use a Phillips #2 screwdriver to remove the four 10 mm screws from the board on the main motor.

  25. Cricut Maker Roller Bar Replacement: шаг 25, изображение 1 из 3 Cricut Maker Roller Bar Replacement: шаг 25, изображение 2 из 3 Cricut Maker Roller Bar Replacement: шаг 25, изображение 3 из 3
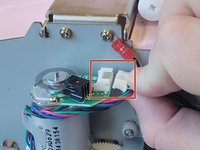
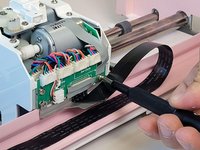
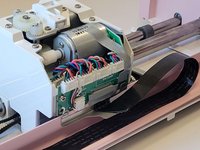
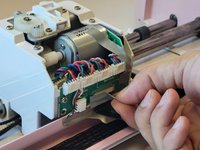
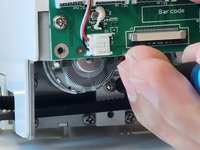
    • Remove the electrical tape from the connecting cable on the backside of the main motor.

    • Use the tip of a spudger or your fingernail to flip up the small locking flap.

    • Pull the cable out.

  26. Cricut Maker Roller Bar Replacement: шаг 26, изображение 1 из 3 Cricut Maker Roller Bar Replacement: шаг 26, изображение 2 из 3 Cricut Maker Roller Bar Replacement: шаг 26, изображение 3 из 3
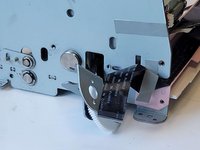
    • Use a Phillips #1 screwdriver to remove the two 7 mm screws from the belt holder under the main motor.

    • Removing these two screws will cause the belt holder to detach.

    • Slip it through the hole in the main motor frame.

  27. Cricut Maker Roller Bar Replacement: шаг 27, изображение 1 из 2 Cricut Maker Roller Bar Replacement: шаг 27, изображение 2 из 2
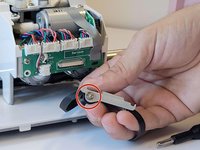
    • Remove the washer (e-clip) securing the bar to the belt holder.

    • We found it is easiest to remove by hand.

    • To remove it, simply twist and pull upwards to free it.

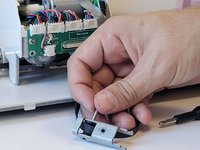
    • Remove the bar from the belt holder and then remove the belt holder.

    • Slip the belt out of the machine.

  28. Cricut Maker Roller Bar Replacement, Roller Bar Replacement: шаг 28, изображение 1 из 2 Cricut Maker Roller Bar Replacement, Roller Bar Replacement: шаг 28, изображение 2 из 2
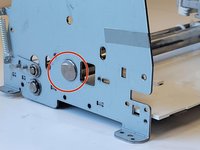
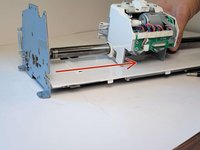
    • Pull the bar to the right of the machine, to free it from its placement.

  29. Cricut Maker Roller Bar Replacement: шаг 29, изображение 1 из 1
    • Slide the roller bar out to remove it from the machine.

Заключение

To reassemble your device, follow these instructions in reverse order.

4 человек успешно провели ремонт по этому руководству.

Devyn White

Участник с: 09/20/22

1 131 Репутация

Автор 5 руководств

Команду

Austin Community College, Team 9-1, Watkins Fall 2022 Участник Austin Community College, Team 9-1, Watkins Fall 2022

AUSTINCC-WATKINS-F22S9G1

3 членов

Автор 23 руководств

4Комментарии к руководству

I think there's a step missing between step 4 and 5. Took the lid off in 4 and in 5 we can already see the motor...

Jamie French - Ответить

For Step #4, for some models, there's 7 silver screws you'll need to remove. You'll need a #1 driver to take them out from the ceiling of the cutting area. That allowed me to take the lid off.

A Regis - Ответить

Do you have aline the gears when you put it back together that are on the left side for the small roller ?

Tim Norvill - Ответить

Someone can tell me where we can get this gear?

Rachel Cadot - Ответить

Добавить комментарий

Статистика просмотров:

За последние 24 час(ов): 5

За последние 7 дней: 33

За последние 30 дней: 248

За всё время: 18,692