Перейти к основному содержанию

Crosley CR42 Bushings Replacement

Выберете то, что вам нужно

  1. Crosley CR42 Bushings Replacement, Bushings: шаг 1, изображение 1 из 2 Crosley CR42 Bushings Replacement, Bushings: шаг 1, изображение 2 из 2
    • Turn the device around so the line out port faces you.

    • Remove the ten 12 mm screws with the Phillips screwdriver.

  2. Crosley CR42 Bushings Replacement: шаг 2, изображение 1 из 3 Crosley CR42 Bushings Replacement: шаг 2, изображение 2 из 3 Crosley CR42 Bushings Replacement: шаг 2, изображение 3 из 3
    • Pull the line out port toward you so you can view the inside of the Crosley.

    • Locate the wires that connect the line out port to the inside of the device.

  3. Crosley CR42 Bushings Replacement: шаг 3, изображение 1 из 3 Crosley CR42 Bushings Replacement: шаг 3, изображение 2 из 3 Crosley CR42 Bushings Replacement: шаг 3, изображение 3 из 3
    • Pull on the two connections to remove them from the back of the line out port.

    • Remove the antenna wire from the line out port, then remove the line out port and set it aside.

  4. Crosley CR42 Bushings Replacement: шаг 4, изображение 1 из 2 Crosley CR42 Bushings Replacement: шаг 4, изображение 2 из 2
    • Remove the red and black connection underneath the turntable.

  5. Crosley CR42 Bushings Replacement: шаг 5, изображение 1 из 1
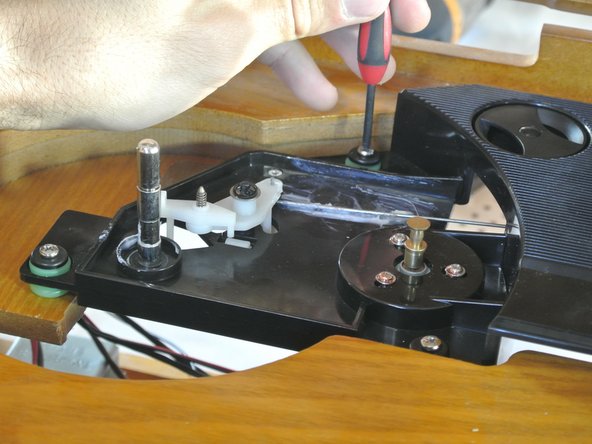
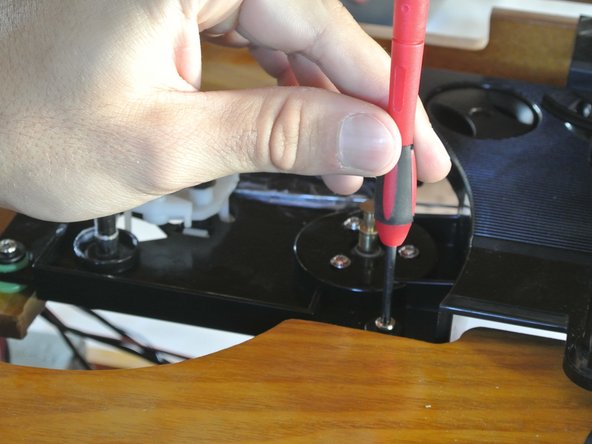
    • Position yourself in front of the turntable to unscrew the three bushing bolts.

  6. Crosley CR42 Bushings Replacement: шаг 6, изображение 1 из 3 Crosley CR42 Bushings Replacement: шаг 6, изображение 2 из 3 Crosley CR42 Bushings Replacement: шаг 6, изображение 3 из 3
    • Unscrew the three bushing bolts with the Phillips screw driver.

  7. Crosley CR42 Bushings Replacement: шаг 7, изображение 1 из 2 Crosley CR42 Bushings Replacement: шаг 7, изображение 2 из 2
    • Pull the turntable out from the casing.

    • Remove the three bushing bolts.

  8. Crosley CR42 Bushings Replacement: шаг 8, изображение 1 из 3 Crosley CR42 Bushings Replacement: шаг 8, изображение 2 из 3 Crosley CR42 Bushings Replacement: шаг 8, изображение 3 из 3
    • Pinch the rubber bushing at the bottom, then pull downwards to remove it.

    • Repeat the previous step for the other two bushings.

Заключение

To reassemble your device, follow these instructions in reverse order.

Еще один человек закончил это руководство.

Roberto Rosila

Участник с: 01/26/14

319 Репутация

Автор 3 руководств

Команда

Cal Poly, Team 1-38, Maness Winter 2014 Участник Cal Poly, Team 1-38, Maness Winter 2014

CPSU-MANESS-W14S1G38

4 членов

Автор 5 руководств

0 Комментариев

Добавить комментарий

Просмотр статистики:

За последние 24часов: 0

За последние 7 дней: 1

За последние 30 дней: 11

За всё время: 3,039