Перейти к основному содержанию

Cuisinart DGB-650 Motherboard Replacement

Выберете то, что вам нужно

  1. Cuisinart DGB-650 Motherboard Replacement, Motherboard: шаг 1, изображение 1 из 3 Cuisinart DGB-650 Motherboard Replacement, Motherboard: шаг 1, изображение 2 из 3 Cuisinart DGB-650 Motherboard Replacement, Motherboard: шаг 1, изображение 3 из 3
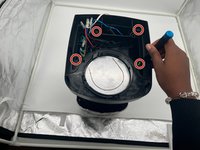
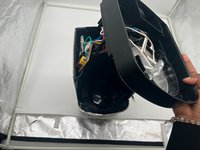
    • Turn the coffee maker upside down.

    • Remove the four 1.2 mm screws using a Phillips #0 screwdriver.

    • Remove the bottom cover to expose the heating element and pipes.

  2. Cuisinart DGB-650 Motherboard Replacement: шаг 2, изображение 1 из 3 Cuisinart DGB-650 Motherboard Replacement: шаг 2, изображение 2 из 3 Cuisinart DGB-650 Motherboard Replacement: шаг 2, изображение 3 из 3
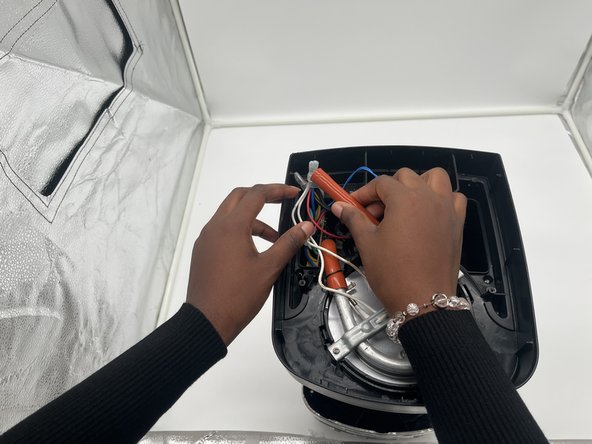
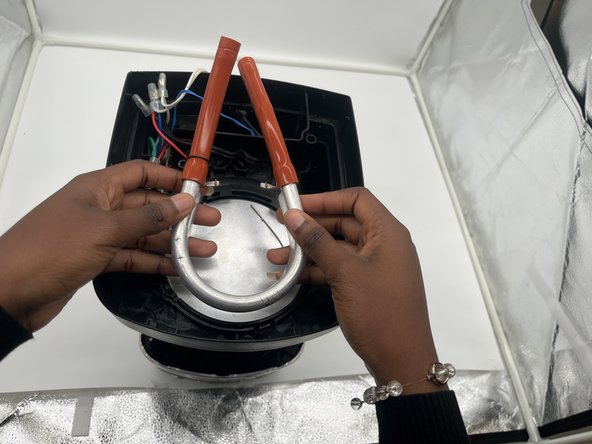
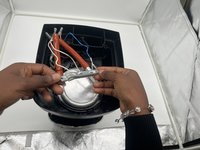
    • Firmly grasp both pipe endings next to the motherboard and gently pull both ends out.

  3. Cuisinart DGB-650 Motherboard Replacement: шаг 3, изображение 1 из 3 Cuisinart DGB-650 Motherboard Replacement: шаг 3, изображение 2 из 3 Cuisinart DGB-650 Motherboard Replacement: шаг 3, изображение 3 из 3
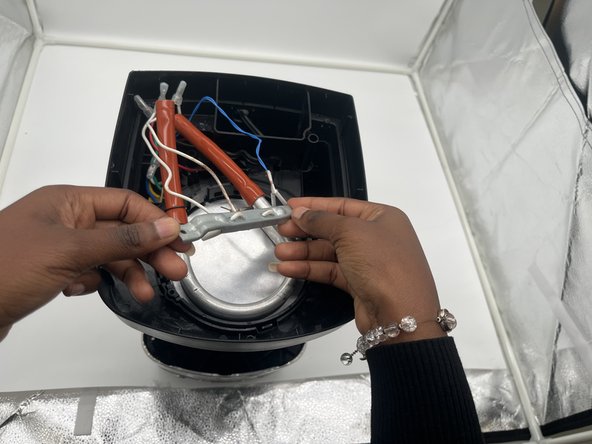
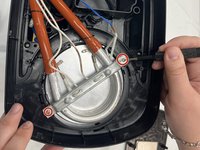
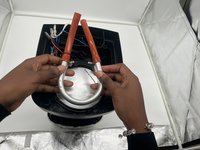
    • Remove the two 1.2 mm screws keeping the pipe clamp attached using a Phillips #0 screwdriver.

    • Lift the pipe clamp up and set it aside.

  4. Cuisinart DGB-650 Motherboard Replacement: шаг 4, изображение 1 из 3 Cuisinart DGB-650 Motherboard Replacement: шаг 4, изображение 2 из 3 Cuisinart DGB-650 Motherboard Replacement: шаг 4, изображение 3 из 3
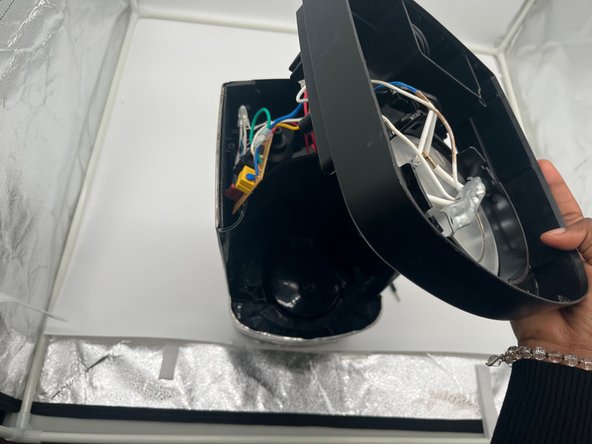
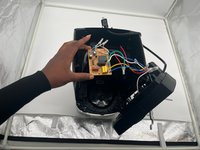
    • Remove the four 1.2 mm screws using a Phillips #0 screwdriver.

    • Remove the lid to get access to the motherboard.

  5. Cuisinart DGB-650 Motherboard Replacement: шаг 5, изображение 1 из 2 Cuisinart DGB-650 Motherboard Replacement: шаг 5, изображение 2 из 2
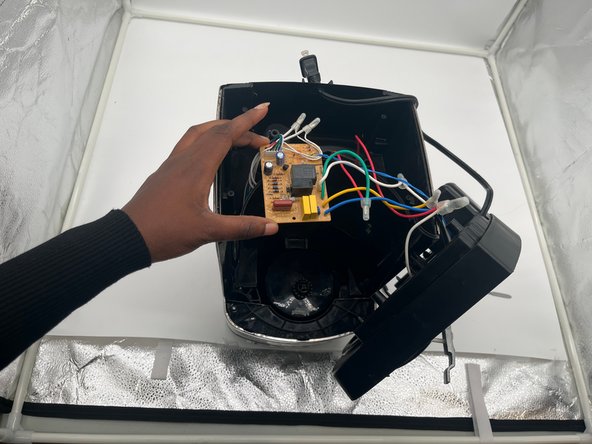
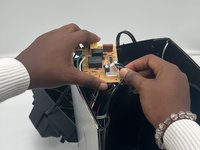
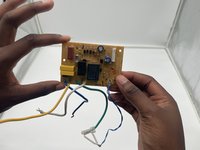
    • Gently grasp and remove the expansion slot on the motherboard with the six colorful wires intertwined together.

    • Gently grasp and remove the expansion slot.

  6. Cuisinart DGB-650 Motherboard Replacement: шаг 6, изображение 1 из 3 Cuisinart DGB-650 Motherboard Replacement: шаг 6, изображение 2 из 3 Cuisinart DGB-650 Motherboard Replacement: шаг 6, изображение 3 из 3
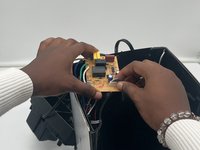
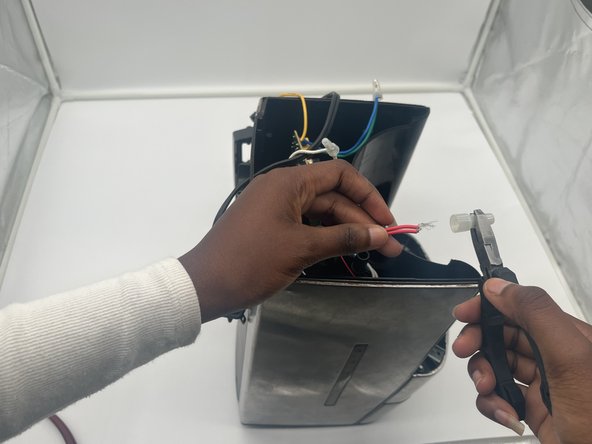
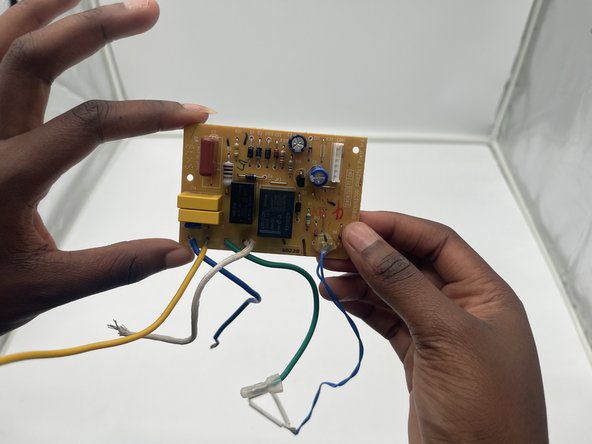
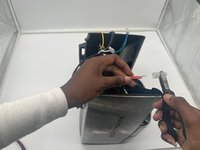
    • Use pliers to remove the plastic clamps from each of the six wires connected to the motherboard.

    • The motherboard should now be completely separated from the coffee maker.

Заключение

To reassemble your device, follow these instructions in reverse order.

jake hardison

Участник с: 10/01/24

220 Репутация

Автор 2 руководств

Команду

University of North Texas, Team 4-6, Harold Fall 2024 Участник University of North Texas, Team 4-6, Harold Fall 2024

UNT-HAROLD-F24S4G6

4 членов

Автор 10 руководств

0Комментарии к руководству

Добавить комментарий

Статистика просмотров:

За последние 24 час(ов): 2

За последние 7 дней: 7

За последние 30 дней: 15

За всё время: 74