Выберете то, что вам нужно
-
-
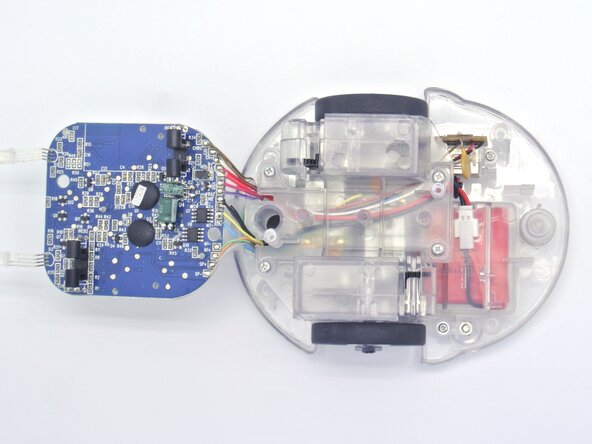
In this guide we will take a look at the internals of TTS's Blue-Bot and how we can completely disassemble it.
-
-
-
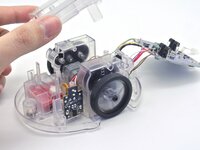
To open the Blue-Bot, remove the Phillips M3 screws and lift up the top cover.
-
-
-
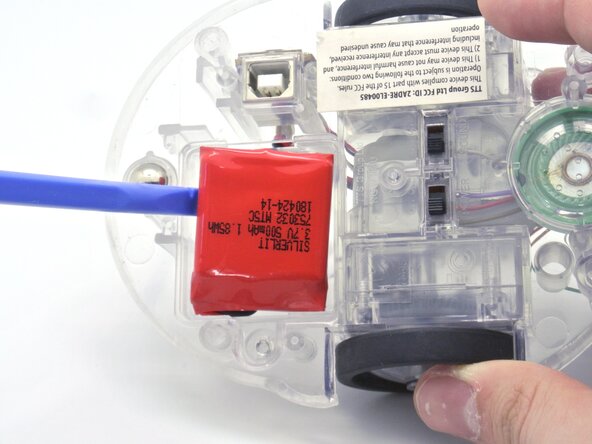
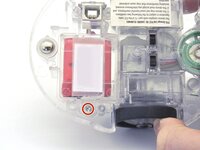
On the bottom of the robot, remove the Tri-angle screw.
-
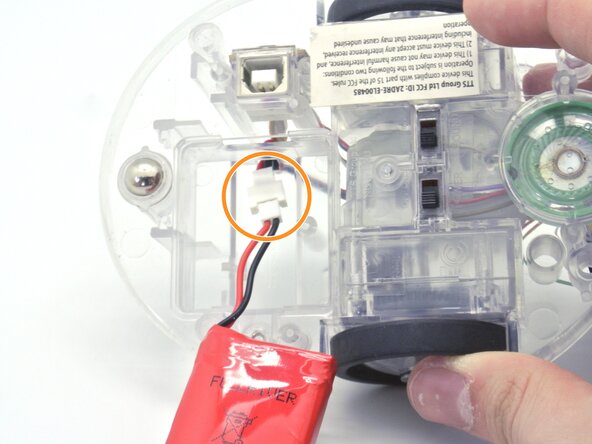
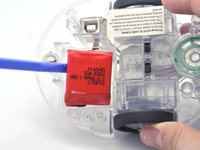
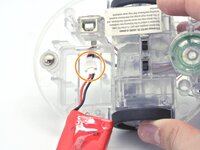
This will reveal the battery that you need to disconnect to remove it.
-
-
-
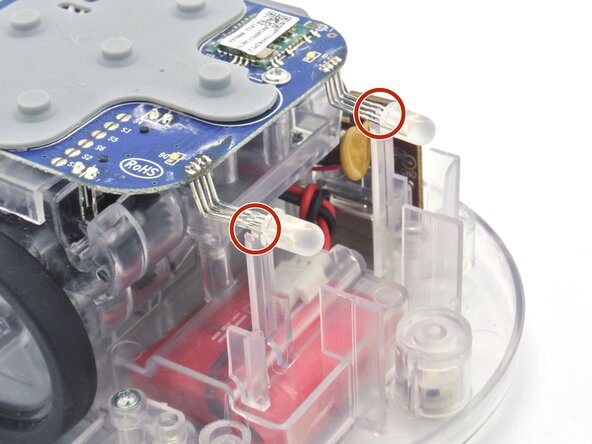
Now that the cover is off, we have access to the the PCB but before removing it the LEDs for the eyes are glued on the chassis.
-
With a hairdryer or a heat gun, we can soften the glue to remove it easily.
-
-
-
-
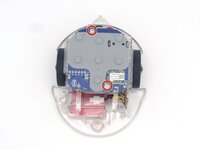
The next step is to remove the screws holding the PCB to the chassis.
-
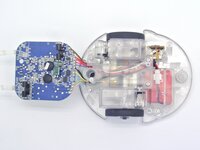
Remove the two M3 screws and simply lift up the PCB.
-
-
-
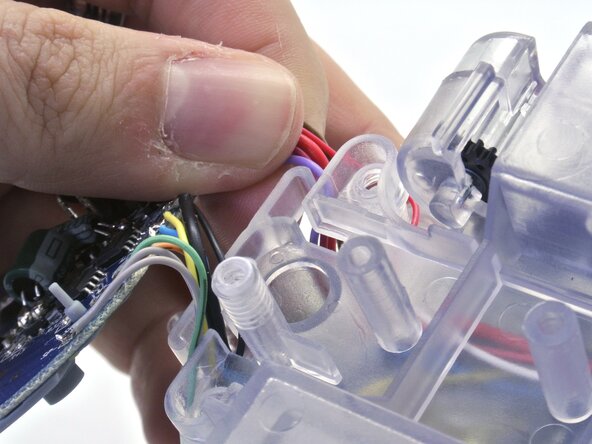
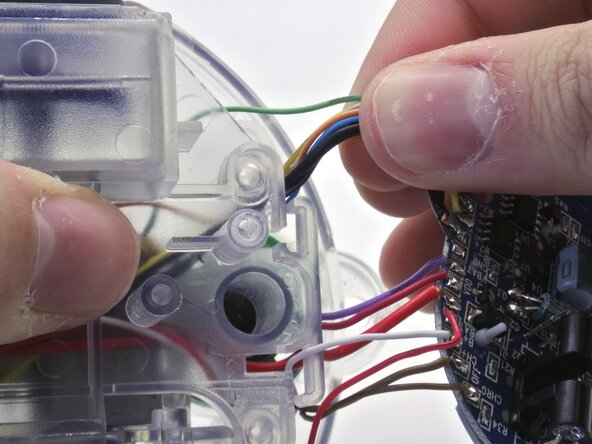
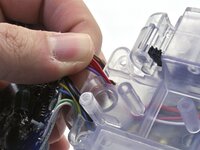
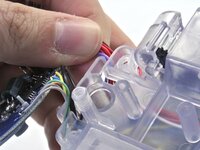
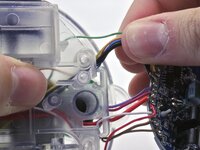
Before removing the plastic cover holding the motors we need to remove the PCB cables inserted in it.
-
-
-
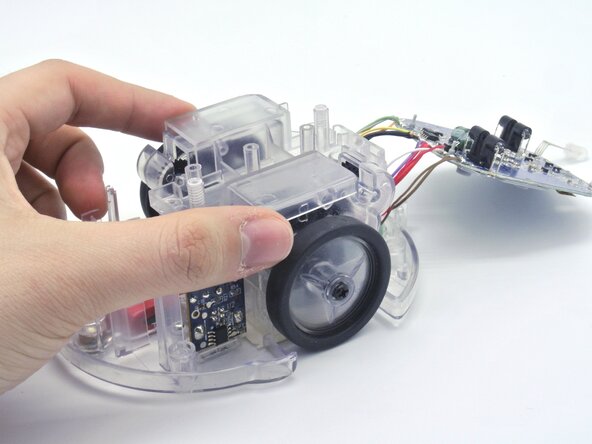
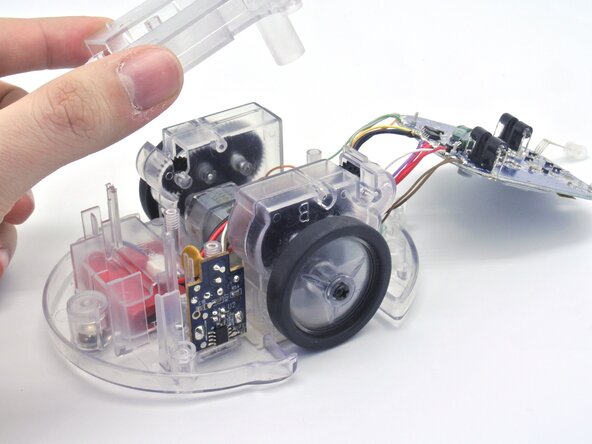
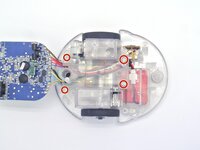
Remove the four Phillips M3 screws.
-
Simply lift the plastic cover and remove it.
-
-
-
To remove the USB connector, unscrew the two M3 screws on the side of the connector and lift.
-
-
-
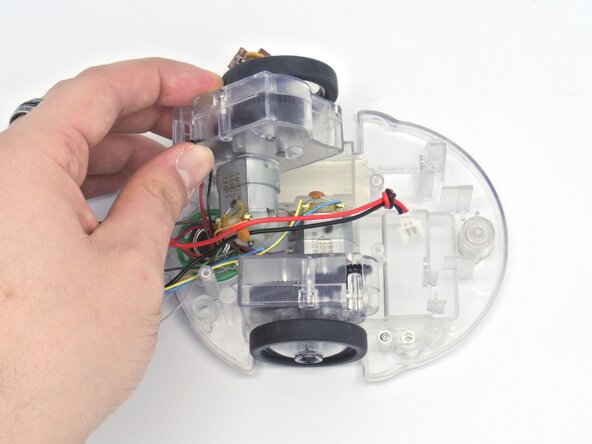
Now that everything is out of the way, you can just lift the motors up as shown.
-
-
-
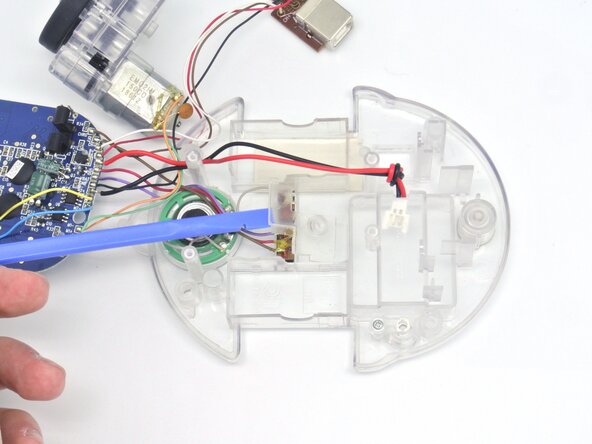
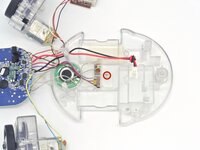
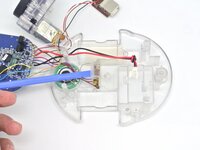
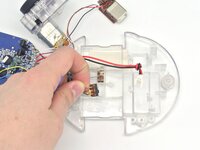
Remove the Phillips screw holding the plastic cover to get to the power and speaker switches.
-
-
-
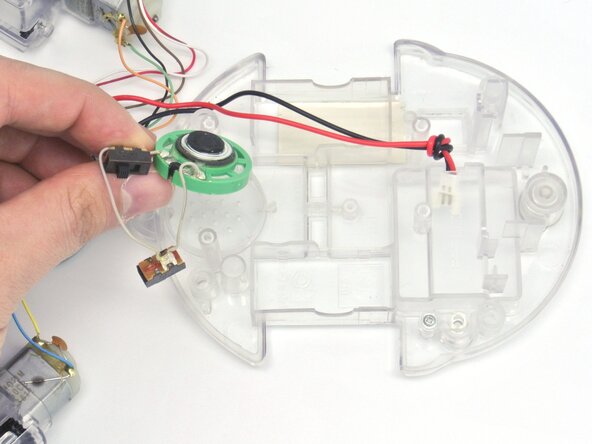
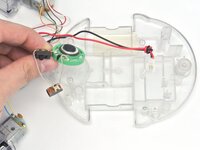
You can now remove the switches and the speaker from the chassis.
-
-
-
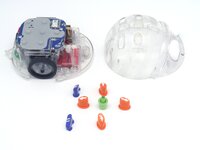
This concludes the Blue-Bot disassembly with all its different parts shown here.
-
Note: The only way to remove the battery connector is to remove solder on the PCB attaching the cable and pass the able through the hole.
-
To reassemble your device, follow these instructions in reverse order!
To reassemble your device, follow these instructions in reverse order!
Отменить: Я не выполнил это руководство.
Еще один человек закончил это руководство.


