Перейти к основному содержанию

D-Link dir-645 Disassembly

Выберете то, что вам нужно

  1. D-Link dir-645 Disassembly, Pry off the top: шаг 1, изображение 1 из 1
    • Pry off the top using a plastic pryer

  2. D-Link dir-645 Disassembly, Unscrew the bottom screws: шаг 2, изображение 1 из 1
    • Bottom: unscrew the two philips screws . Note: this probably voids any warranty

  3. D-Link dir-645 Disassembly, Pry off the bottom: шаг 3, изображение 1 из 1
    • Carefully pry off the bottom plastic

  4. D-Link dir-645 Disassembly, Split the cylinder in half: шаг 4, изображение 1 из 2 D-Link dir-645 Disassembly, Split the cylinder in half: шаг 4, изображение 2 из 2
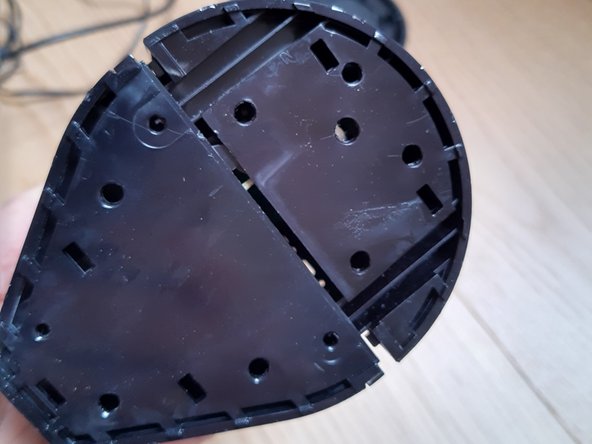
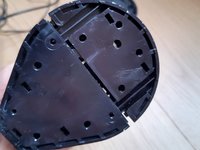
    • Start to pry at the bottom.

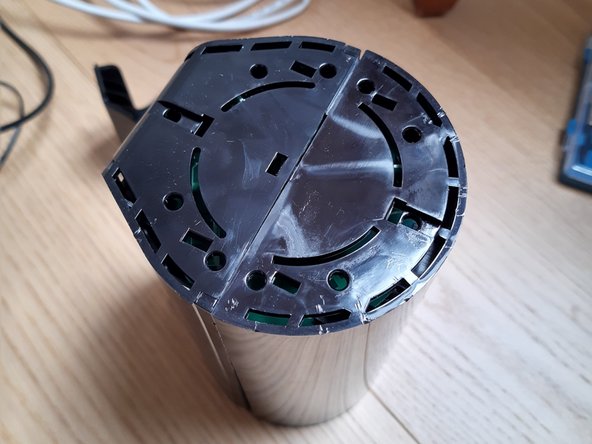
    • Work your way around until it comes off.

  5. D-Link dir-645 Disassembly, Opened!: шаг 5, изображение 1 из 2 D-Link dir-645 Disassembly, Opened!: шаг 5, изображение 2 из 2
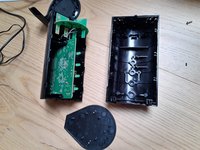
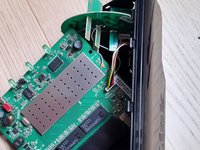
    • The inside consists of the main board ant the antenna, that's it.

    • The 360 deg antenna is connected to the main board with Hirose U.FL connectors and can be easily removed. https://en.wikipedia.org/wiki/Hirose_U.F...

Заключение

To reassemble your device, follow these instructions in reverse order.

2 человек успешно провели ремонт по этому руководству.

Endorph

Участник с: 10/07/14

2 385 Репутация

Автор 7 руководств

0 Комментарии к руководству

Добавить комментарий

Статистика просмотров:

За последние 24 часов: 0

За последние 7 дней: 1

За последние 30 дней: 5

За всё время: 521