Этот документ имеет более свежие изменения. Перейти к последней непроверенной версии.
Введение
The power supply switch turns power to the projector on and off. If the projector is not turning on, the power supply switch may need to be replaced.
Выберете то, что вам нужно
-
-
Place the projector upside down to access the screws on the bottom.
-
Remove the five 7mm long screws using a #3 Phillips screwdriver at least 2 inches long.
-
-
-
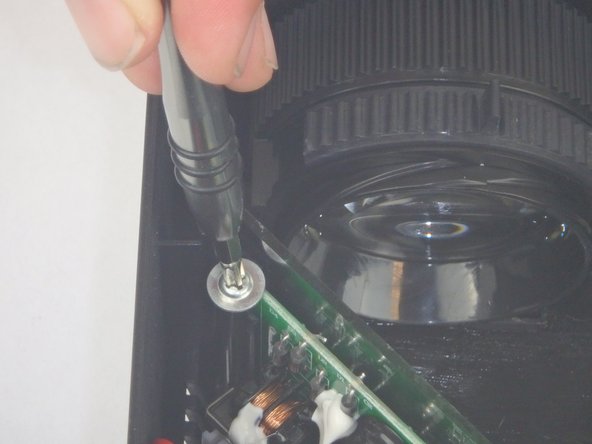
Remove the three 6mm PH2 phillips head screws.
-
Disconnect the ribbon cable by flipping up the latch on the connector and then pull the ribbon out.
-
-
-
-
Disconnect the three wire connectors. Grasp both sides of the connector and pull apart.
-
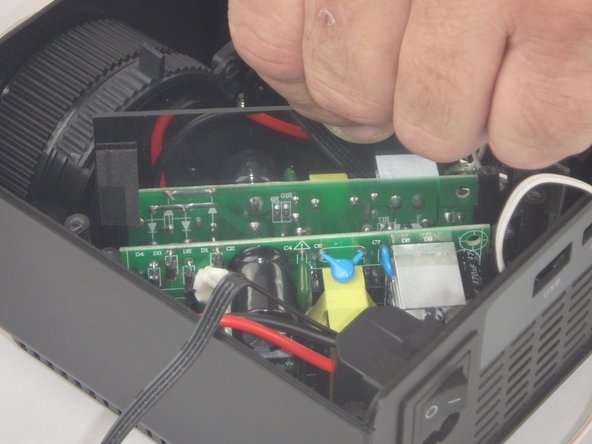
Lift the motherboard up and place it out of the way.
-
-
-
Remove the five 7mm PH2 phillips head screws on the black plate and lift the plate out.
-
Lift the aluminum heat sink up to remove it from the projector.
-
-
-
Remove the two 9mm PH2 phillips head screws.
-
Lift the mirror behind the power supply circuit out to gain access to the circuit board.
-
-
-
Lift the power supply circuit board out of the projector.
-
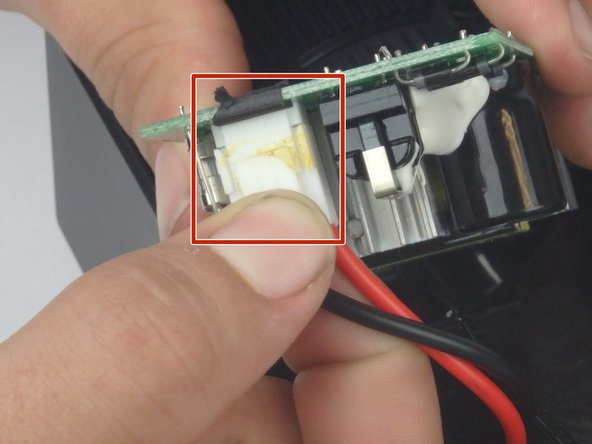
Disconnect the cable connector by pulling the two sides of the connector apart.
-
-
-
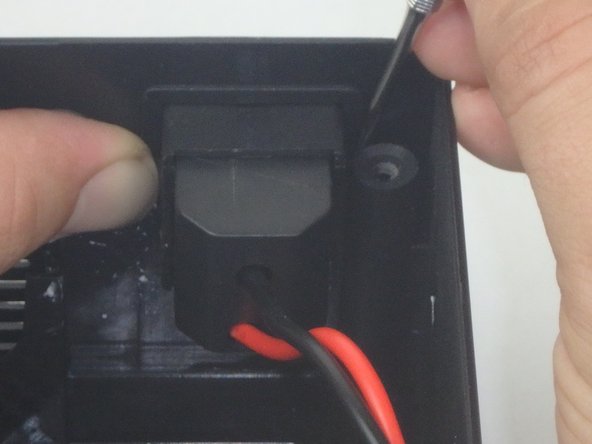
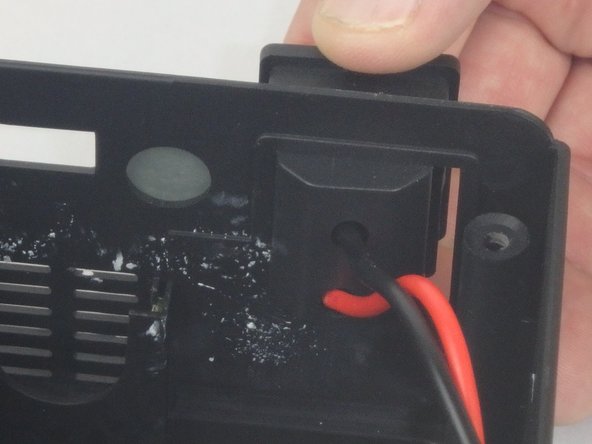
Using the small plastic splunger, press in on the two latches on the sides of the power supply switch, then push it out of the case.
-


To reassemble your device, follow these instructions in reverse order.
To reassemble your device, follow these instructions in reverse order.
Команда

USF Tampa, Team S5-G3, Eyestone Spring 2018 Участник USF Tampa, Team S5-G3, Eyestone Spring 2018
USFT-EYESTONE-S18S5G3
3 членов
Автор 9 руководств