Эта версия возможно содержит некорректные исправления. Переключить на последнюю проверенную версию.
Выберете то, что вам нужно
-
Этот шаг не переведен. Помогите перевести
-
To turn the drone off, press and hold the black button on the top of the drone until all lights are off.
-
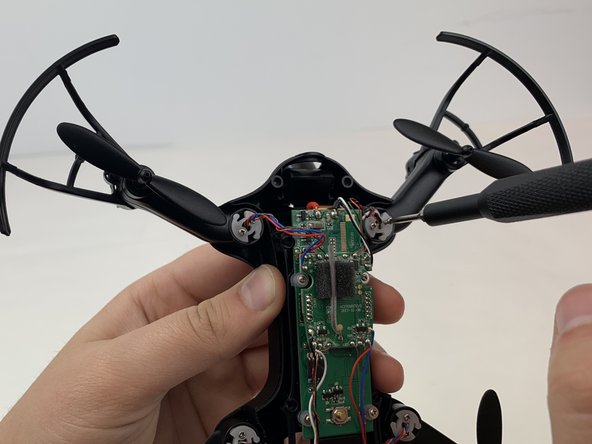
Firmly grasp the battery tab between your thumb and index finger.
-
Pull the battery away from the drone's body
-
-
Этот шаг не переведен. Помогите перевести
-
Using a Phillips #00 Screwdriver remove the eight 4mm screws on the bottom of the drone.
-
-
Этот шаг не переведен. Помогите перевести
-
Gently pull white casing away from the black bottom casing
-
-
-
Этот шаг не переведен. Помогите перевести
-
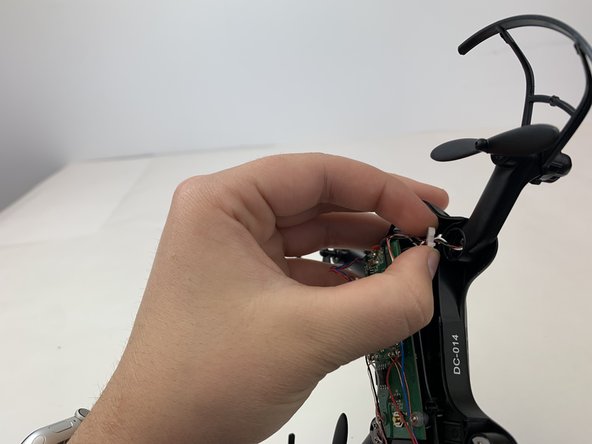
Insert the opening tool under one of the black plastic connector slots that connects the circuit-board to the casing.
-
Gently pull the opening tool toward you to disconnect the circuit-board from the plastic casing.
-
-
Этот шаг не переведен. Помогите перевести
-
Use a Phillips #00 screwdriver to remove the 5mm screws connecting the front two motor arms to the drone's body.
-
Use your fingers to gently pull the white plastic discs out of the motor arms.
-
-
Этот шаг не переведен. Помогите перевести
-
Grasp the motor arm and pull up and away from the drone's body.
-
Repeat this step for the other front motor arm.
-
-
Этот шаг не переведен. Помогите перевести
-
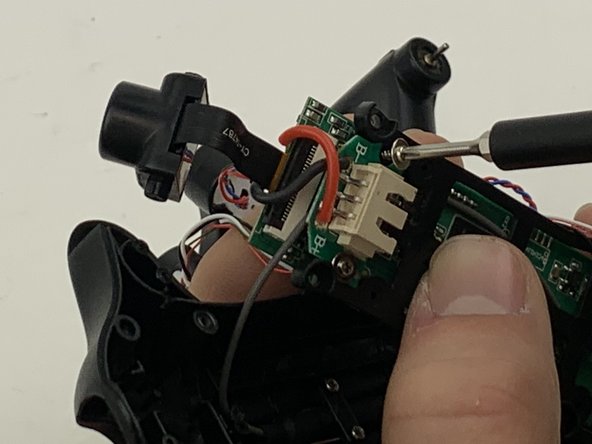
Using the Phillips #00 screwdriver, remove the two 3mm screws on the control board.
-
-
Этот шаг не переведен. Помогите перевести
-
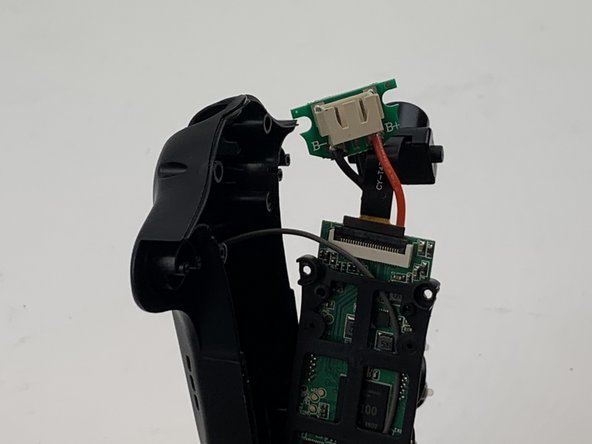
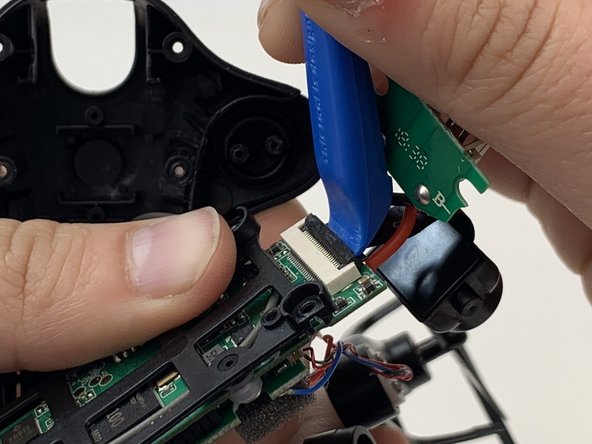
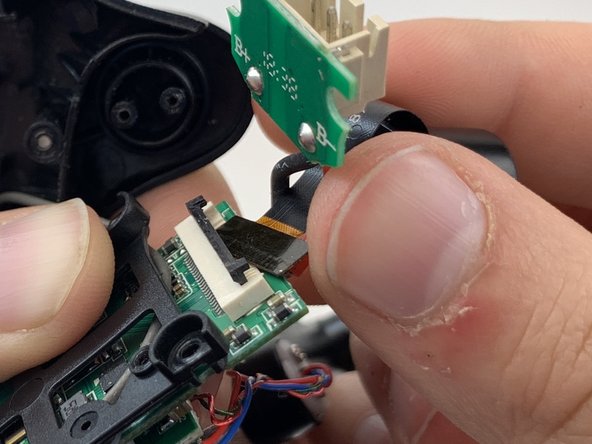
Using the opening tool flip up the black plastic clamp that holds the camera wire to the circuit board.
-
Gently pull the camera out from the control board.
-


Команда

Embry-Riddle Aeronautical University, Team S3-G5, Watkins Spring 2020 Участник Embry-Riddle Aeronautical University, Team S3-G5, Watkins Spring 2020
ERAU-WATKINS-S20S3G5
4 членов
Автор 5 руководств