Выберете то, что вам нужно
-
-
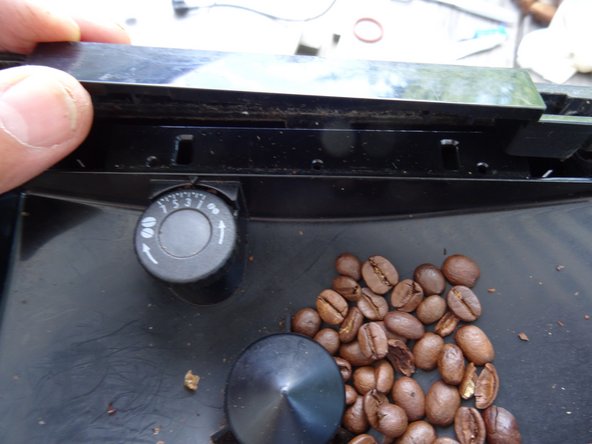
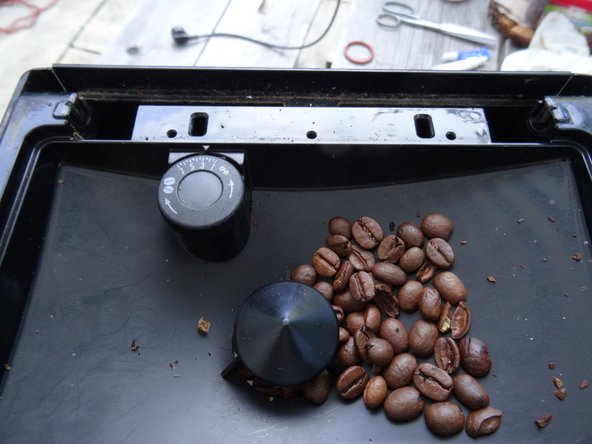
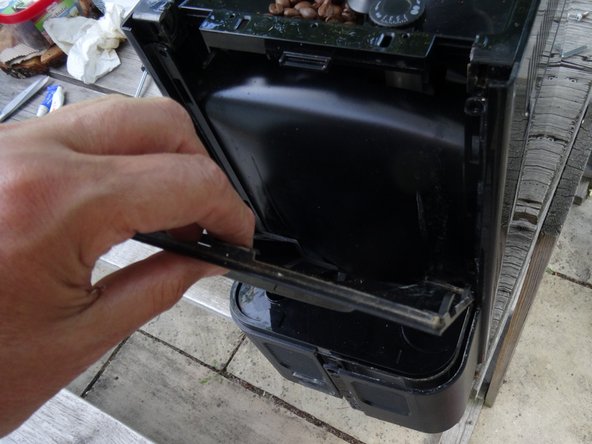
Remove all coffee beans. Remove all attachments such as drip tray, milk frother and water tank. Open the service door and remove the brew group.
-
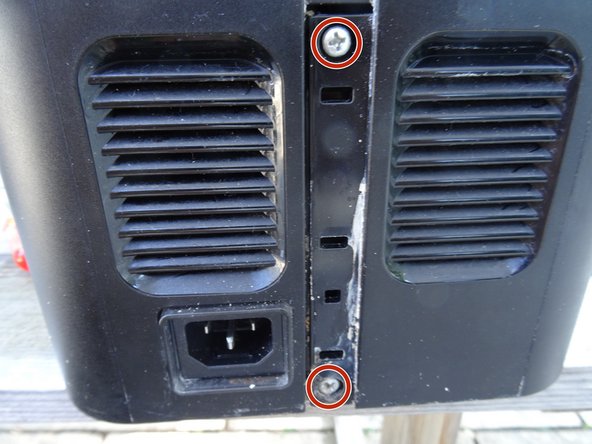
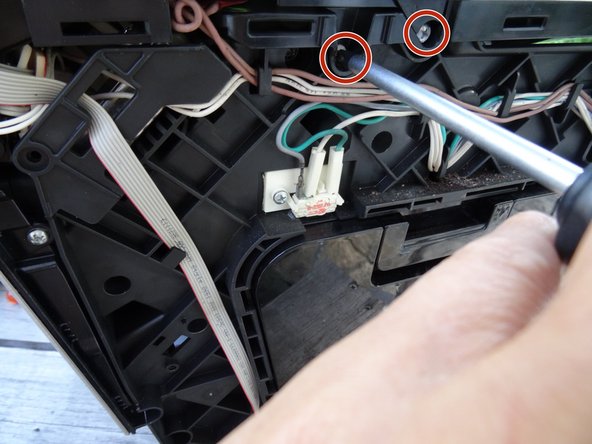
Unscrew the two Phillips screws
-
The Phillips screw under the water tank can remain.
-
-
-
The right side panel is removed in the same way, but the service hatch is a bit obstructive. Open it first and push the side panel back a few millimeters. This is often difficult and you will need a plastic lever tool.
-
Close the flap again and push the sides further back. It is a bit tricky and you have to work carefully. Lift out the side panel.
-
-
-
-
Some devices have a warming plate. Disconnect the flat plugs on the green/yellow protective earth conductors.
-
-
-
First loosen the detent on the edge. Use a thin flat-blade screwdriver to drive under the latch from behind. Insert a strong plastic lever tool into the gap between the control panel and the front. The latch opens with a loud crack.
-
Now you can open the other latches with the lever tool
-
-
-
Pull out the clip at the top left and loosen the pressure line. Pay attention to the O-ring. It either hangs on the line or afterwards. When reassembling, replace it with a new one if possible.
-
Pull out the clamp in the middle and loosen the pressure line. Pay attention to the O-ring. It either hangs on the line or afterwards. When reassembling, replace it with a new one if possible.
-
Pull out the clamp on the bottom left and loosen the pressure line. Pay attention to the O-ring. It either hangs on the line or afterwards. When reassembling, replace it with a new one if possible.
-
-
-
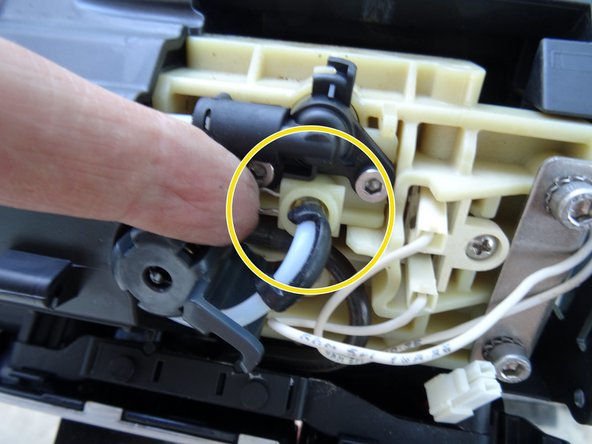
Pull off the hose to the coffee spout.
-
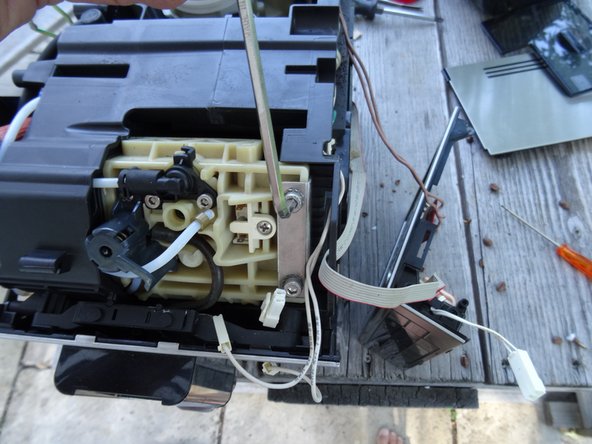
Pull out the pressure hoses that are in the way,through the openings on the left.
-
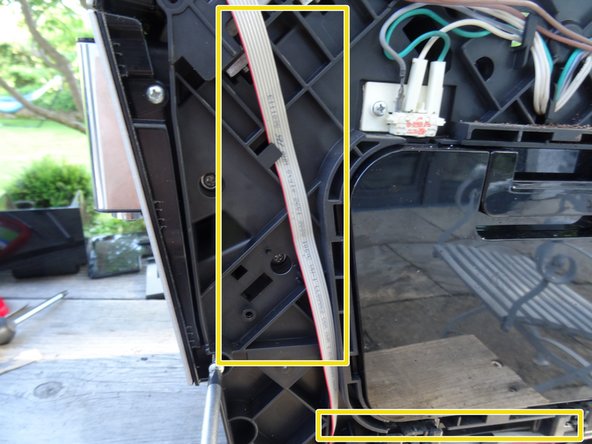
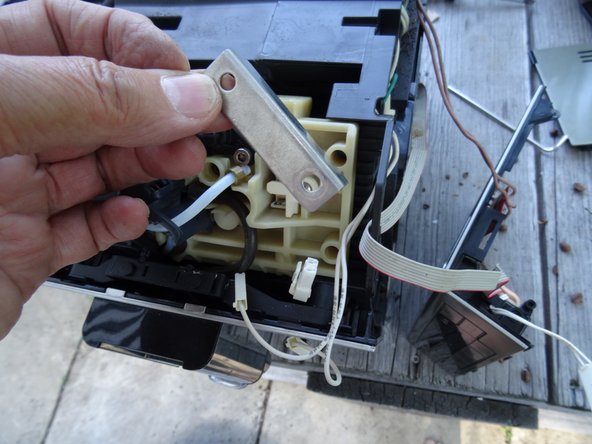
The upper piston support plate is now free. However, it is very tight and it is tricky to get it out. Be patient and work carefully. Make sure that the ribbon cable to the control panel is not damaged.
-


Work through the steps in reverse order to reassemble your device.
Work through the steps in reverse order to reassemble your device.
Особая благодарность этим переводчикам:
100%


Эти переводчики помогают нам починить мир! Хотите внести свой вклад?
Начните переводить ›
Команда

Repair is War on Entropy Участник Repair is War on Entropy
Community
25 членов
Автор 1 115 руководств