Введение
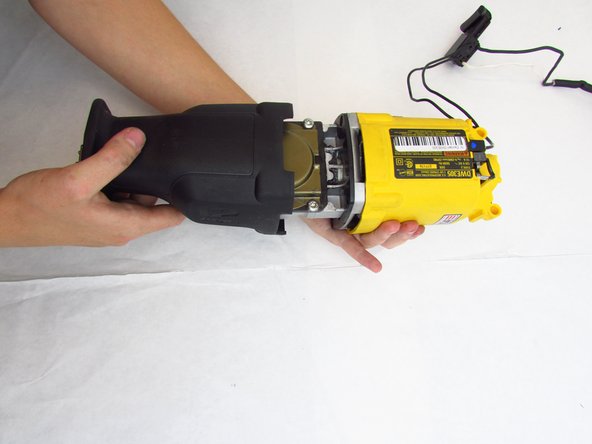
The motor assembly of the Dewalt DWE305 reciprocating saw may need to be replaced if it does not work when the battery is fully charged, it has not overheated, and the blade has been replaced. Troubleshooting of the DWE305 should be done by following the iFix it procedures at ++DeWalt DWE305 Troubleshooting. The following guide details the process of replacing the motor assembly of the DWE305.
By replacing the motor assembly it will return the DWE305 to working condition. No special skills are required for this project.
Выберете то, что вам нужно
-
-
Remove the large screw from the locking area of the device using a Phillips #2 screwdriver.
-
-
-
Remove all seven 3/4" button head Torx security screws on the left side of the handle with a Torx T20H screwdriver.
-
Remove the left side of the handle shown in the second picture.
-
Remove the single 3/4" button head Torx security screw from inside the handle using the Torx T15H screwdriver, and remove the trigger assembly from the handle and move aside.
-
-
-
Use a Torx T20H scrrwdriver to remove the four 3/4" button head Torx security screws from inside the saw blade housing.
-
-
-
-
Pull the black plastic cover (the shoe) from the device.
-
Slide the black rubber component (the boot) off to expose the reciprocating shaft and metal plate.
-
-
-
Remove the rubber gasket from over the four Torx security screws at the base of the gear assembly on the lower part of the device.
-
-
-
Remove the four 3/4" button head Torx security screws from the front with the Torx T20H screwdriver.
-
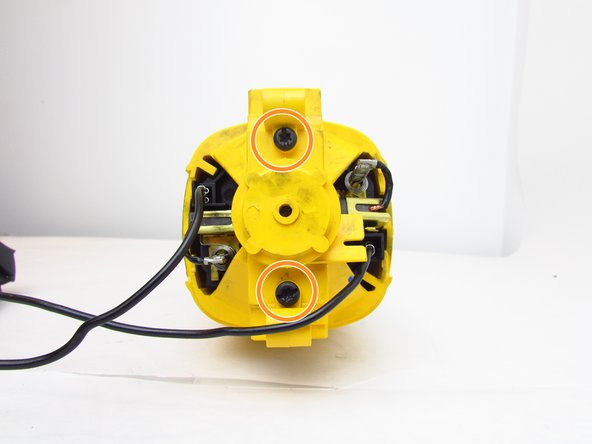
Turn the device over and remove the two 3/4" screws from the handle area with the Torx T20H screwdriver.
-
-
-
If there is damage, then replace or repair the device.
-
If no damage is observed, then other components should be examined.
-


To reassemble your device, follow these instructions in reverse order.
To reassemble your device, follow these instructions in reverse order.
Команда

Embry-Riddle Aeronautical University, Team S23-G4, McClure Fall 2019 Участник Embry-Riddle Aeronautical University, Team S23-G4, McClure Fall 2019
ERAU-MCCLURE-F19S23G4
4 членов
Автор 5 руководств