
Dell Chromebook 11 CB1C13 LCD Screen Replacement

Последнее обновление 17 сен 2026 г.
Просмотров: 2,6 тыс.
Просмотр статистики:
- За последние 24 часа:
- 2
- За последние 7 дней:
- 15
- За последние 30 дней:
- 81
- За все время:
- 2 619
Комментарии: 1
1 комментарий к инструкции.
Перейти к комментариям инструкцииЗавершено: 4 5
4 пользователей отметили эту инстркукцию как "завершенное". Вы будете следующим?
5 пользователей отметили эту инструкцию как "завершенное". В том числе и Вы — отличная работа!
Избранные: 1 2
1 человек поставил лайк на эту инструкцию (и подписался на нее). Вы будете следующим?
2 эта инструкция понравилось многим пользователям (и они подписались на нее), в том числе и Вам!
Нужны более качественные фото
Более качественные фотографии улучшат это руководство. Помогайте, делая снимки, редактируя или загружая новые!
Введение
Перейти к шагу 1 ↓The LCD screen is the main method for a device to portray information to the user. Even the slightest bit of damage to this can cause major changes in the display, and will require a replacement.
Выберете то, что Вам нужно
Запчасти


Инструменты


-
-
-
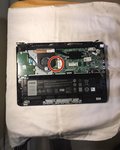
Remove all seven 8 mm Philips #0 screws from the back case with a Philips #0 screwdriver.
-
Once all seven screws are removed, you can pry the case off using your fingers or a plastic opening tool.
 Спросите у FixBot
-
-
-
-
-
Locate the two hinges on the corners of the device.
-
Unscrew the 5 2mm Phillips #00 screws in the hinges.
-
Pull the hinges up and slide bottom cover out
-
-
-
-
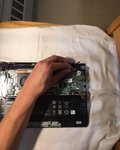
Locate the two cables that connect the top panel to the device. One black, and one white.
-
Remove these two cables by grabbing the golden ends with your fingers, and gently pulling straight up.
-
Remove pin port lifting up the hinge.
-
-
-
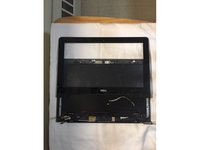
Locate the seam between the screen cover, and the top panel
-
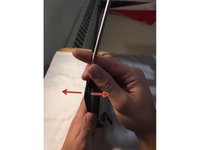
Starting at one of the hinge corners, take a thin metal prying tool and gently insert it into the seam.
-
Gently push the tool down towards the top panel until you feel the screen cover disconnect.
-
Repeat this process all around the screen cover until it is completely disconnected from the top panel.
-
-
-
-
-
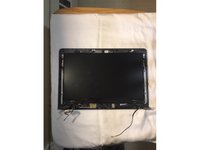
Locate 6 2mm phillips #00 screws that connect the LCD display to the screen panel.
-
Unscrew the 6 2mm Philips #00 screws.
-
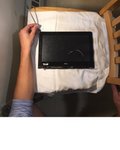
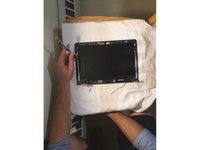
Carefully flip the LCD display, which is still connected to the device, over the hinges so that it is laying down next to the screen panel.
-
-
-
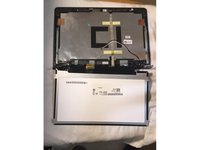
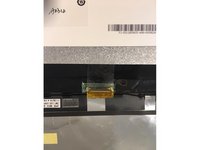
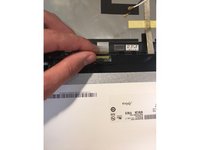
Locate the gold video cable that still connects the LCD cable to the display.
-
There will be a piece of tape on the cable. Carefully peel this off, and the pins should come out easily.
-
-








Отменить: Я не выполнил это руководство.
4 человек успешно провели ремонт по этому руководству.
Команду

UMass Dartmouth, Team S3-G6, Bailey Fall 2017 Участник UMass Dartmouth, Team S3-G6, Bailey Fall 2017
UMASSD-BAILEY-F17S3G6
3 членов
Автор 60 руководств
1 Комментарий к руководству
Zoom in a little more on the WLAN chip so it’s easier to see what wire goes where.
