Введение
Sometimes speakers or speaker housings can break overtime due to normal wear and tear. In this guide we will show you how to properly remove and replace the speakers.
Выберете то, что вам нужно
-
-
Use the #J0 screwdriver to unscrew the seven 4mm screws located around the back panel.
-
-
-
Use the plastic opening tool to gently pry around the four sides of the back panel until the panel is fully released.
-
-
-
Using a JIS #0 screwdriver, unscrew the two 4mm screws securing the battery in place.
-
-
-
-
Using the pointed end of a #2 spudger, remove the connection between the battery and motherboard by slightly pulling on the wires while pushing the tiny hole down using the spudger.
-
Pull out the battery from inside the laptop.
-
-
-
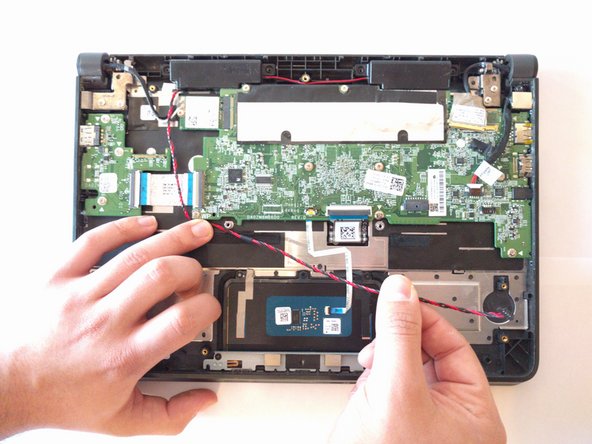
Gently remove the 4-pin connector that connects the speakers to the motherboard.
-
-
-
Carefully lift out the right speaker housing, which is held in place by circular rubber guides, located on both sides of the housing.
-
-
-
Moving down the cable, remove the left speaker housing, which is held in place by circular rubber guides, located on both sides of the housing.
-


To reassemble your device, follow these instructions in reverse order.
To reassemble your device, follow these instructions in reverse order.
Отменить: Я не выполнил это руководство.
Еще один человек закончил это руководство.
Команда

UMass Dartmouth, Team S4-G1, Julie Fall 2017 Участник UMass Dartmouth, Team S4-G1, Julie Fall 2017
UMASSD-JULIE-F17S4G1
3 членов
Автор 6 руководств