Перейти к основному содержанию

Dell Inspiron 13-7353 Screen Replacement

Выберете то, что вам нужно

  1. Dell Inspiron 13-7353 Screen Replacement, Flip the Computer: шаг 1, изображение 1 из 1
    • WARNING: Please read the safety information shipped with your computer and follow recommended steps before working inside your computer. When finished working inside your computer, follow the instructions included in the safety information.

    • Close the computer display and turn the computer over so that the base of the computer is facing up.

  2. Dell Inspiron 13-7353 Screen Replacement, Secure the Base: шаг 2, изображение 1 из 1
    • Remove the ten screws that secure the base cover to the base of the computer.

  3. Dell Inspiron 13-7353 Screen Replacement, Pry the Base cover: шаг 3, изображение 1 из 1
    • Using a plastic scribe (plastic opening tool), pry the base cover off of the base of the computer.

  4. Dell Inspiron 13-7353 Screen Replacement, RAM: шаг 4, изображение 1 из 2 Dell Inspiron 13-7353 Screen Replacement, RAM: шаг 4, изображение 2 из 2
    • Before opening your device, ensure that all data is backed up on a hard drive to prevent data loss.

    • Loosen and then unplug the hard drive cable.

  5. Dell Inspiron 13-7353 Screen Replacement: шаг 5, изображение 1 из 2 Dell Inspiron 13-7353 Screen Replacement: шаг 5, изображение 2 из 2
    • Remove the two M2 3mm screws attaching the battery using the Phillips #1 screwdriver.

    • Remove the battery.

  6. Dell Inspiron 13-7353 Screen Replacement: шаг 6, изображение 1 из 3 Dell Inspiron 13-7353 Screen Replacement: шаг 6, изображение 2 из 3 Dell Inspiron 13-7353 Screen Replacement: шаг 6, изображение 3 из 3
    • Pry open the two clips.

    • Gently lift the RAM stick and pull it out of the motherboard.

  7. Dell Inspiron 13-7353 Screen Replacement, Fan: шаг 7, изображение 1 из 3 Dell Inspiron 13-7353 Screen Replacement, Fan: шаг 7, изображение 2 из 3 Dell Inspiron 13-7353 Screen Replacement, Fan: шаг 7, изображение 3 из 3
    • Unplug the daughterboard cable in two places, then remove the daughterboard.

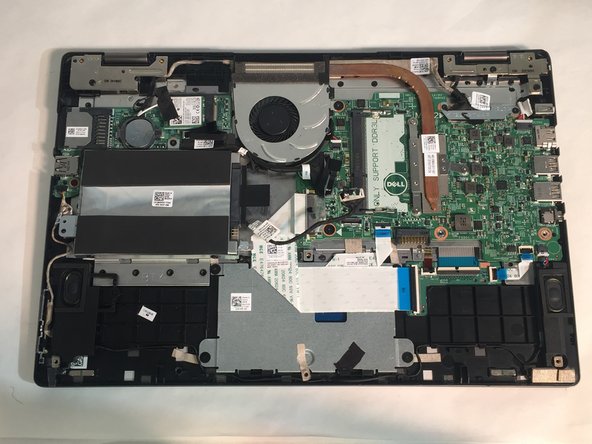
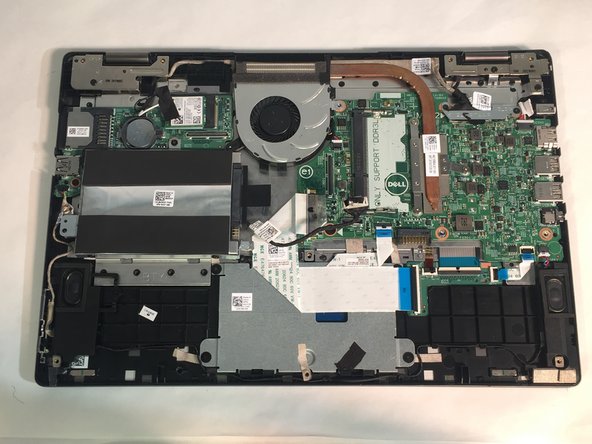
    • Unplug the fan cable.

  8. Dell Inspiron 13-7353 Screen Replacement: шаг 8, изображение 1 из 2 Dell Inspiron 13-7353 Screen Replacement: шаг 8, изображение 2 из 2
    • Remove two 3mm screws from the cooling fan using the Phillips #1 screwdriver.

    • Remove the cooling fan from the laptop.

  9. Dell Inspiron 13-7353 Screen Replacement, Heat Sink: шаг 9, изображение 1 из 3 Dell Inspiron 13-7353 Screen Replacement, Heat Sink: шаг 9, изображение 2 из 3 Dell Inspiron 13-7353 Screen Replacement, Heat Sink: шаг 9, изображение 3 из 3
    • Remove three 2mm screws from the heat sink using a Phillips #0 screwdriver.

    • Remove the heat sink.

  10. Dell Inspiron 13-7353 Screen Replacement, Screen: шаг 10, изображение 1 из 3 Dell Inspiron 13-7353 Screen Replacement, Screen: шаг 10, изображение 2 из 3 Dell Inspiron 13-7353 Screen Replacement, Screen: шаг 10, изображение 3 из 3
    • Remove the screws from the LCD cable bracket.

    • Remove the LCD cable bracket.

  11. Dell Inspiron 13-7353 Screen Replacement: шаг 11, изображение 1 из 3 Dell Inspiron 13-7353 Screen Replacement: шаг 11, изображение 2 из 3 Dell Inspiron 13-7353 Screen Replacement: шаг 11, изображение 3 из 3
    • Unplug the LCD cable.

    • Unplug the touchscreen cable.

  12. Dell Inspiron 13-7353 Screen Replacement: шаг 12, изображение 1 из 3 Dell Inspiron 13-7353 Screen Replacement: шаг 12, изображение 2 из 3 Dell Inspiron 13-7353 Screen Replacement: шаг 12, изображение 3 из 3
    • Unscrew 2 M2.5 7mm screws, using the Phillips 1 screwdriver, on the right screen hinge.

    • Unscrew 1 M2.5 7mm screw, using the Phillips 1 screwdriver, on the left screen hinge.

  13. Dell Inspiron 13-7353 Screen Replacement: шаг 13, изображение 1 из 2 Dell Inspiron 13-7353 Screen Replacement: шаг 13, изображение 2 из 2
    • Carefully undo the tape

    • Unplug the two black and white wire leads

  14. Dell Inspiron 13-7353 Screen Replacement: шаг 14, изображение 1 из 3 Dell Inspiron 13-7353 Screen Replacement: шаг 14, изображение 2 из 3 Dell Inspiron 13-7353 Screen Replacement: шаг 14, изображение 3 из 3
    • Carefully remove the tape that is attached to the screen by prying it off with your fingers.

    • Remove the tape outlined in red.

    • Adjust the screen so that the laptop is open flat against the surface.

    • Remove the LCD display screen by pulling it gently away from the back.

Заключение

To reassemble your device, follow these instructions in reverse order.

Stephany Marin Restrepo

Участник с: 03/19/18

613 Репутация

Автор 5 руководств

Команда

University of Memphis, Team S2-G2, Kim Spring 2018 Участник University of Memphis, Team S2-G2, Kim Spring 2018

UM-KIM-S18S2G2

3 членов

Автор 5 руководств

2 Комментариев

Wow. Thank you so much. I will do this when I get my replacement screen.

Chris Gallego - Ответить

Finally tried this and noticed you left out the most difficult part which is the part of putting on the actually replacing the screen. This is only for removal of the screen. And the instructions are definitely not the same backwards. You left out the part with the cable/wires closing with the hinges being the most difficult part. I actually forced the cable too much stripped the cable that goes around the new screen. Have to order new cable now ugh

Chris Gallego -

Добавить комментарий

Просмотр статистики:

За последние 24часов: 0

За последние 7 дней: 4

За последние 30 дней: 15

За всё время: 2,178