Введение
The motherboard functions as a central part of the laptop. Replacing the motherboard with a new one is an involved process, so we will walk you through each step of the process. All the tools needed is a screwdriver and a plastic spudger. Tweezers are optional.
Выберете то, что вам нужно
-
-
Remove the battery by sliding the battery release latch to the left.
-
Pull the entire battery away from the backing.
-
-
-
Remove the two Phillips Head 5 mm #0 screws holding the backing in place.
-
-
-
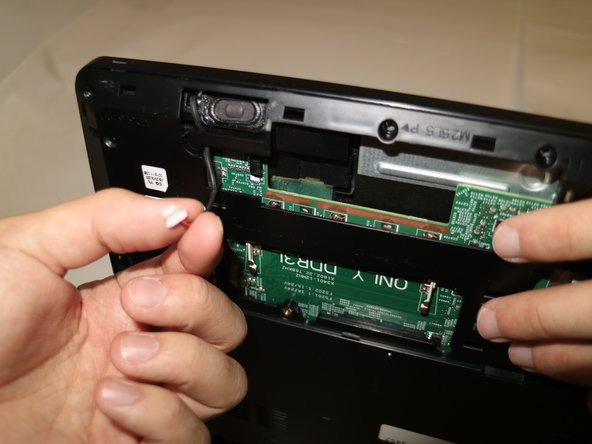
Locate the blue RAM chip sitting in the RAM bay.
-
Use your fingertips to pry apart the white RAM securing-clips on each side of the memory-module slot until the RAM chip pops up.
-
-
-
Pull the RAM chip away from the memory-module slot.
-
The RAM chip is now fully detached and ready to be replaced.
-
-
-
Remove the ten Phillips Head 5 mm #0 screws from the computer backing.
-
Remove the one Phillips Head 3 mm #0 screw from the computer backing.
-
-
-
-
Remove the Phillips Head 3 mm #0 screw that is holding the wireless card in place.
-
-
-
Using your fingertips remove the speaker cable from the motherboard by pulling the white connector away from the socket.
-
-
-
Disconnect the keyboard cable from the motherboard by lifting the black latch and pulling the cable out of its socket.
-
-
-
Remove the I/O board cable from the motherboard by lifting the black latch and pulling the cable out of its socket.
-
-
-
Remove the three Phillips Head 5 mm #0 screws.
-
Remove the one Phillips Head 3 mm #0 screw.
-
-
-
Disconnect the display cable from the motherboard by pulling tape back and lifting connector latch.
-
Pull the display cable away from the motherboard.
-
-
-
Remove the power adapter cable from the motherboard by sliding the cable out of its socket.
-
-
-
Remove the four Phillips Head 3 mm #0 screws from the fan.
-
Remove the fan cable from the motherboard by sliding the cable out of the socket.
-
Lift the fan off of the motherboard.
-


To reassemble your device, follow these instructions in reverse order.
To reassemble your device, follow these instructions in reverse order.
Отменить: Я не выполнил это руководство.
Еще один человек закончил это руководство.
Команда

Baylor, Team S2-G2, Johnson Spring 2018 Участник Baylor, Team S2-G2, Johnson Spring 2018
BU-JOHNSON-S18S2G2
3 членов
Автор 5 руководств
3 Комментариев
BEFORE REMOVING TOP CASE: There are screws under the keyboard and one silver screw under the battery that have to be removed. This guide forgot to mention that.
Hello.
Do you know how to expand the HDD memory of this same model 14-3452 ??; I have a motherboard similar to the one in this guide and it does not have the connector for the hard disk integrated into it.
I will greatly appreciate your help and response.
Can the inspiron 15 3552 motherboard replace this model to have access to harddrive use?