Перейти к основному содержанию

Dell Inspiron 5100 (2015) Thermal Paste Replacement

Выберете то, что вам нужно

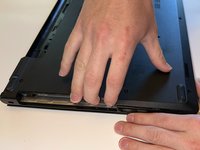
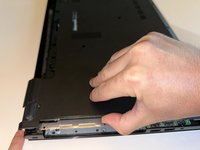
  1. Dell Inspiron 5100 (2015) Thermal Paste Replacement, Thermal Paste: шаг 1, изображение 1 из 3 Dell Inspiron 5100 (2015) Thermal Paste Replacement, Thermal Paste: шаг 1, изображение 2 из 3 Dell Inspiron 5100 (2015) Thermal Paste Replacement, Thermal Paste: шаг 1, изображение 3 из 3
    • Use the slider to release and remove the battery.

    • Remove the 11 screws using a small tip Phillips screwdriver.

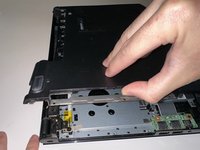
  2. Dell Inspiron 5100 (2015) Thermal Paste Replacement: шаг 2, изображение 1 из 3 Dell Inspiron 5100 (2015) Thermal Paste Replacement: шаг 2, изображение 2 из 3 Dell Inspiron 5100 (2015) Thermal Paste Replacement: шаг 2, изображение 3 из 3
    • Use a flat screw driver to pry against the angled metal.

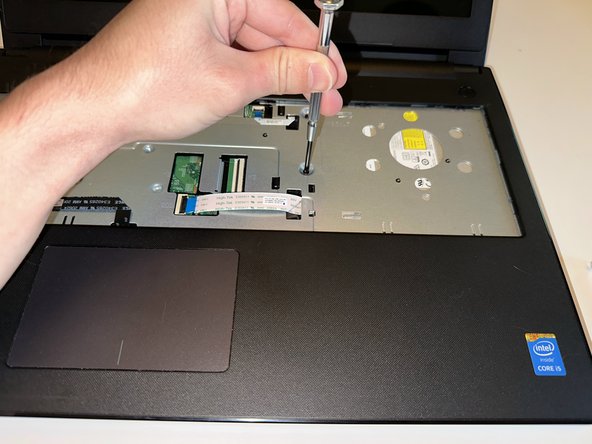
    • Remove the 3 small screws that were under the optical drive using a small tip Phillips screwdriver.

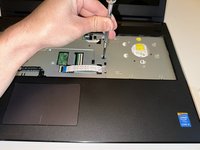
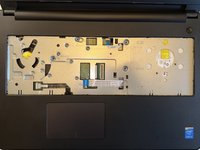
  3. Dell Inspiron 5100 (2015) Thermal Paste Replacement: шаг 3, изображение 1 из 3 Dell Inspiron 5100 (2015) Thermal Paste Replacement: шаг 3, изображение 2 из 3 Dell Inspiron 5100 (2015) Thermal Paste Replacement: шаг 3, изображение 3 из 3
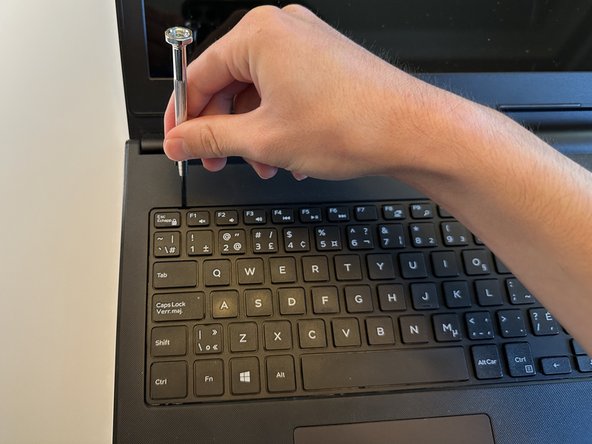
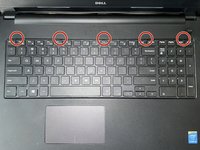
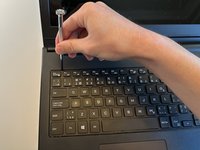
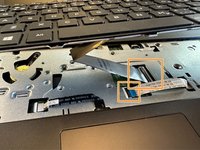
    • Use a small flat-head screwdriver to pry up at each point indicated to unclip the keyboard from the chassis.

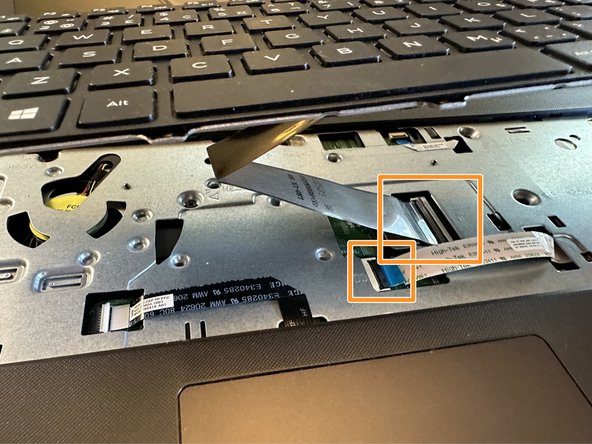
    • Lift the keyboard 2-3 inches up and carefully disconnect the two ribbon cables by unlatching the mechanism and carefully sliding the cable out horizontally.

    • Place the keyboard to the side.

  4. Dell Inspiron 5100 (2015) Thermal Paste Replacement: шаг 4, изображение 1 из 3 Dell Inspiron 5100 (2015) Thermal Paste Replacement: шаг 4, изображение 2 из 3 Dell Inspiron 5100 (2015) Thermal Paste Replacement: шаг 4, изображение 3 из 3
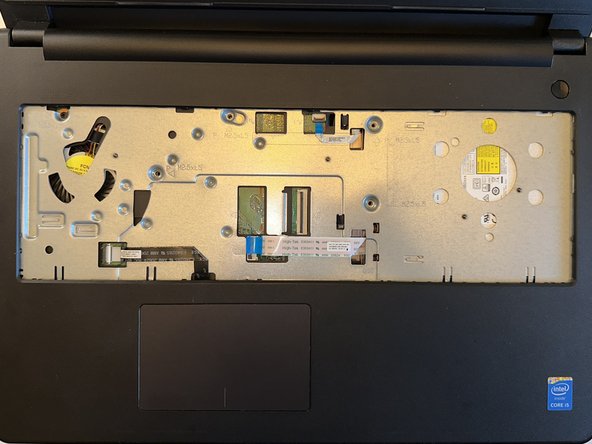
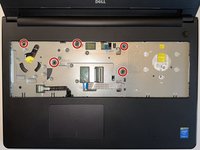
    • Remove the 5 screws using the small Phillips screwdriver.

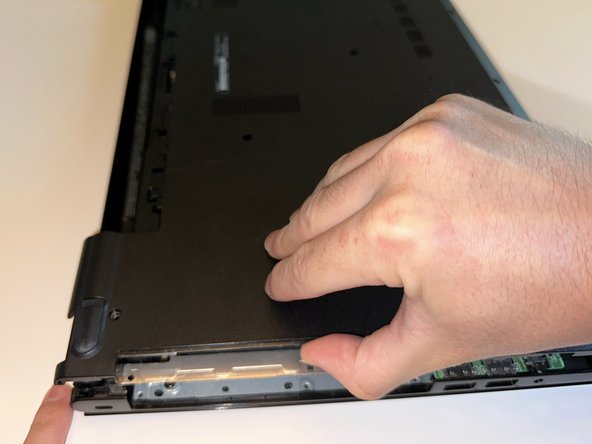
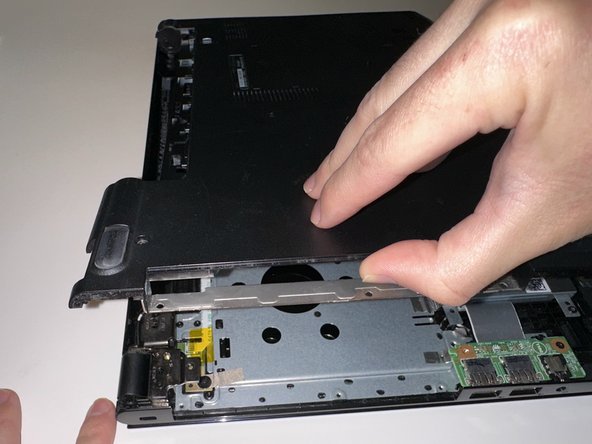
  5. Dell Inspiron 5100 (2015) Thermal Paste Replacement: шаг 5, изображение 1 из 3 Dell Inspiron 5100 (2015) Thermal Paste Replacement: шаг 5, изображение 2 из 3 Dell Inspiron 5100 (2015) Thermal Paste Replacement: шаг 5, изображение 3 из 3
    • Grab the bottom panel where the optical drive was and lift straight up.

    • It should start popping clips and then come off without much force required.

    • Pay special attention to not break any plastic clips.

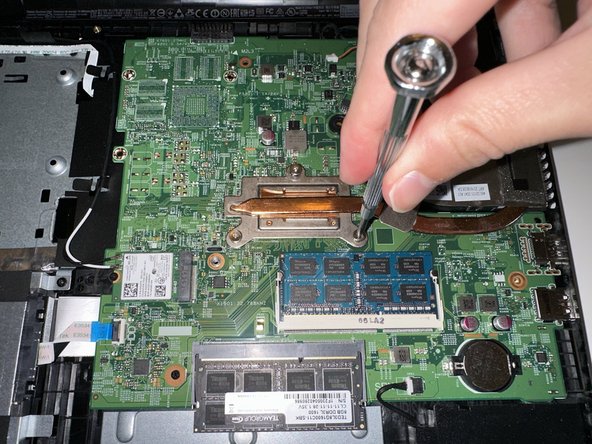
  6. Dell Inspiron 5100 (2015) Thermal Paste Replacement: шаг 6, изображение 1 из 3 Dell Inspiron 5100 (2015) Thermal Paste Replacement: шаг 6, изображение 2 из 3 Dell Inspiron 5100 (2015) Thermal Paste Replacement: шаг 6, изображение 3 из 3
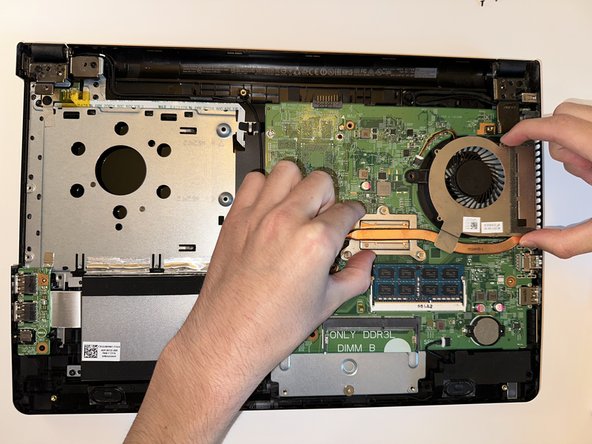
    • Loosen the screws one at a time and repeat until they are fully unscrewed.

    • Unplug the fan cable from the header by sliding it out horizontally.

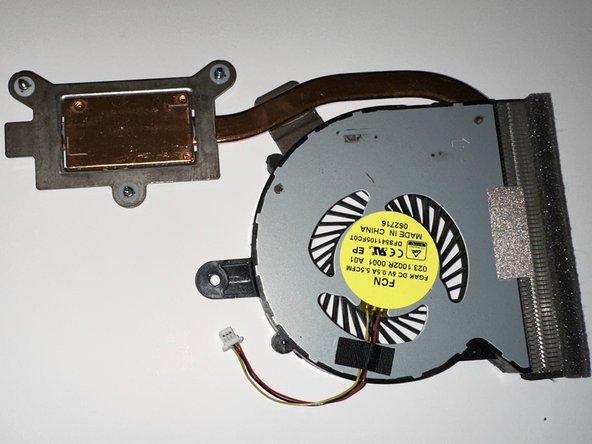
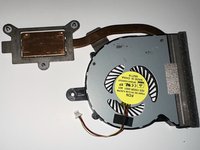
    • Lift the cooler off the CPU with one hand on the CPU area and one hand on the fan assembly.

  7. Dell Inspiron 5100 (2015) Thermal Paste Replacement: шаг 7, изображение 1 из 3 Dell Inspiron 5100 (2015) Thermal Paste Replacement: шаг 7, изображение 2 из 3 Dell Inspiron 5100 (2015) Thermal Paste Replacement: шаг 7, изображение 3 из 3
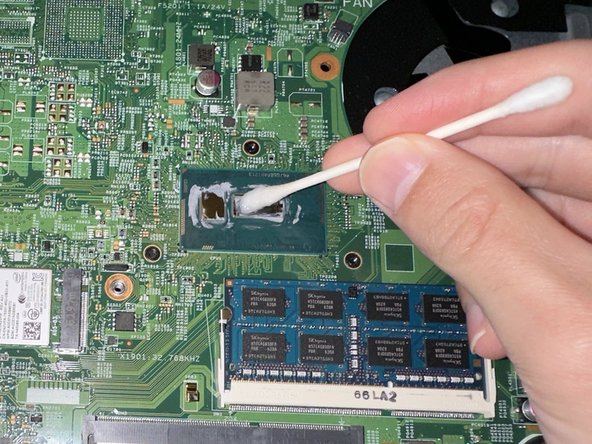
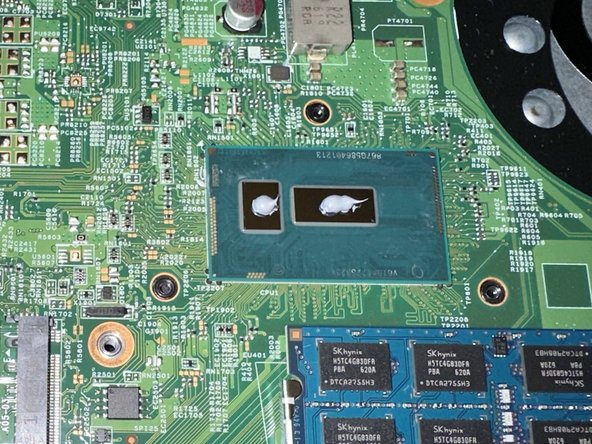
    • Using paper towels, q-tips, and isopropyl alcohol, clean off the old thermal paste on the CPU and heatsink.

    • Be careful around the CPU; it is delicate and can be damaged.

  8. Dell Inspiron 5100 (2015) Thermal Paste Replacement: шаг 8, изображение 1 из 2 Dell Inspiron 5100 (2015) Thermal Paste Replacement: шаг 8, изображение 2 из 2
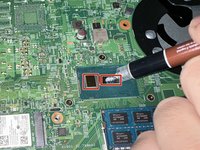
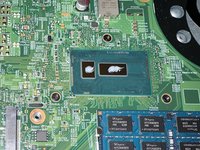
    • Apply a grain of rice amount of thermal paste to the CPU in the indicated spots.

Заключение

To reassemble your device, follow these instructions in reverse order.

Еще один человек закончил это руководство.

Dominic Treadwell

Участник с: 07/09/23

184 Репутация

1 руководство автора

Команда

Austin Community College, Team 1-8, Meigs Summer 2023 Участник Austin Community College, Team 1-8, Meigs Summer 2023

AUSTINCC-MEIGS-SU23S1G8

1 член

Автор 1 руководств

0 Комментариев

Добавить комментарий

Просмотр статистики:

За последние 24часов: 1

За последние 7 дней: 1

За последние 30 дней: 10

За всё время: 145