Этот документ имеет более свежие изменения. Перейти к последней непроверенной версии.
Введение
Are you trying to enhance your Dell Inspiron's graphics capabilities? Use this guide to replace your graphics card and let the visual splendor begin.
Выберете то, что вам нужно
-
-
Place the desktop on its side. Make sure to place the computer on a soft but firm surface.
-
Locate and remove the two screws that secure the side panel to the desktop:
-
Two 1/4" Phillips/slotted combination screws.
-
-
-
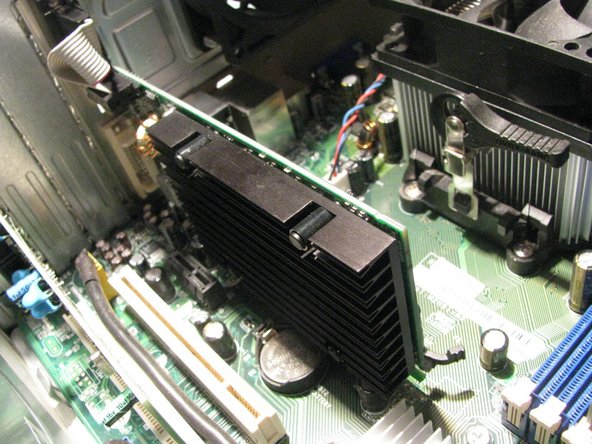
The graphics card is attached to the back of the desktop.
-
-
-
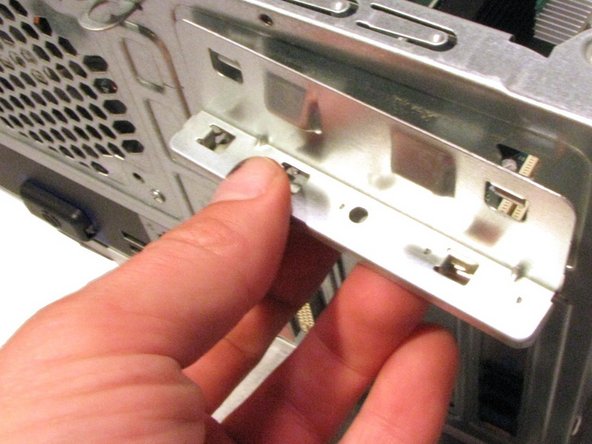
Remove the screw that secures the support bracket:
-
One 1/4" Phillips screw
-
-
-
-
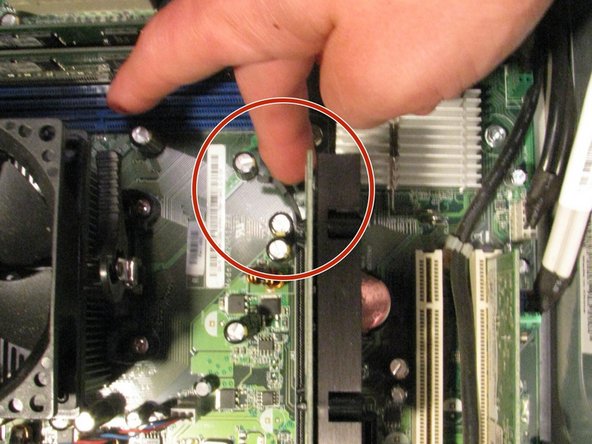
Locate the push tab that locks the graphics card into place.
-
Push the tab away from the graphics card and towards the fan.
-
Hold the tab in this position through step 7.
-
-
-
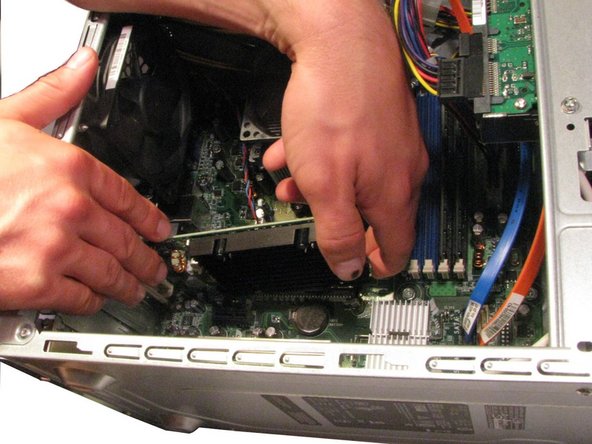
Keep the tab pushed away from the graphics card (see Step 6).
-
Gently lift the graphics card up and out of the desktop.
-
-
-
Remove the two screws holding the VGA ribbon cable to the bracket:
-
Two M3 hex standoff screws.
-
-
-
Gently unplug the ribbon cable from the header pins.
-
Remove the other end of the ribbon cable from the bracket.
-
-
-
Remove the two screws holding the DVI adaptor to the bracket:
-
Two M3 hex standoff screws.
-
-
-
Remove the bracket from the graphics card.
-
The job is done! You can now put the better graphics card in and bask in the joy of an enhanced visual experience.
-


To reassemble your device, follow these instructions in reverse order.
To reassemble your device, follow these instructions in reverse order.
