Введение
This guide will show you how to replace the LCD Screen on the Dell Inspiron 5758.
Prerequisite guides are:
- Battery
- Hard Drive
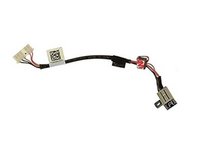
- DC Jack
- Keyboard
Выберете то, что вам нужно
-
-
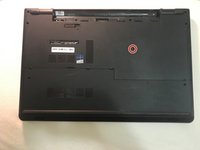
Flip the laptop with the serial number facing up. You should be able to see the battery release switch.
-
-
-
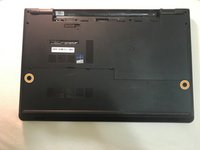
Slide the battery release switch towards the unlock icon.
-
Lift and pull the ejected battery to remove it.
-
-
-
Remove the one 3mm optical drive screw.
-
Remove the two 8 mm screws.
-
Pry up and remove the access door.
-
-
-
Unplug the hard drive cable.
-
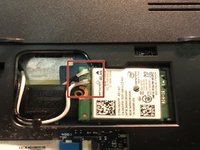
Use a plastic opening tool or your fingernail to pop the tab of the cable connector. Then you will be able to disconnect the cable.
-
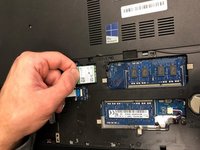
Remove the four 8 mm screws.
-
Remove the hard drive.
-
-
-
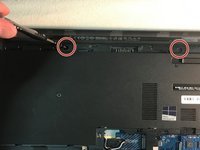
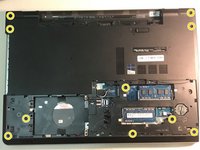
Remove the two 3 mm screws under the battery.
-
Remove the three 2 mm wafer screws under the optical drive.
-
Remove the ten 8 mm base screws.
-
-
-
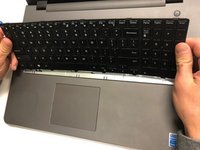
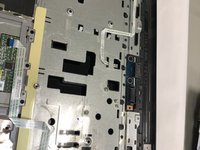
Press in the tabs to loosen the keyboard.
-
Carefully lift the keyboard up and turn it over.
-
-
-
-
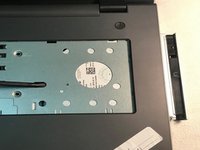
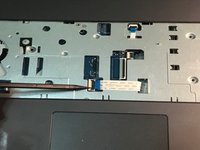
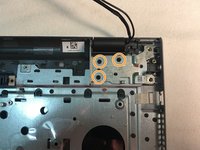
Remove the one 5mm screw.
-
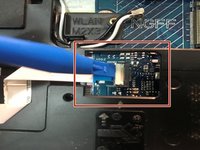
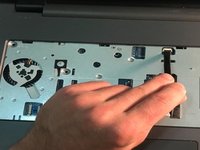
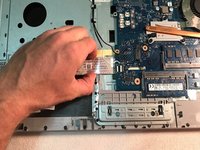
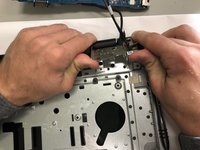
Lift the circuit board & turn it over.
-
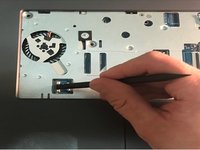
Unplug the cable.
-
Remove the audio/USB circuit board.
-
-
-
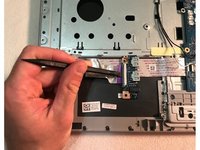
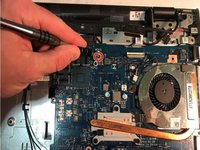
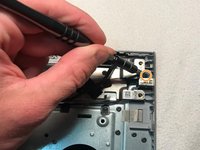
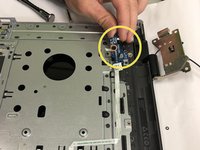
Loosen the audio / USB cable.
-
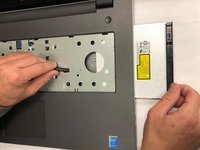
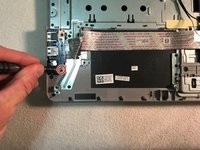
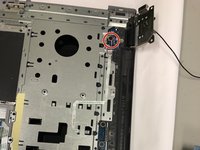
Remove the one 3mm motherboard screw.
-
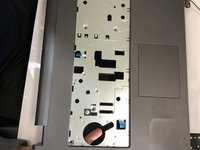
Lift the motherboard & carefully move it out of the way.
-
-
-
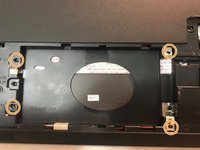
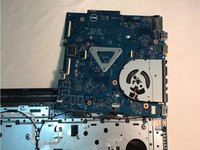
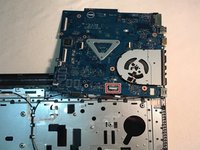
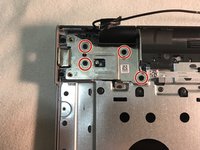
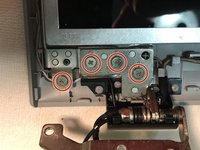
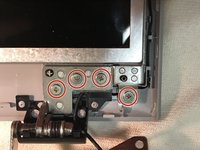
Remove the four 5mm right hinge screws using the Phillips #00 screwdriver.
-
Remove the three 5mm left hinge screws using Phillips #00 screwdriver.
-
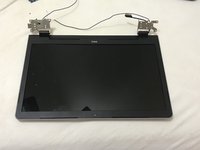
Open the hinges carefully and remove the LCD display assembly.
-
-
-
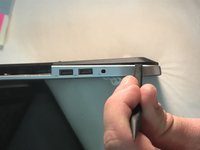
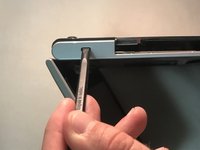
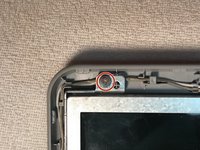
Remove the one 2mm wafer screw using Phillips #0 screwdriver.
-
Loosen the cable and remove the power button circuit board.
-
-
-
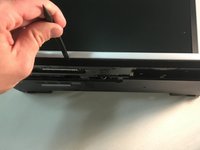
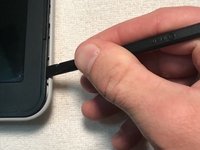
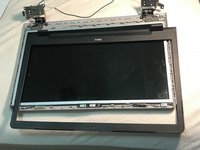
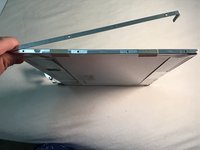
Once you have removed the LCD display assembly from the palmrest touchpad, use a spudger to unsnap the LCD bezel via the notches on the outside edge of the bezel .
-
When you have removed the LCD bezel, place it to the side.
-
-
-
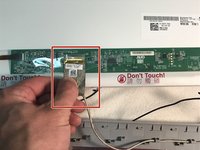
Lift the LCD screen from the display assembly, flip the LCD screen over, and place the screen face down.
-
Unplug the LCD cable.
-
Place the display assembly to the side.
-
-
-
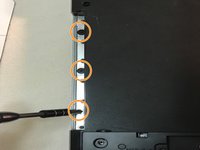
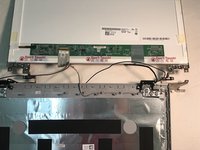
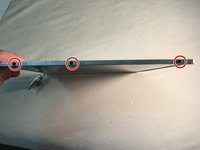
Remove the three 3mm screws that connect each hinge rail to the LCD screen.
-
Remove the hinge rails.
-


To reassemble your device, follow these instructions in reverse order.
To reassemble your device, follow these instructions in reverse order.
Отменить: Я не выполнил это руководство.
2 человек успешно провели ремонт по этому руководству.
Команду

University of North Texas, Team S3-G4, Raign Fall 2018 Участник University of North Texas, Team S3-G4, Raign Fall 2018
UNT-RAIGN-F18S3G4
5 членов
Автор 5 руководств