Перейти к основному содержанию

Dell Latitude 7410 WWAN Card Removal

Абсолютно необходимое руководство
Это руководство предназначено только для использования в качестве обязательного условия для других руководств. Оно не полностью само по себе.

Выберете то, что вам нужно

  1. Dell Latitude 7410 WWAN Card Removal, Unfasten the back cover: шаг 1, изображение 1 из 1
    • Use a Phillips screwdriver to loosen the eight captive screws securing the back cover.

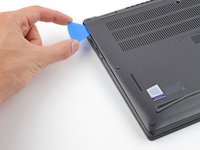
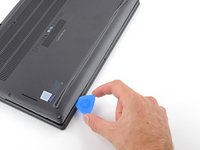
  2. Dell Latitude 7410 WWAN Card Removal, Insert an opening pick: шаг 2, изображение 1 из 2 Dell Latitude 7410 WWAN Card Removal, Insert an opening pick: шаг 2, изображение 2 из 2
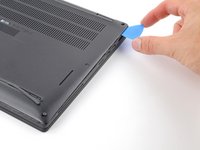
    • Insert an opening pick between the right edge of the back cover and the frame, just below the middle right screw.

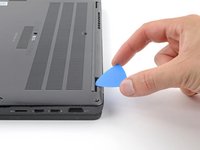
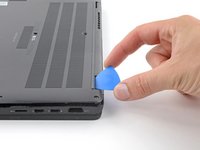
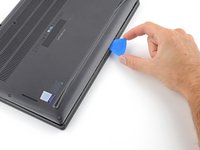
  3. Dell Latitude 7410 WWAN Card Removal, Unclip the right edge: шаг 3, изображение 1 из 2 Dell Latitude 7410 WWAN Card Removal, Unclip the right edge: шаг 3, изображение 2 из 2
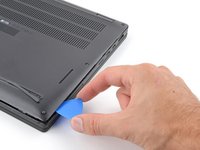
    • Slide your pick along the right edge to release the clips securing the back cover.

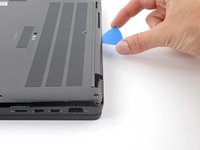
  4. Dell Latitude 7410 WWAN Card Removal, Unclip the left edge: шаг 4, изображение 1 из 3 Dell Latitude 7410 WWAN Card Removal, Unclip the left edge: шаг 4, изображение 2 из 3 Dell Latitude 7410 WWAN Card Removal, Unclip the left edge: шаг 4, изображение 3 из 3
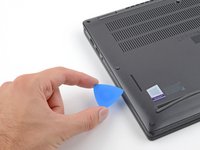
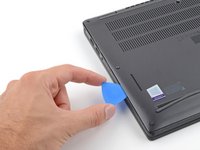
    • Insert your pick between the left edge of the back cover and the frame, next to the speaker cutout.

    • Slide your pick along the left edge to release the clips.

  5. Dell Latitude 7410 WWAN Card Removal, Unclip the back edge: шаг 5, изображение 1 из 3 Dell Latitude 7410 WWAN Card Removal, Unclip the back edge: шаг 5, изображение 2 из 3 Dell Latitude 7410 WWAN Card Removal, Unclip the back edge: шаг 5, изображение 3 из 3
    • Insert your pick between the back cover and the right display-hinge to release the first clip along the back edge.

    • Slide your pick toward the left hinge until the second clip releases.

  6. Dell Latitude 7410 WWAN Card Removal, Unclip the front edge: шаг 6, изображение 1 из 2 Dell Latitude 7410 WWAN Card Removal, Unclip the front edge: шаг 6, изображение 2 из 2
    • Insert your pick between the front edge of the back cover and the frame, just to the right of the bottom left screw.

    • Slide your pick toward the right edge until the front edge releases from the frame.

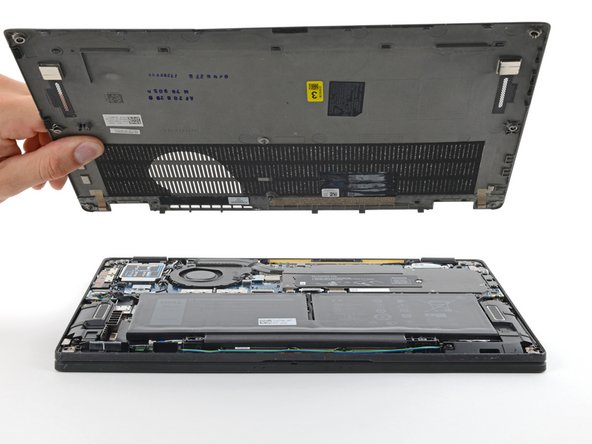
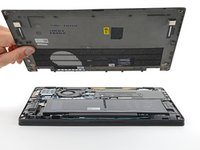
  7. Dell Latitude 7410 WWAN Card Removal, Remove the back cover: шаг 7, изображение 1 из 2 Dell Latitude 7410 WWAN Card Removal, Remove the back cover: шаг 7, изображение 2 из 2
    • Remove the back cover.

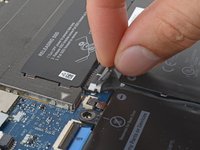
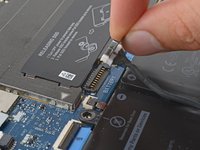
  8. Dell Latitude 7410 WWAN Card Removal, Disconnect the battery: шаг 8, изображение 1 из 2 Dell Latitude 7410 WWAN Card Removal, Disconnect the battery: шаг 8, изображение 2 из 2
    • Grab the black pull tab on the head of the battery connector and pull straight up to disconnect it.

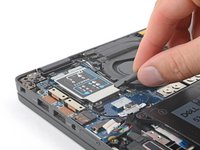
  9. Dell Latitude 7410 WWAN Card Removal, Remove the cover: шаг 9, изображение 1 из 3 Dell Latitude 7410 WWAN Card Removal, Remove the cover: шаг 9, изображение 2 из 3 Dell Latitude 7410 WWAN Card Removal, Remove the cover: шаг 9, изображение 3 из 3
    • If your laptop doesn't come with a WWAN card, skip the next two steps.

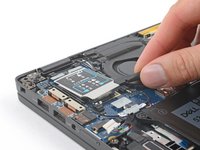
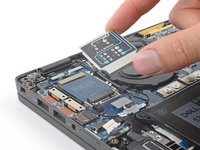
    • Use the flat end of a spudger to pry up the WWAN card cover from its clips on the I/O board.

    • Remove the cover.

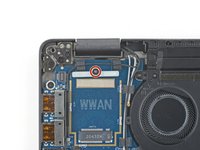
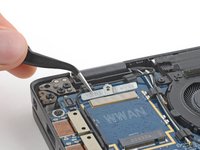
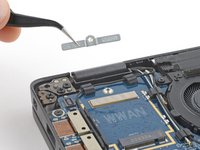
  10. Dell Latitude 7410 WWAN Card Removal, Remove the WWAN cable bracket: шаг 10, изображение 1 из 3 Dell Latitude 7410 WWAN Card Removal, Remove the WWAN cable bracket: шаг 10, изображение 2 из 3 Dell Latitude 7410 WWAN Card Removal, Remove the WWAN cable bracket: шаг 10, изображение 3 из 3
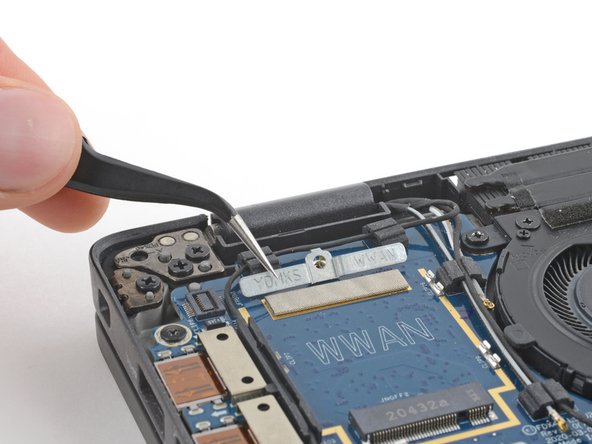
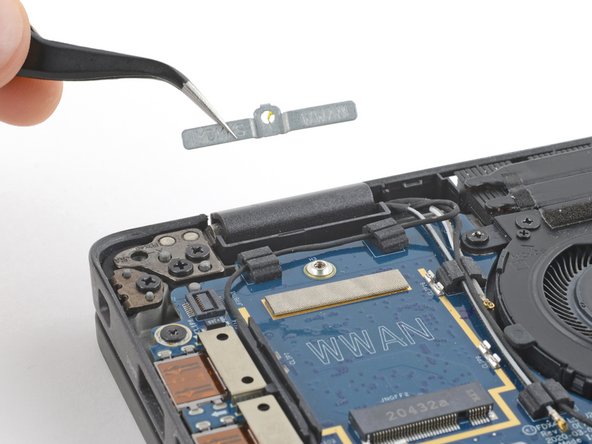
    • Use your Phillips screwdriver to remove the 3 mm screw securing the WWAN cable bracket.

    • Remove the cable bracket.

Заключение

To reassemble your device, follow these instructions in reverse order.

Clay Eickemeyer

Участник с: 09/19/22

82 171 Репутация

Автор 455 руководств

Команду

Guide Team Участник Guide Team

Staff

9 членов

Автор 11 485 руководств

0Комментарии к руководству

Добавить комментарий

Статистика просмотров:

За последние 24 час(ов): 0

За последние 7 дней: 0

За последние 30 дней: 1

За всё время: 8