Введение
CD ROM drives are the units used by computers to read CDs. Occasionally, loose cables or damage can cause the CD ROM drive to be unable to read disks, show up on your computer, or even open the drive drawer. If this has happened to your Dell Latitude E5500 and you are sure the drivers and disks are not the issue, then it may be time to inspect the CD ROM drive. If you have ten minutes and a Philips #2 screwdriver, this quick guide can help you remove it for repair or replacement.
Выберете то, что вам нужно
-
-
Place the front of the laptop on the table so that the hinges are facing away from yourself.
-
-
-
-
Apply a small amount of pressure and slide the cover towards yourself in the direction indicated.
-
-
-
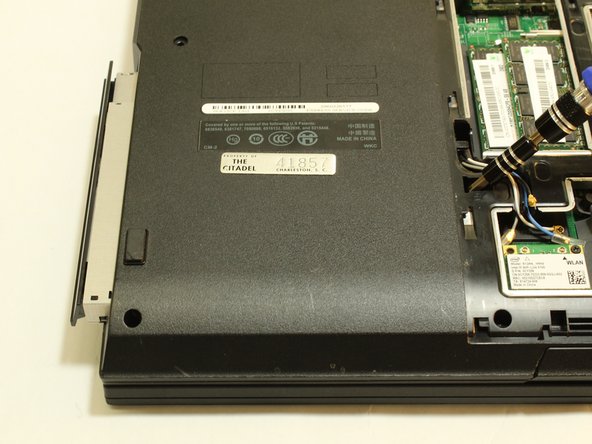
Using a #2 Phillip's head screwdriver, push the CD ROM ejector to the left.
-
Once the CD ROM clicks out, carefully slide it out of the laptop.
-


To reassemble your device, follow these instructions in reverse order using your new CD Rom.
To reassemble your device, follow these instructions in reverse order using your new CD Rom.
Отменить: Я не выполнил это руководство.
2 участников успешно повторили данное руководство.
Команда

The Citadel Military College of South Carolina, Team S3-G10, Eggleston Spring 2019 Участник The Citadel Military College of South Carolina, Team S3-G10, Eggleston Spring 2019
CMCSC-EGGLESTON-S19S3G10
3 членов
Автор 2 руководств